

DETAILING A RED TOYOTA LEVIN
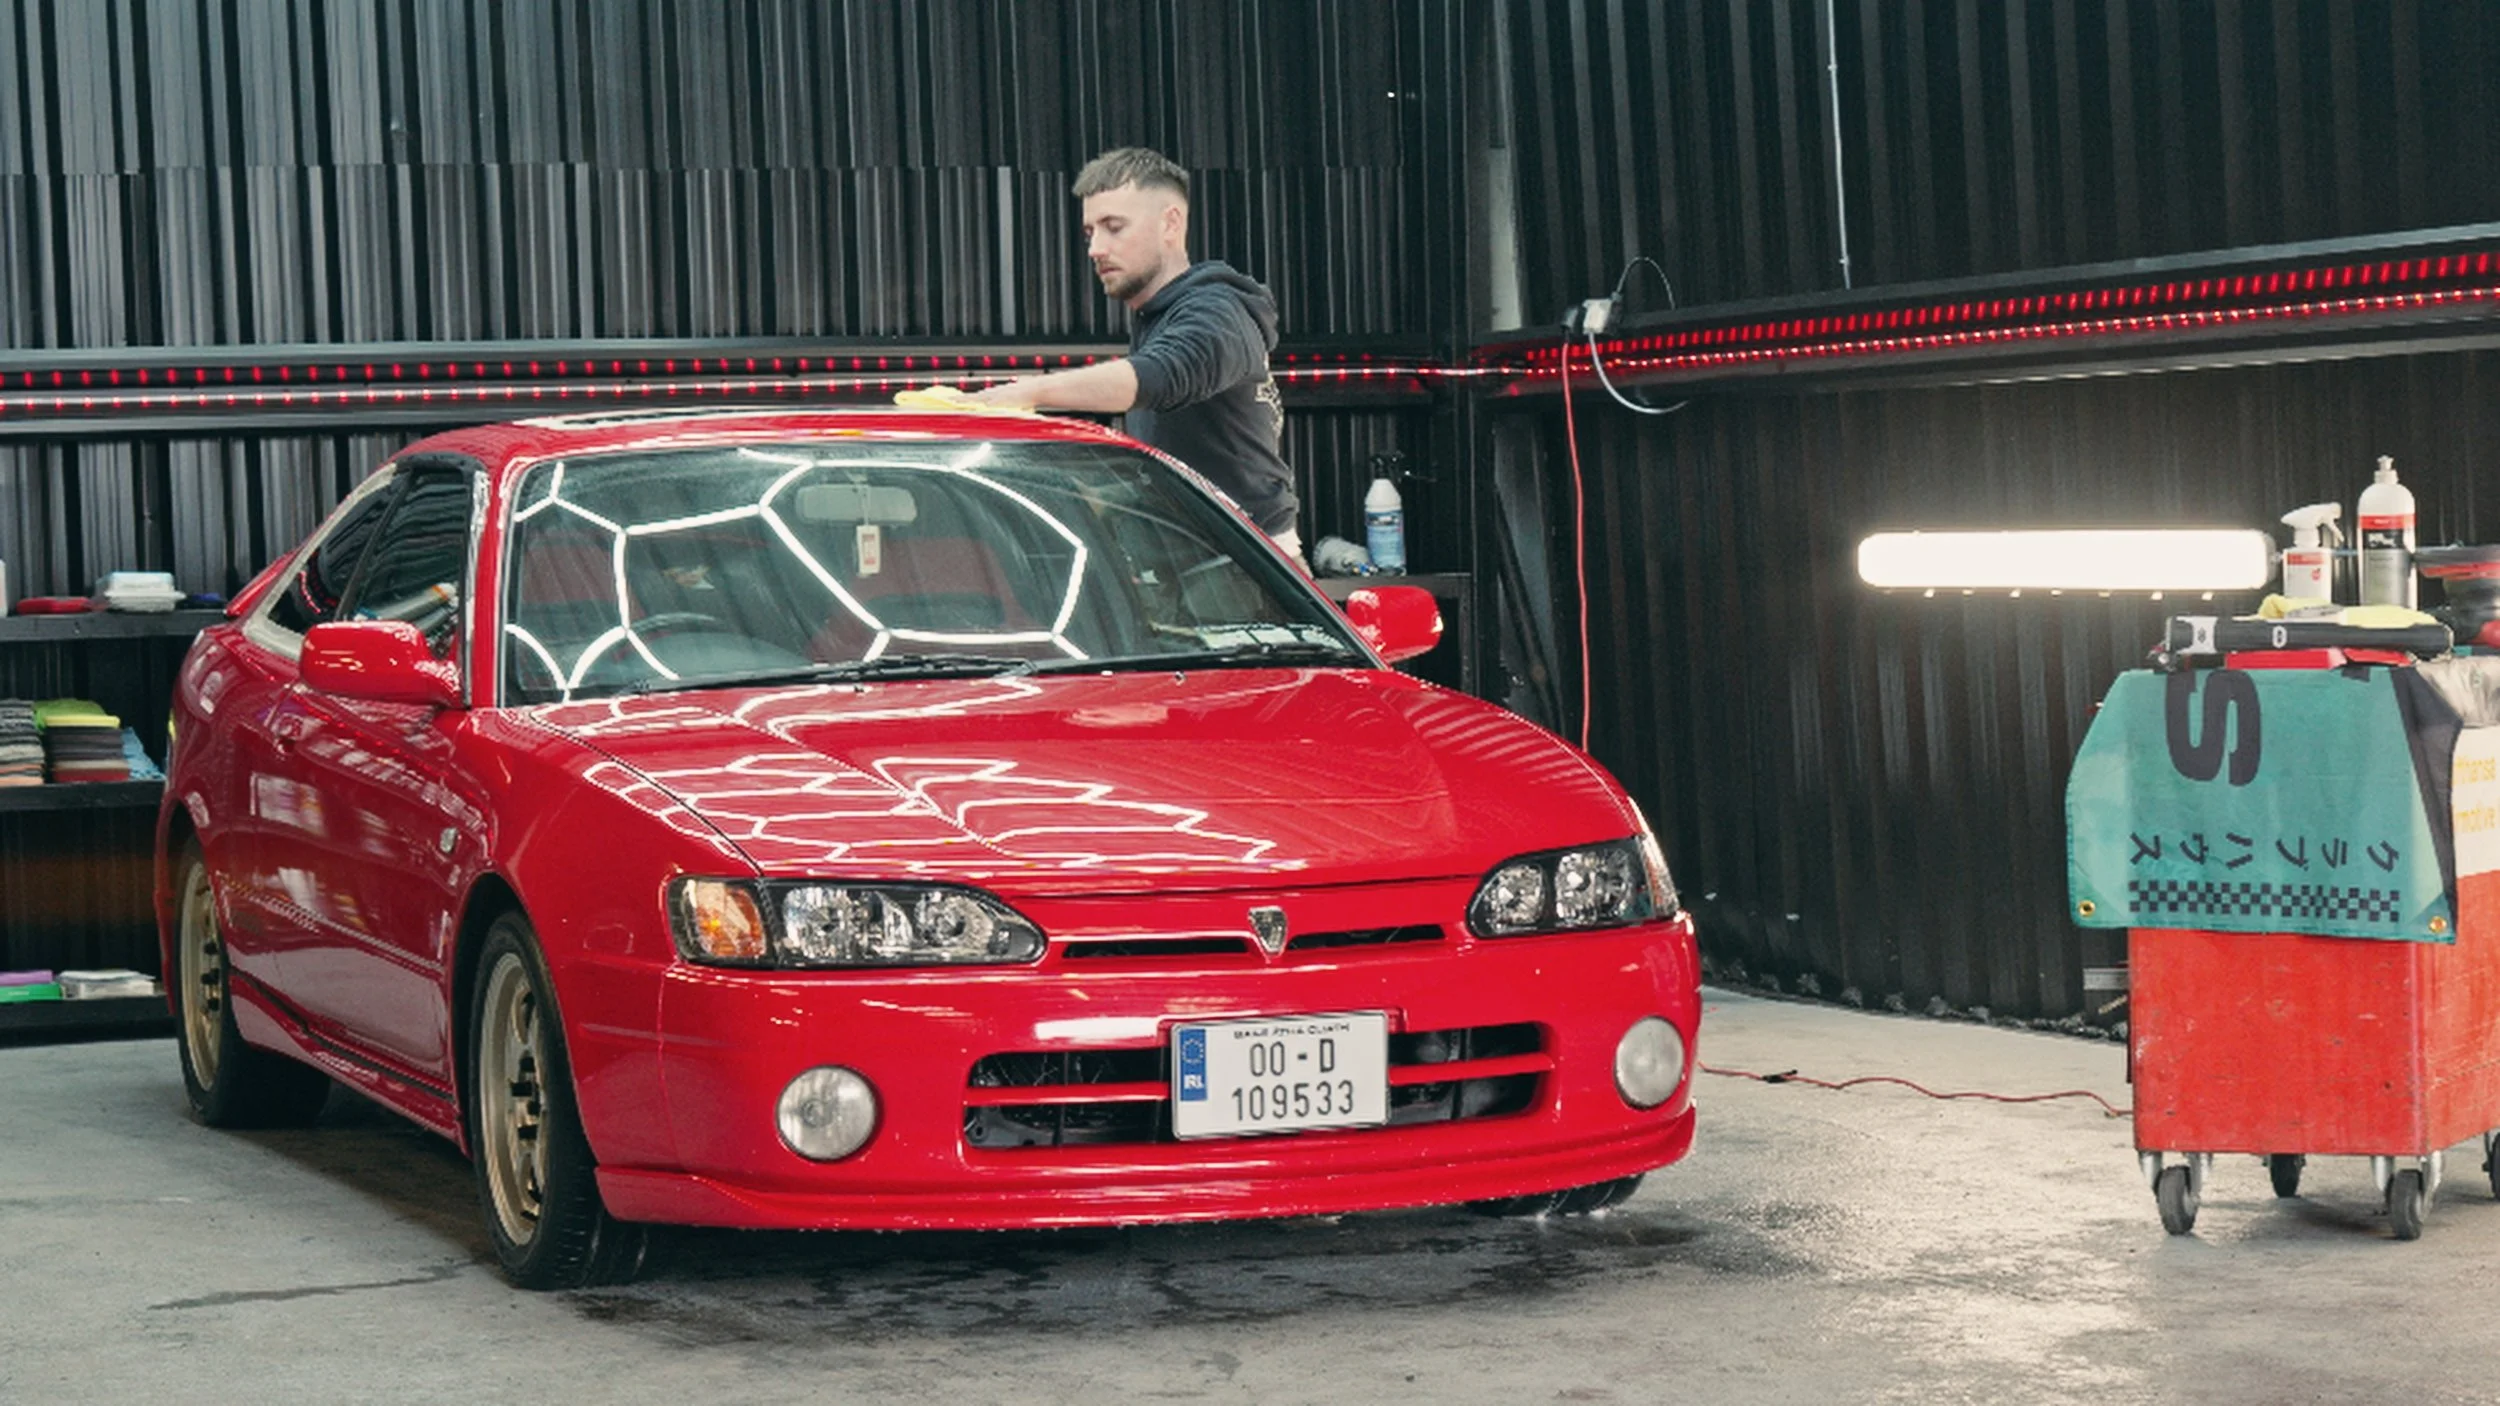
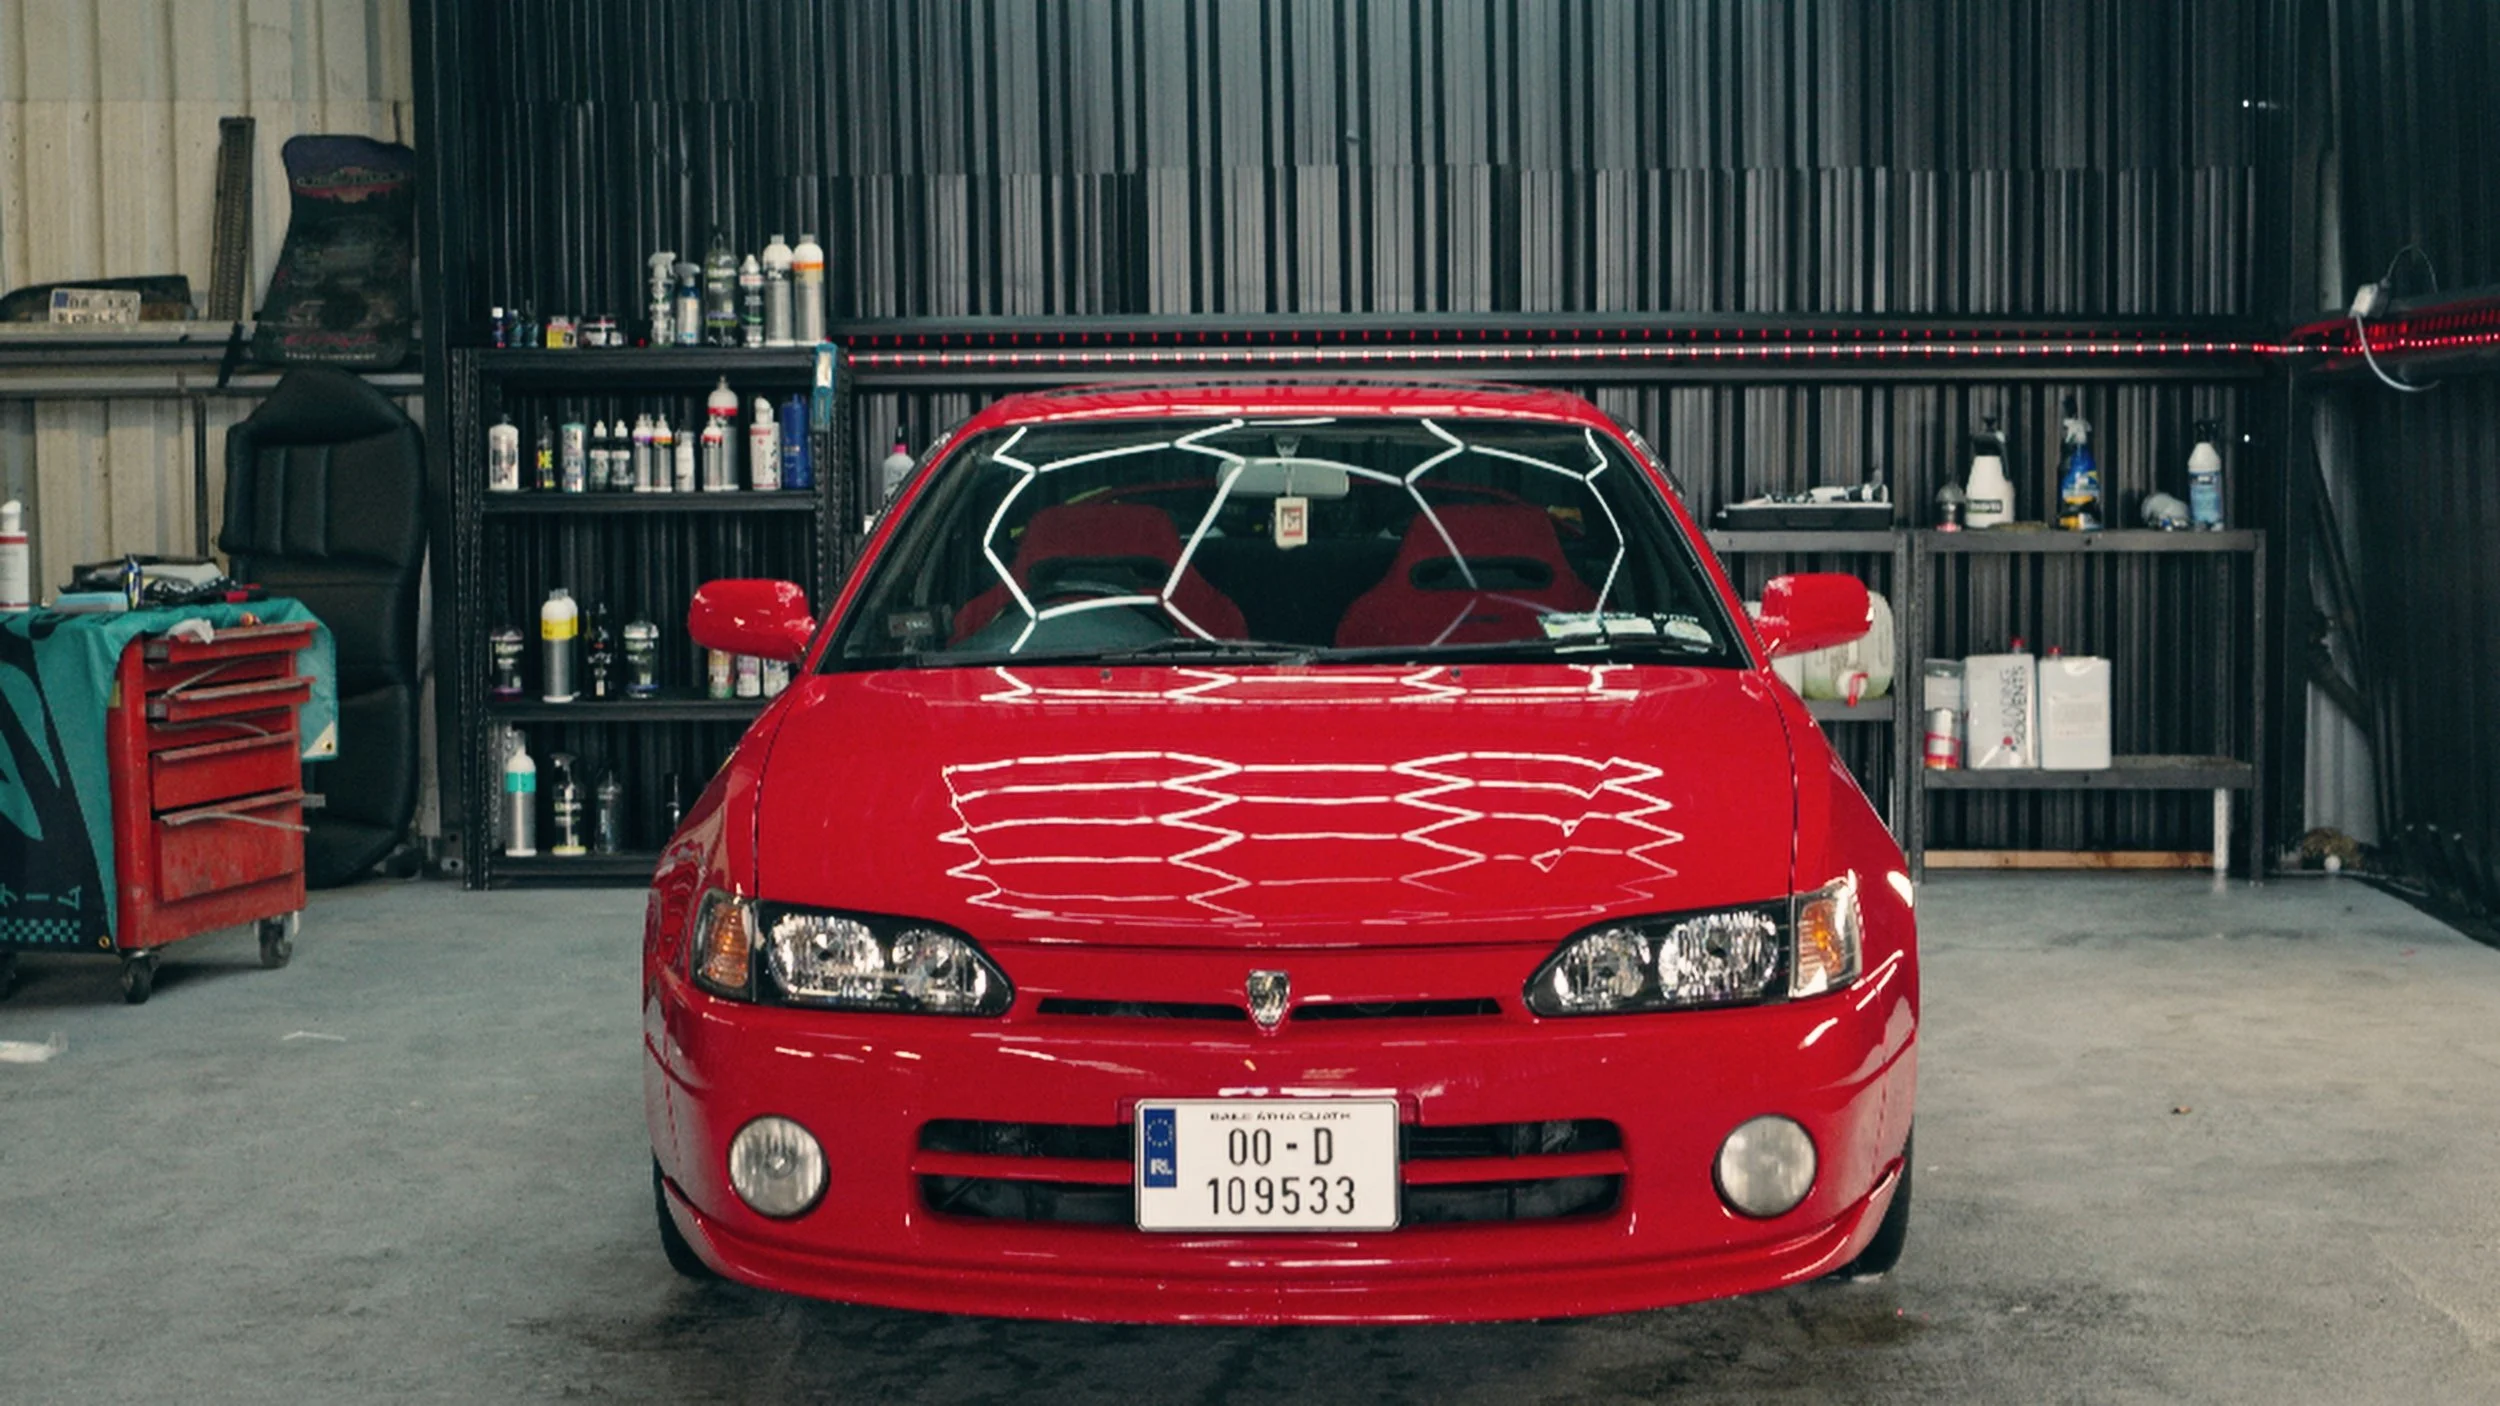
There is a quiet rhythm to the way Shane works. It’s not about rushing through jobs or chasing numbers, but about slowing down and paying attention to the details that most people never see. Today, that amazing attention to detail is focused on this red 2000 Toyota Levin. It’s a car that I'm very familiar with. My friend Conor owned it for quite a few years. It is another example of why people trust Shane with the cars they care about.
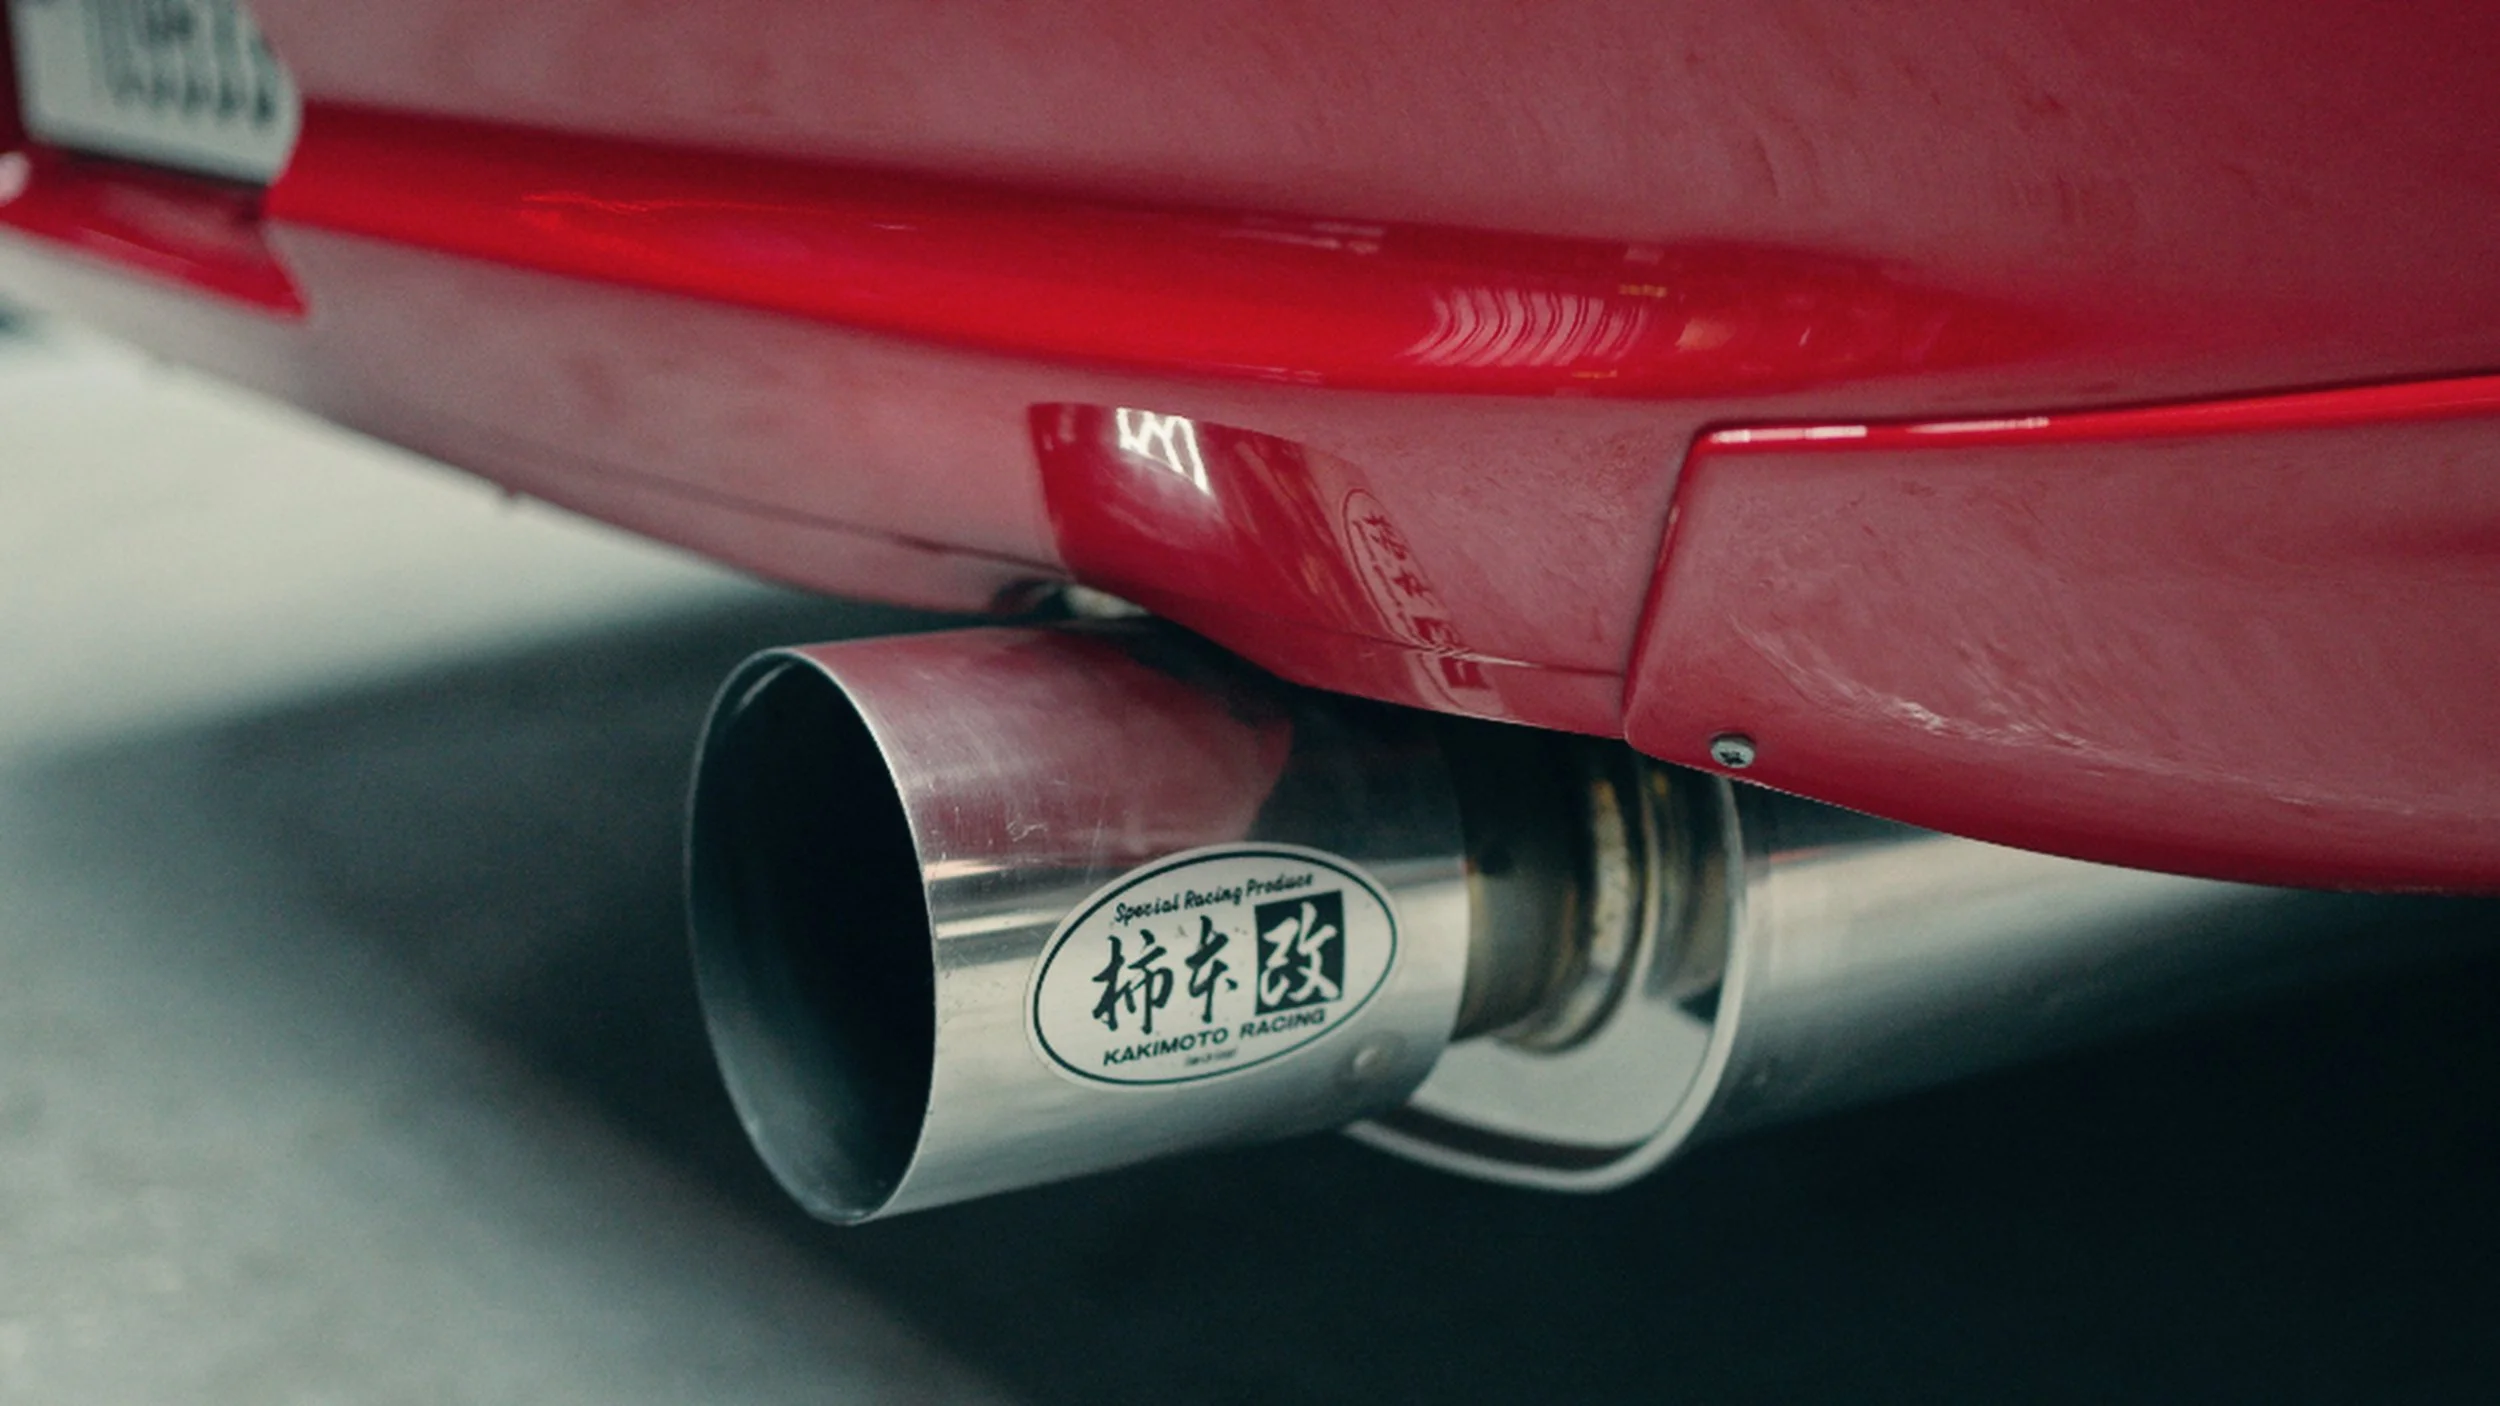
Time has been kind to this Levin, unlike many others. One of only a small few painted in this immensely vibrant red, it has managed to keep its 4age 20-valve under the bonnet when so many were stripped of their hearts over the years, in order to provide for there older brother, the ae86. But even well‑kept cars eventually lose their edge. Shane’s role is to bring that edge back, carefully and consistently, the same way he does for every car that enters his newly renovated workshop.

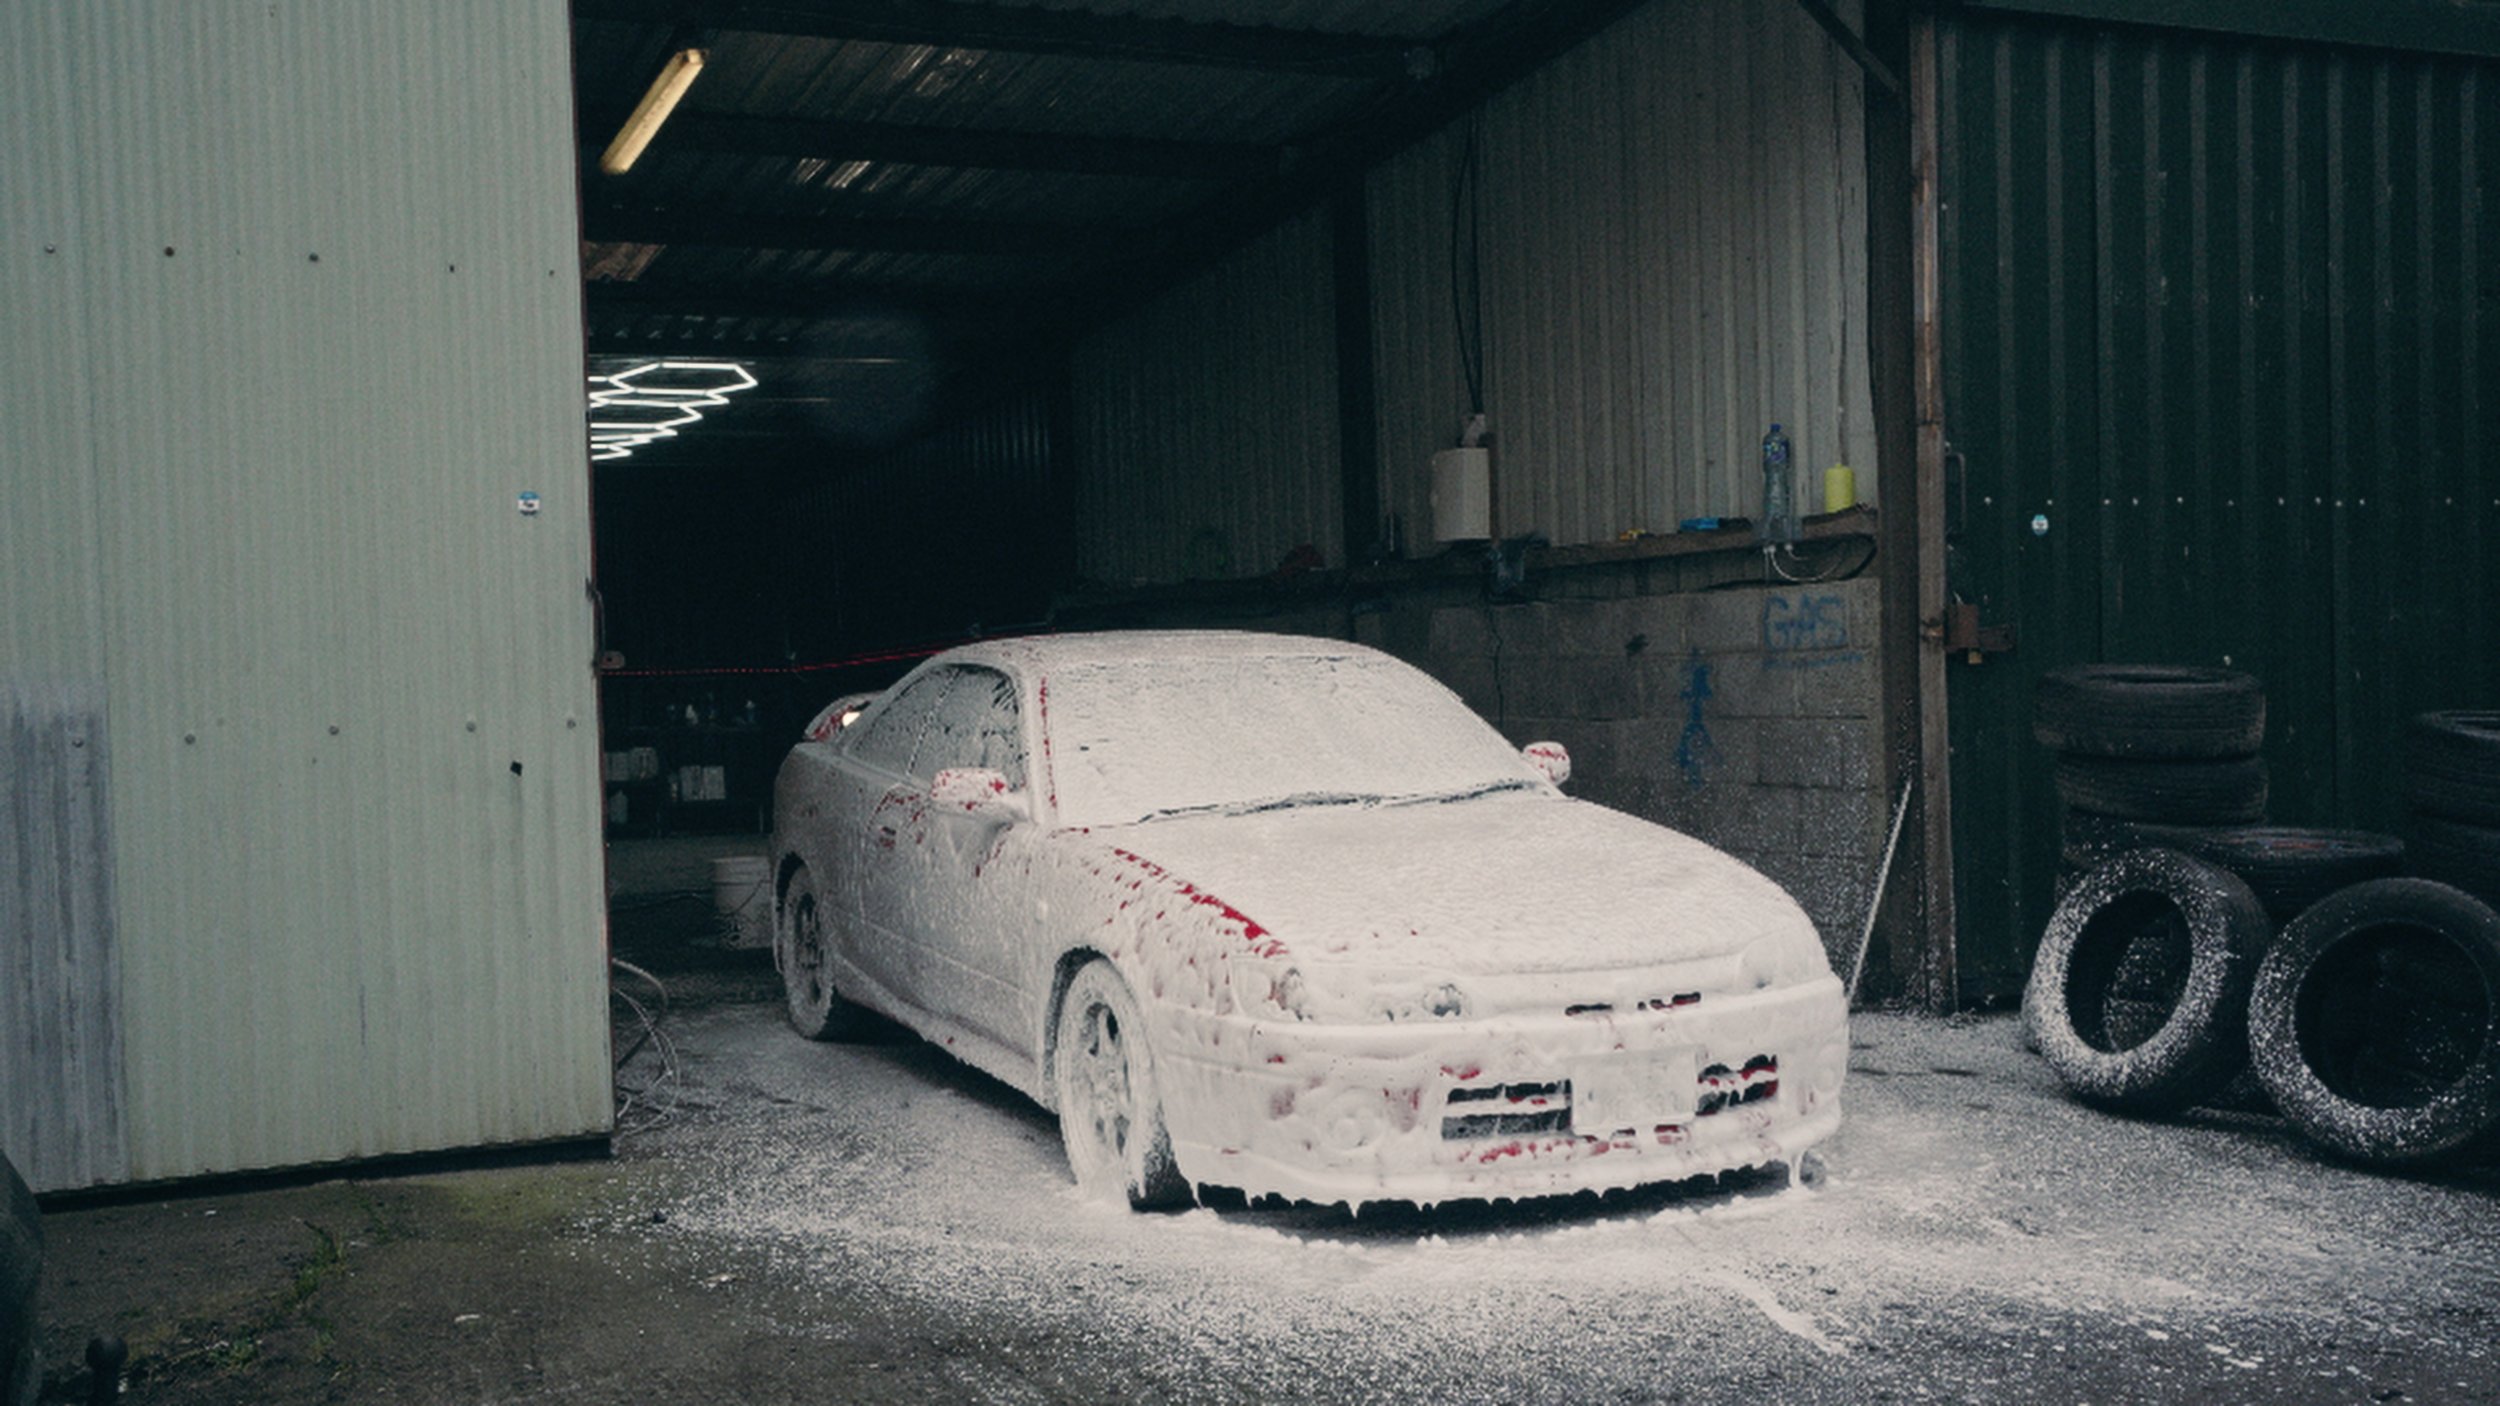
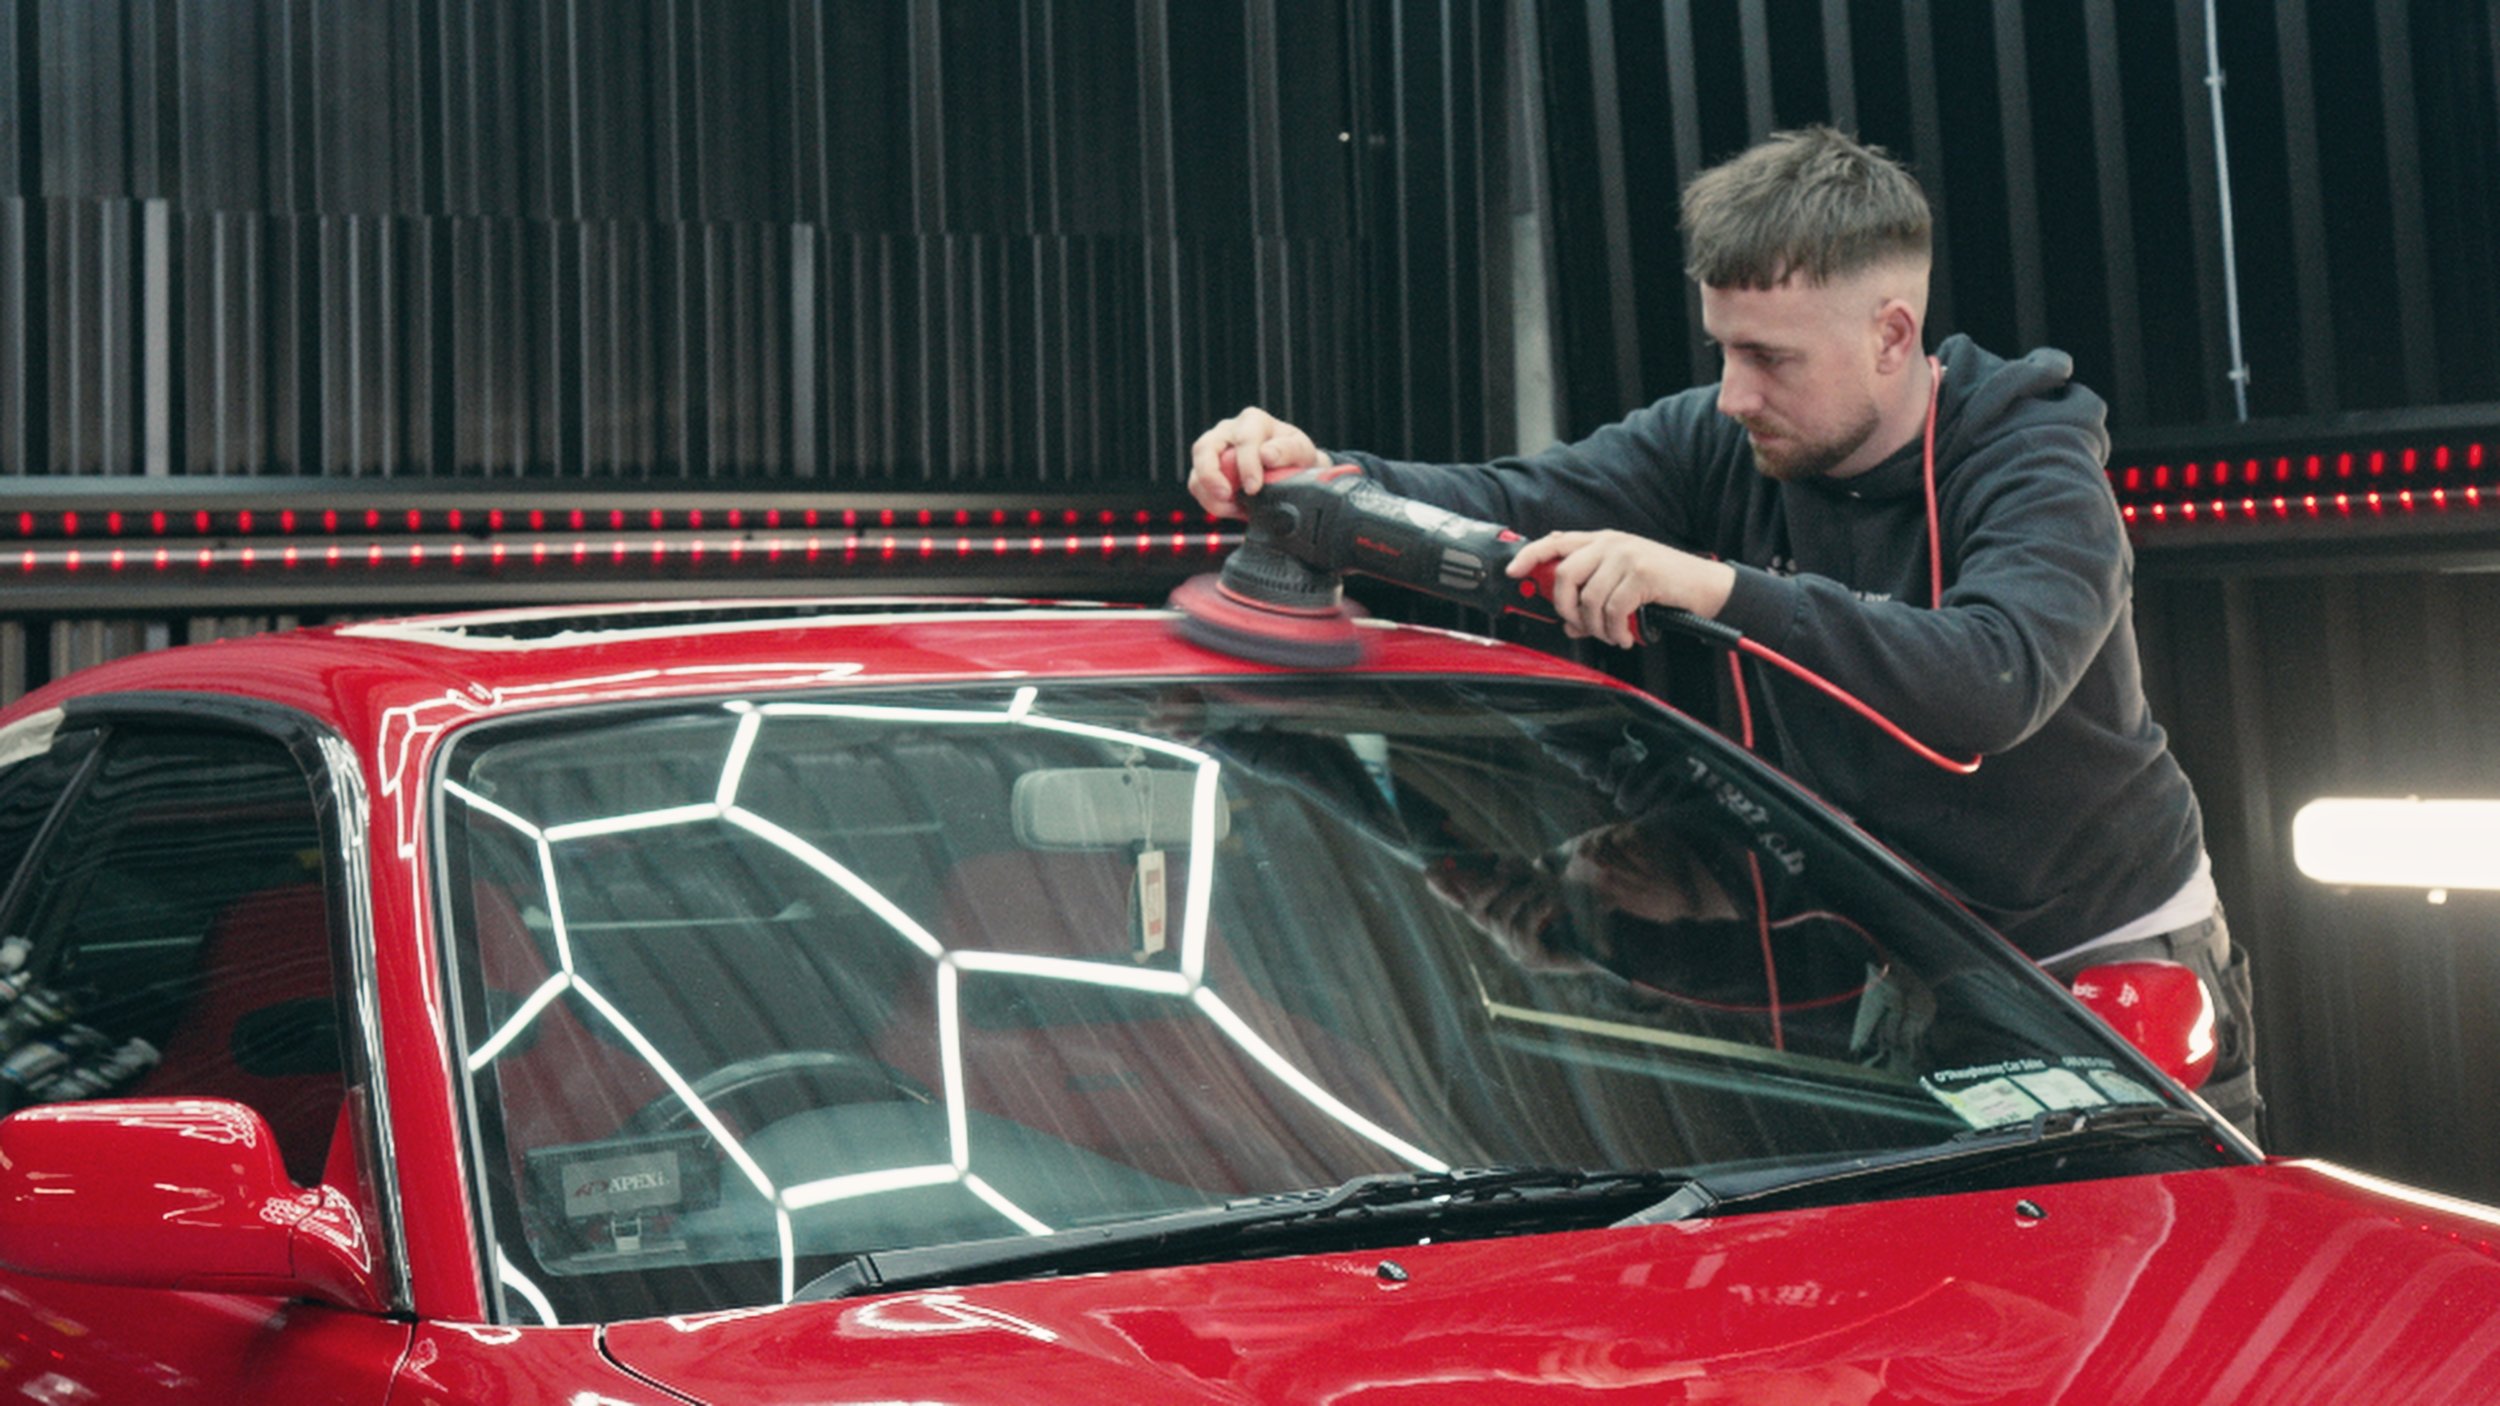
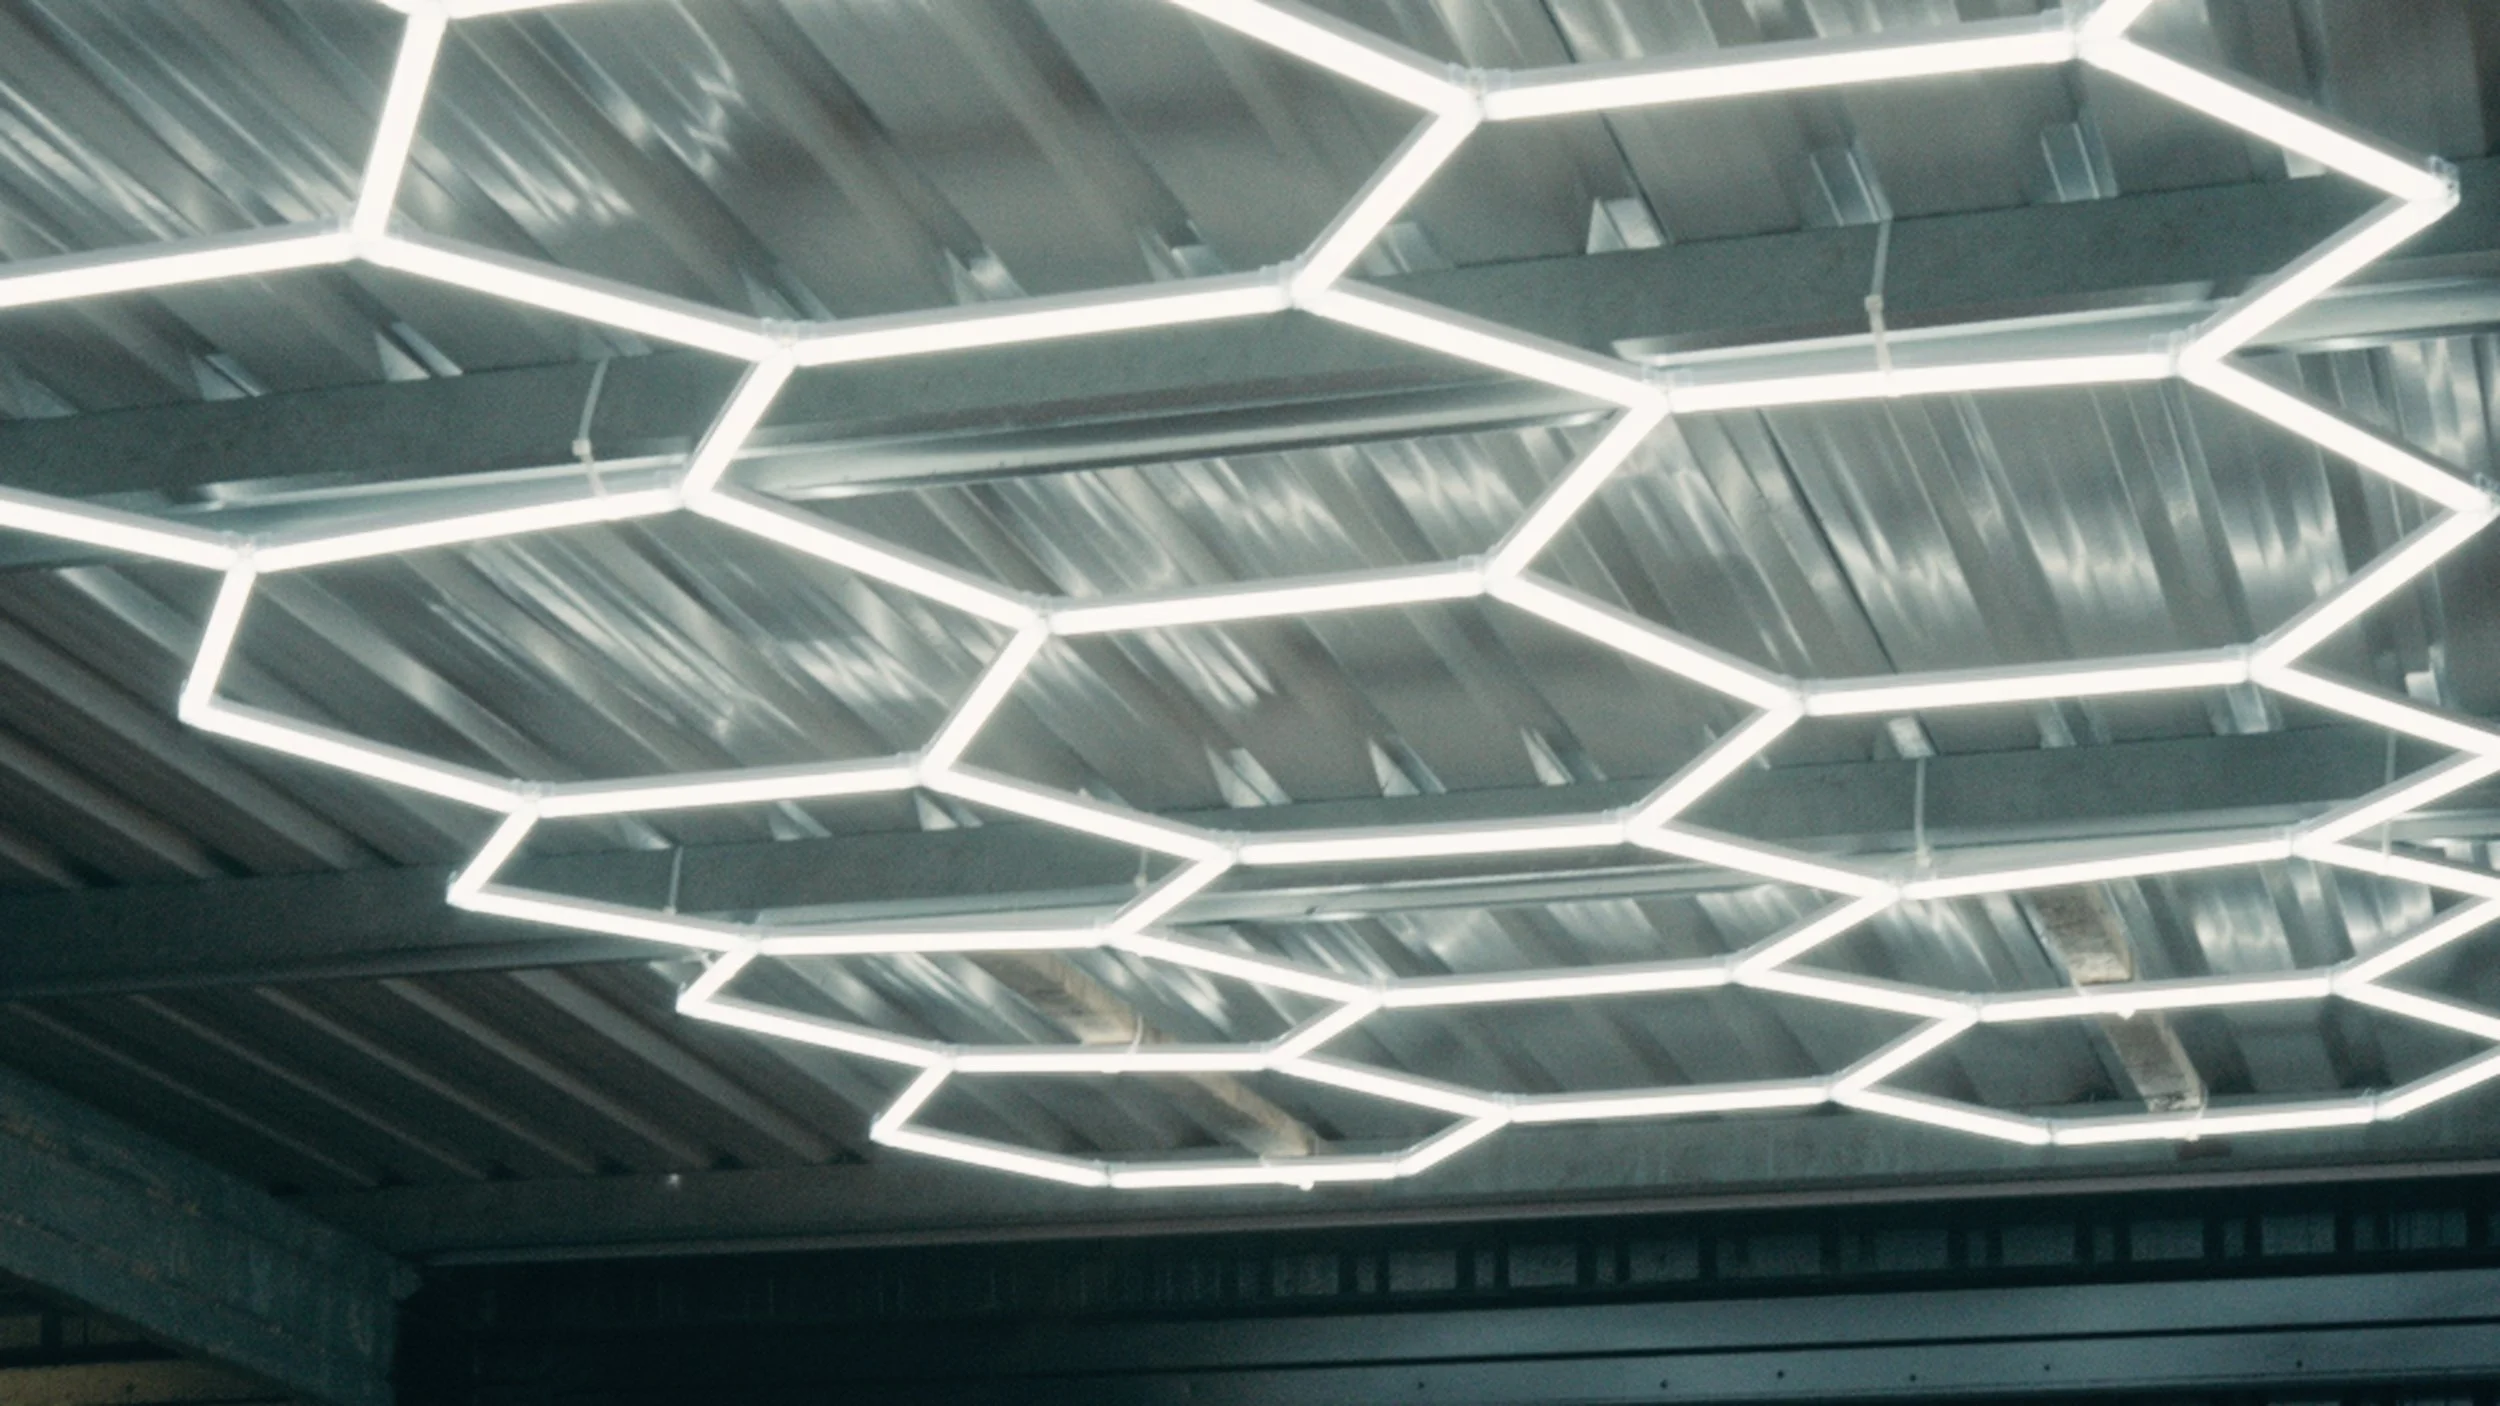
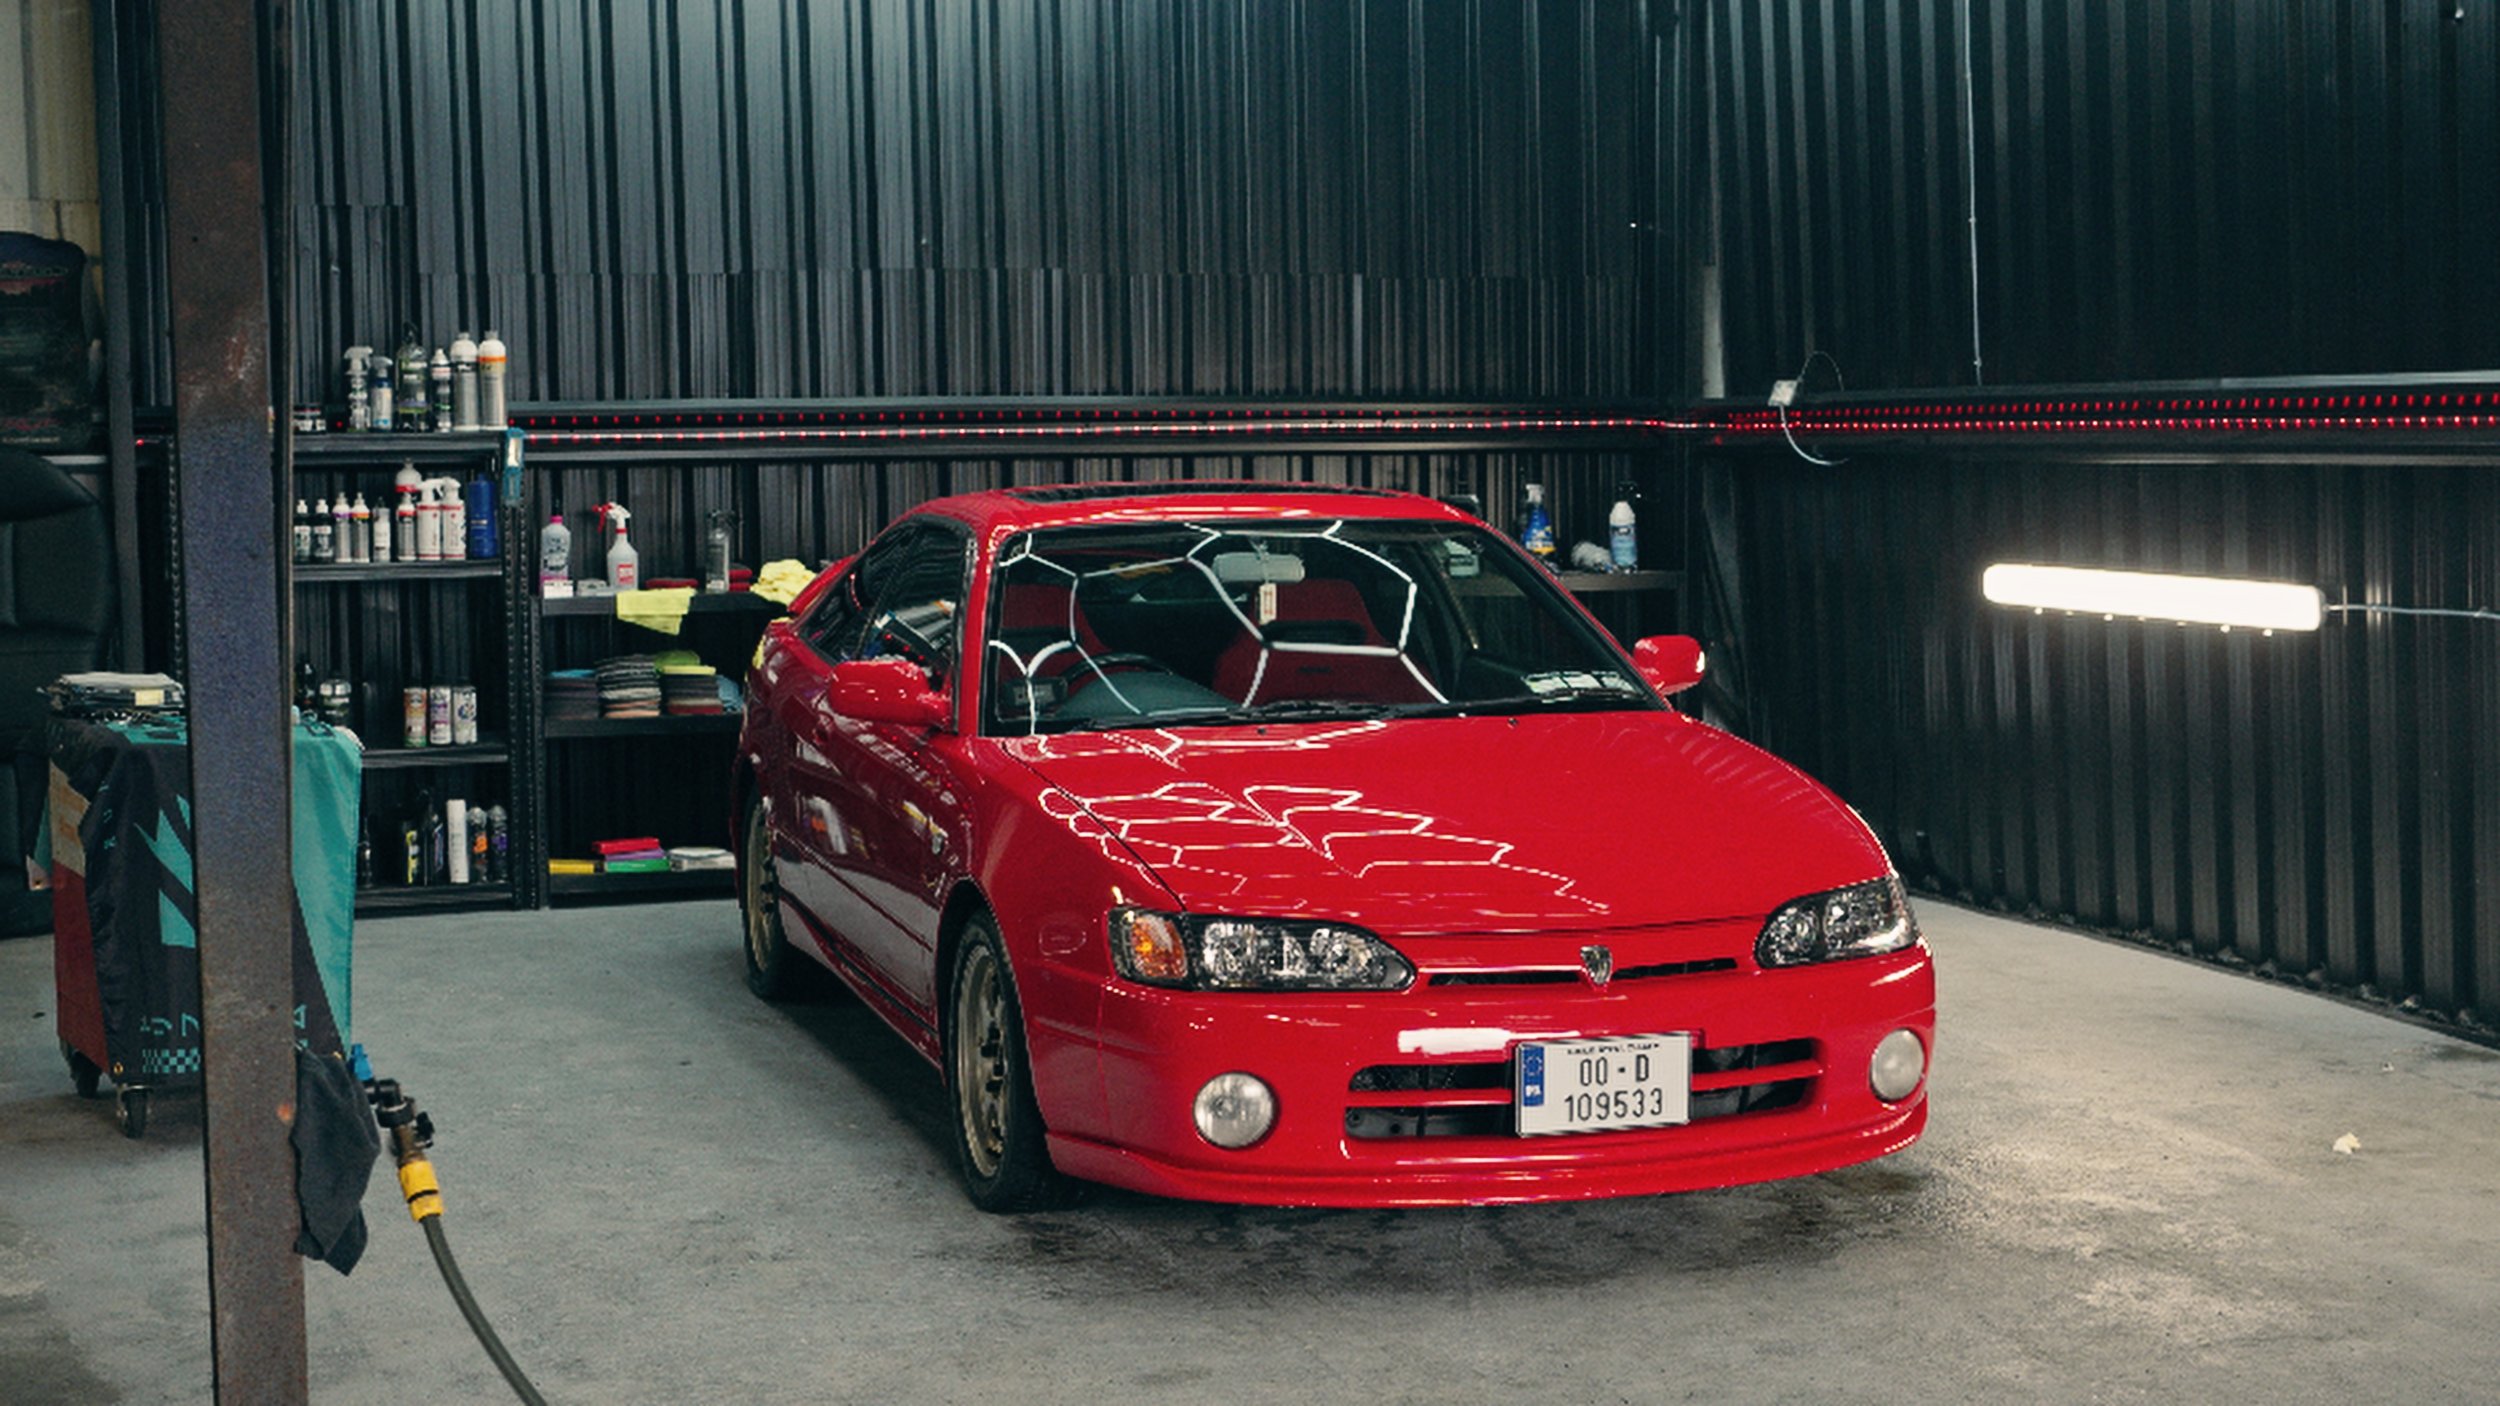
Over the next few minutes, we'll follow his process as he takes this Levin back to a near‑showroom finish. I've followed Shanes work for the last few years, we operate within similar circles. His shed, situated in Westmeath, is where most of his work happens. When I initially approached him about filming something for his detailing work, he kindly agreed but only on the promise that I would give him some time to make some upgrades to his workspace.
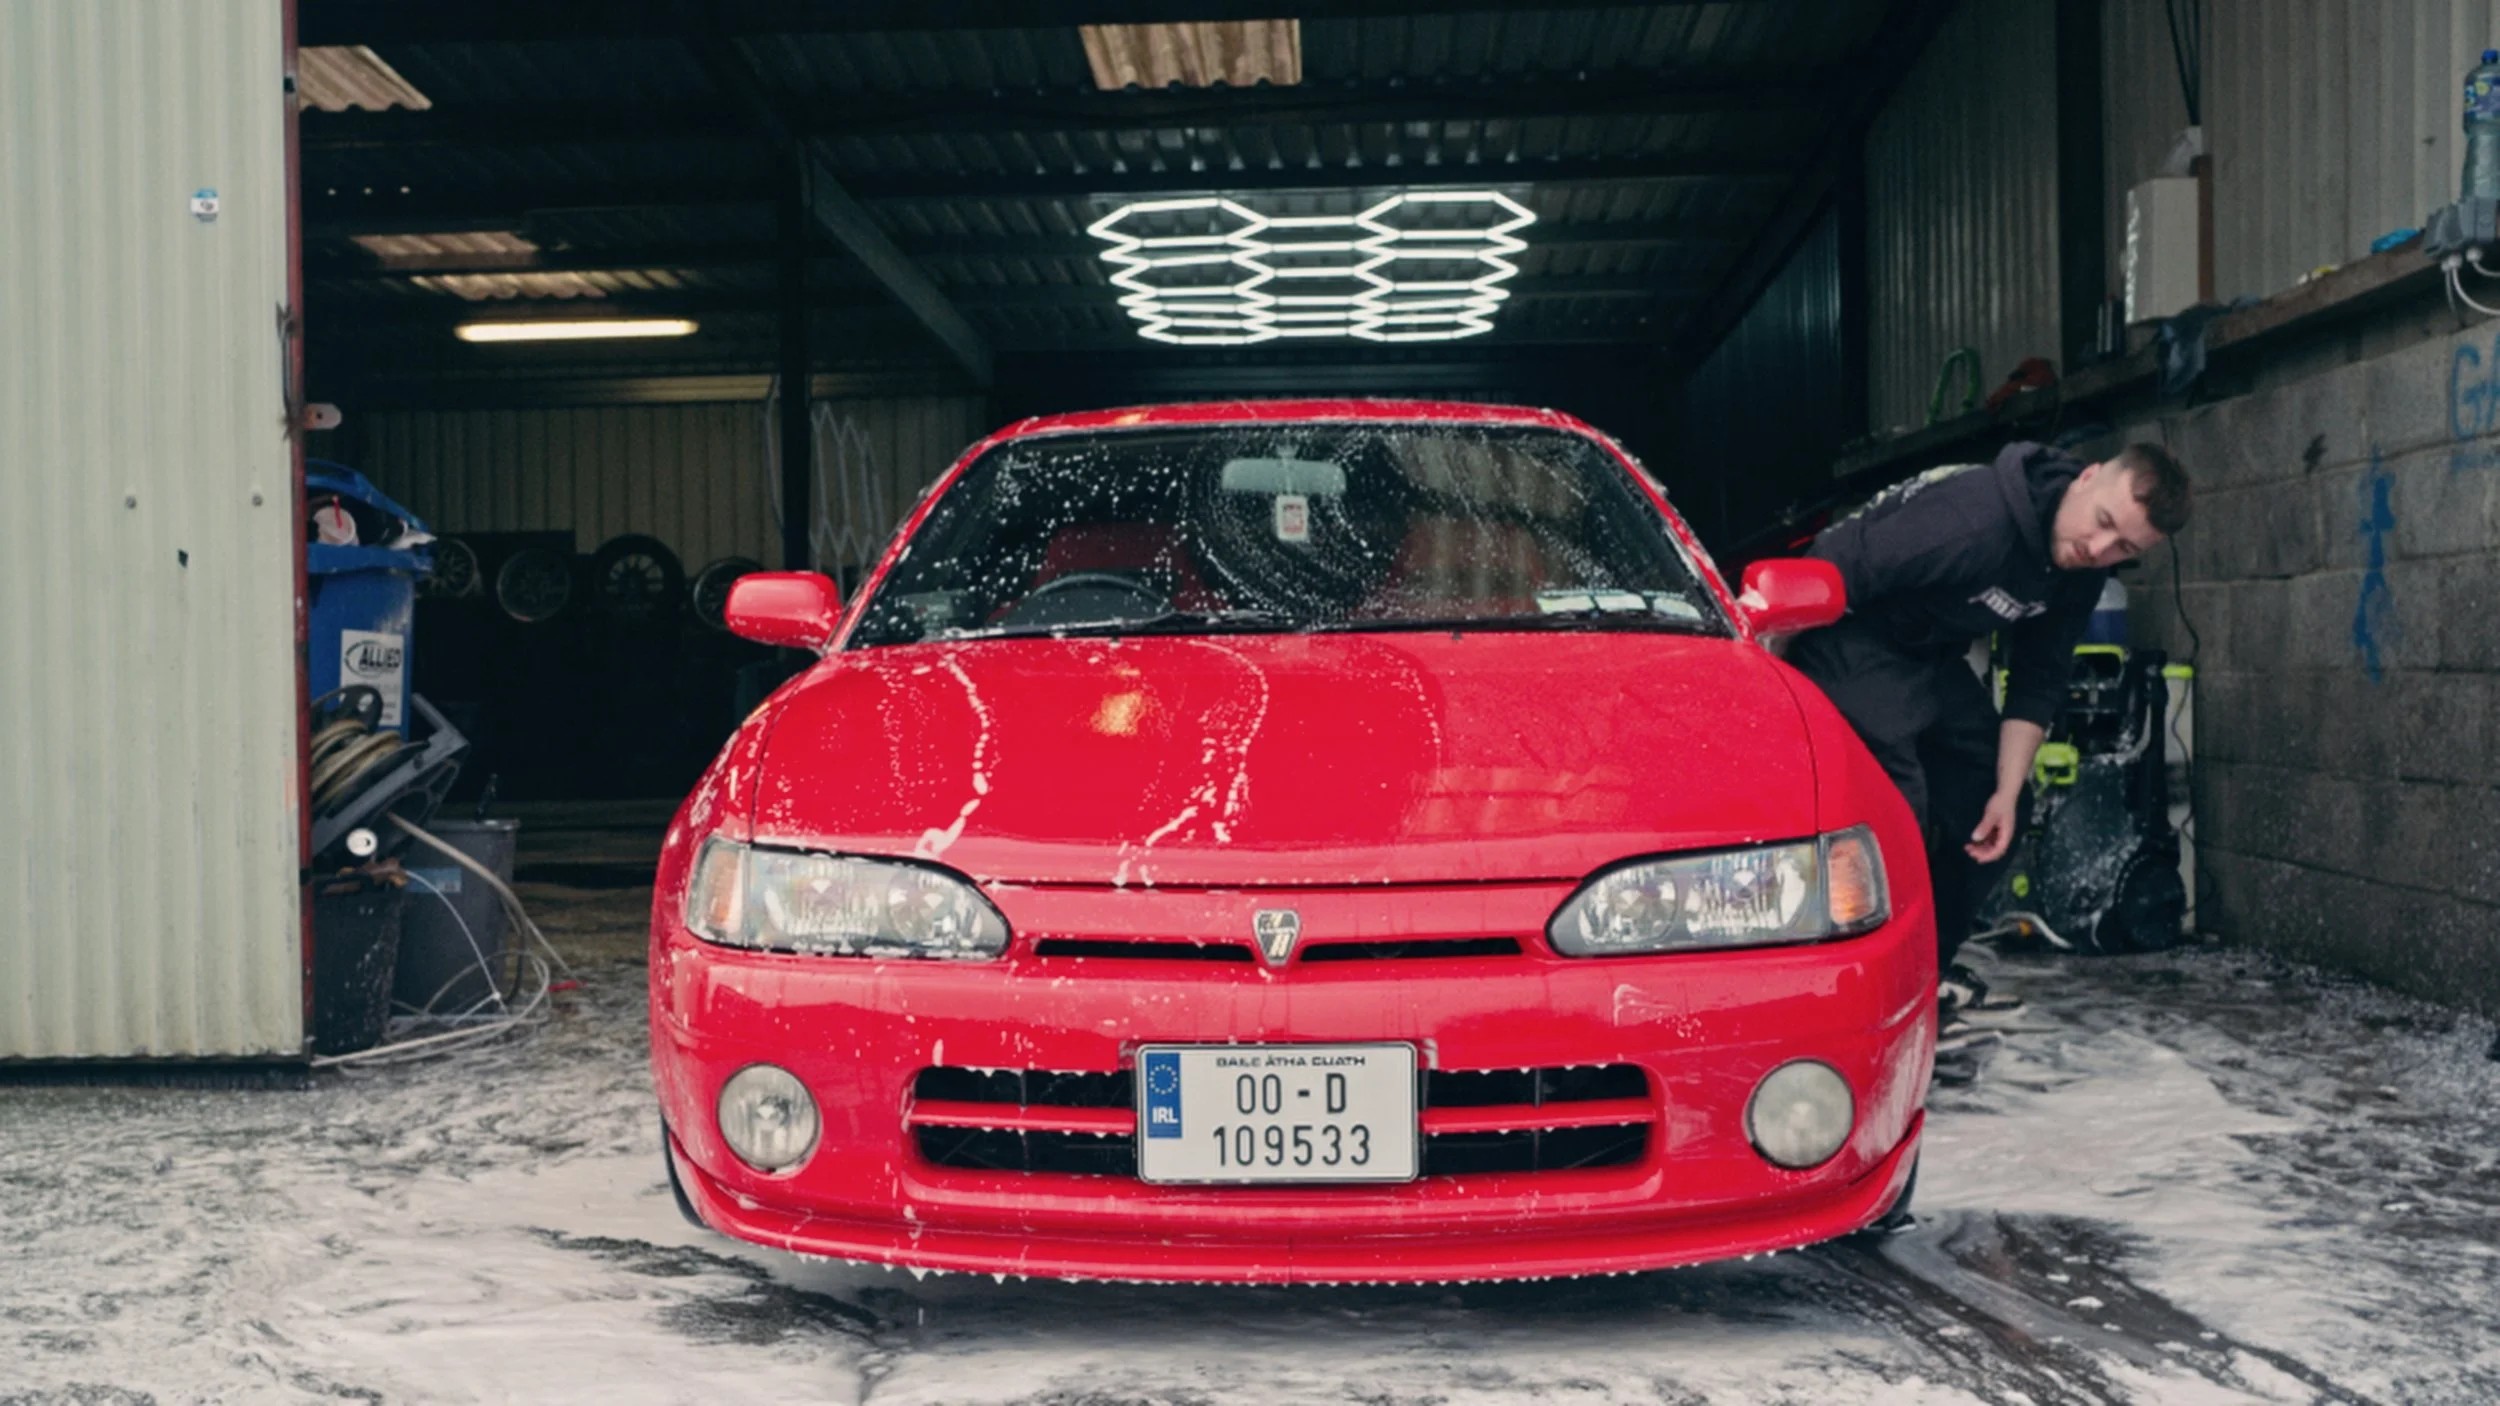
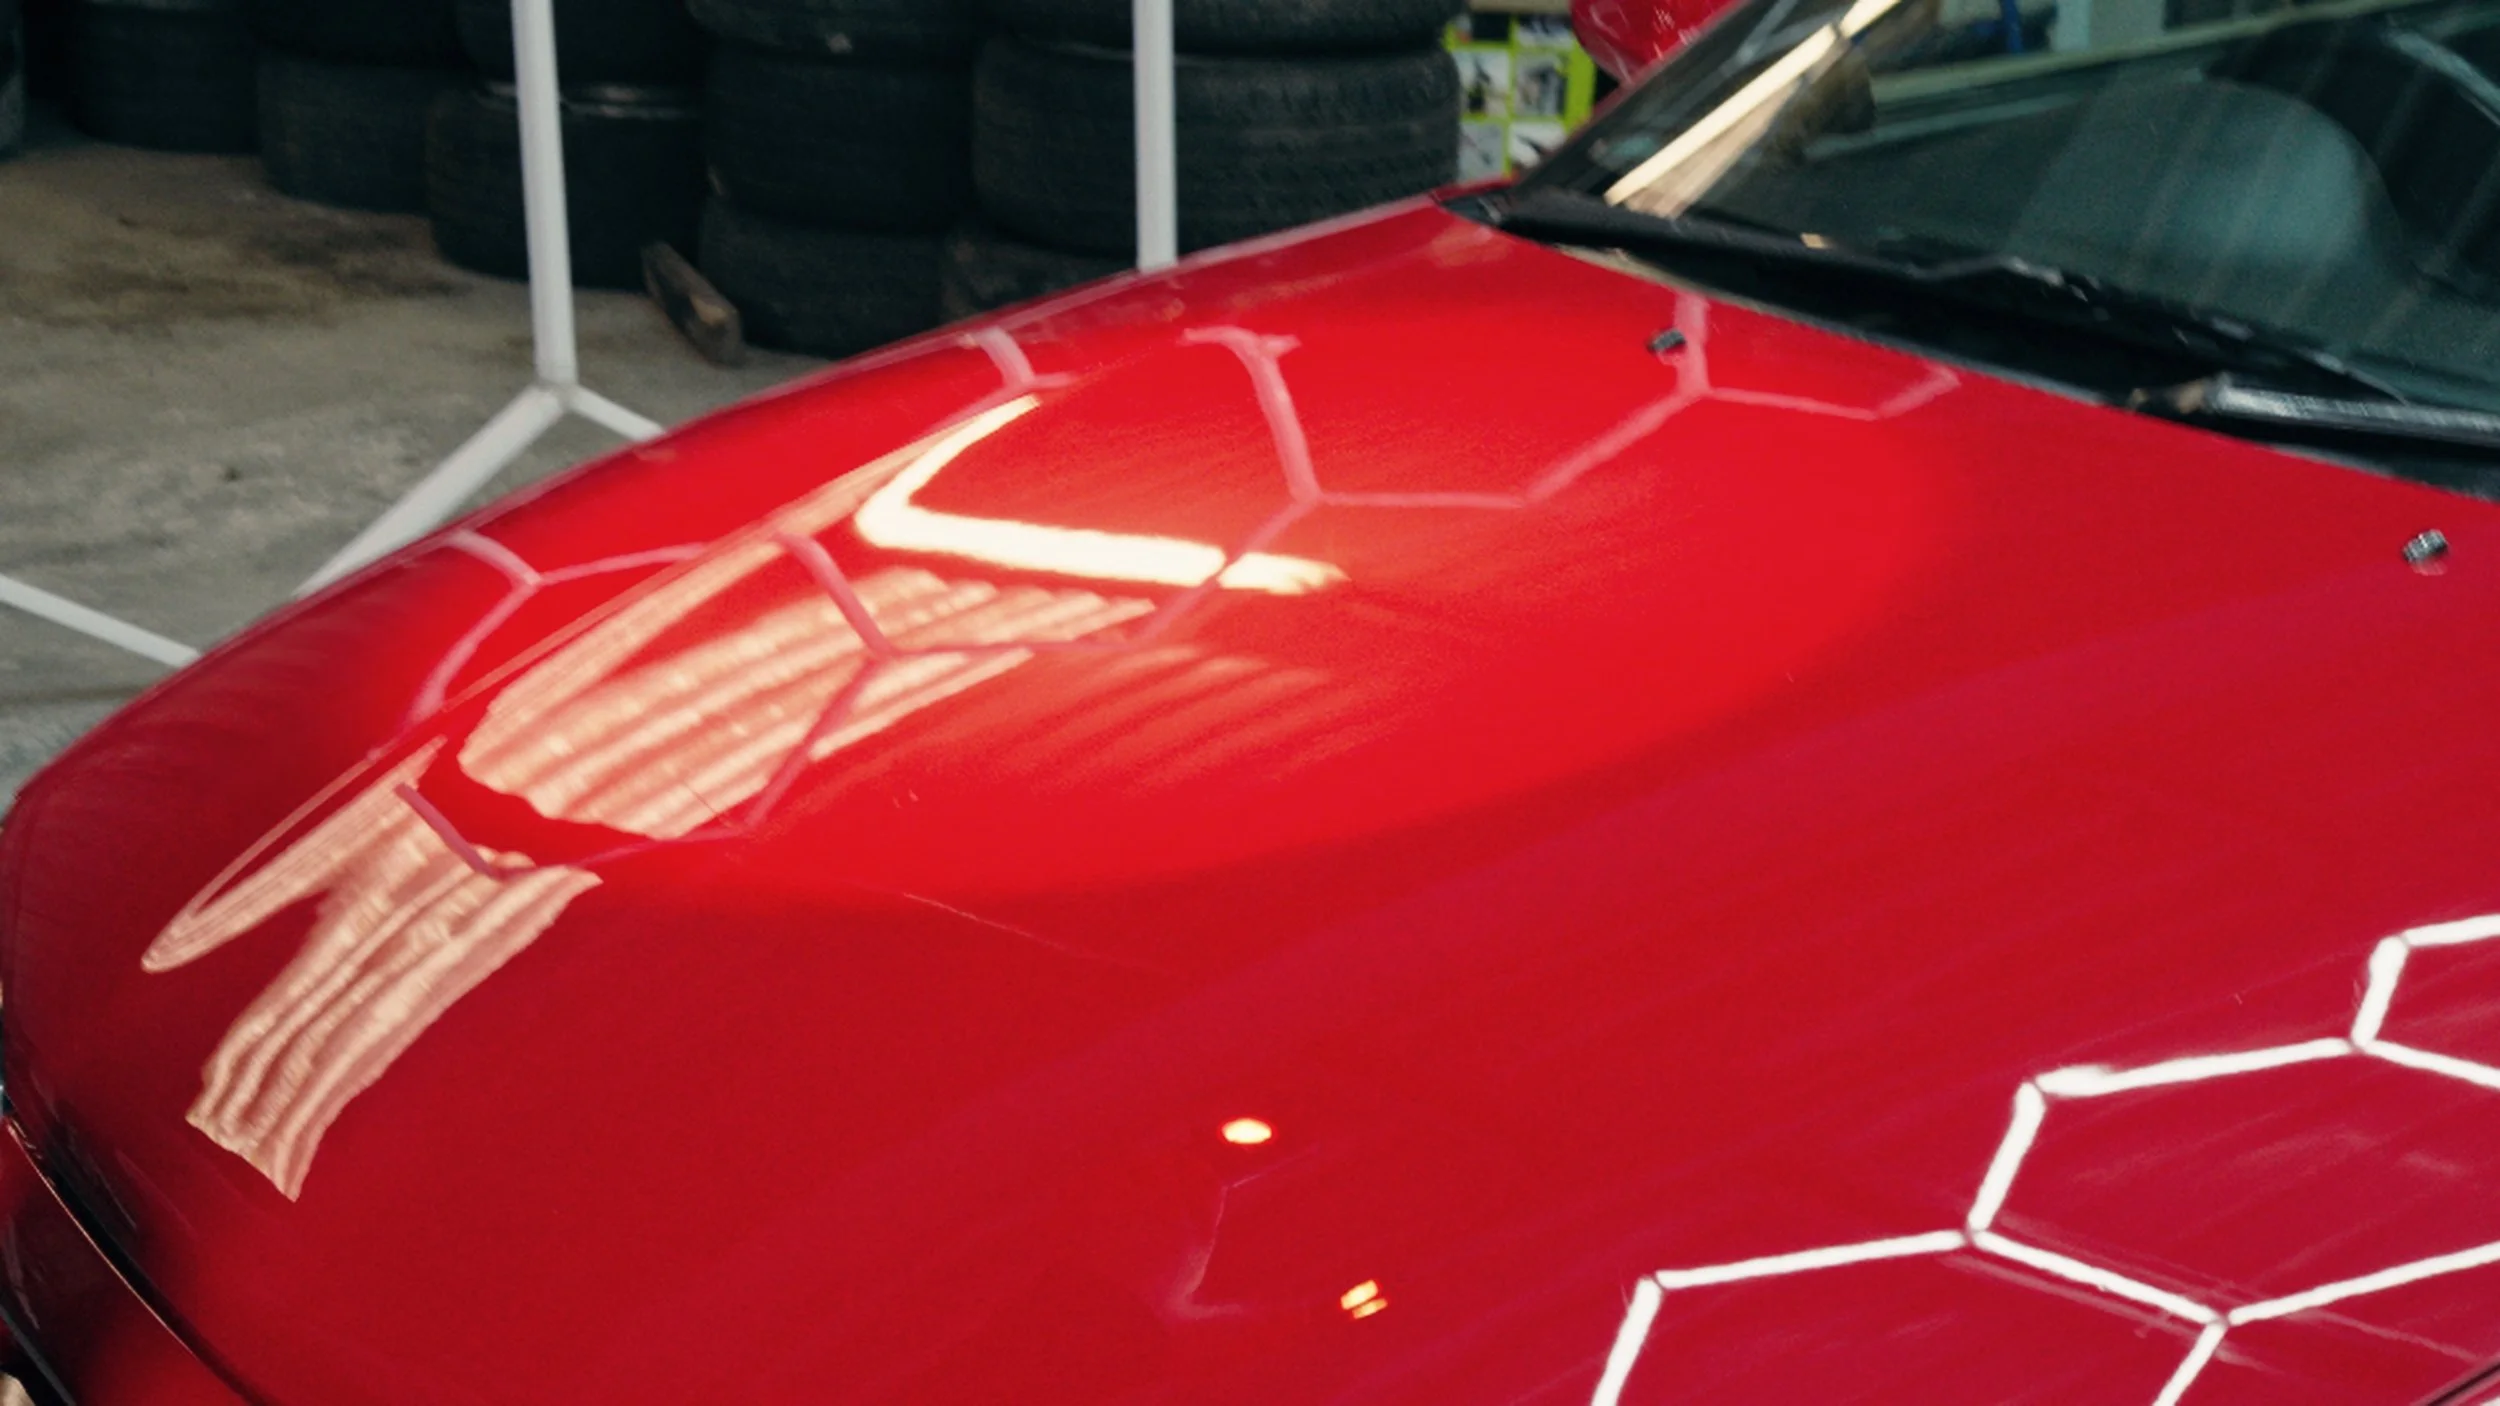
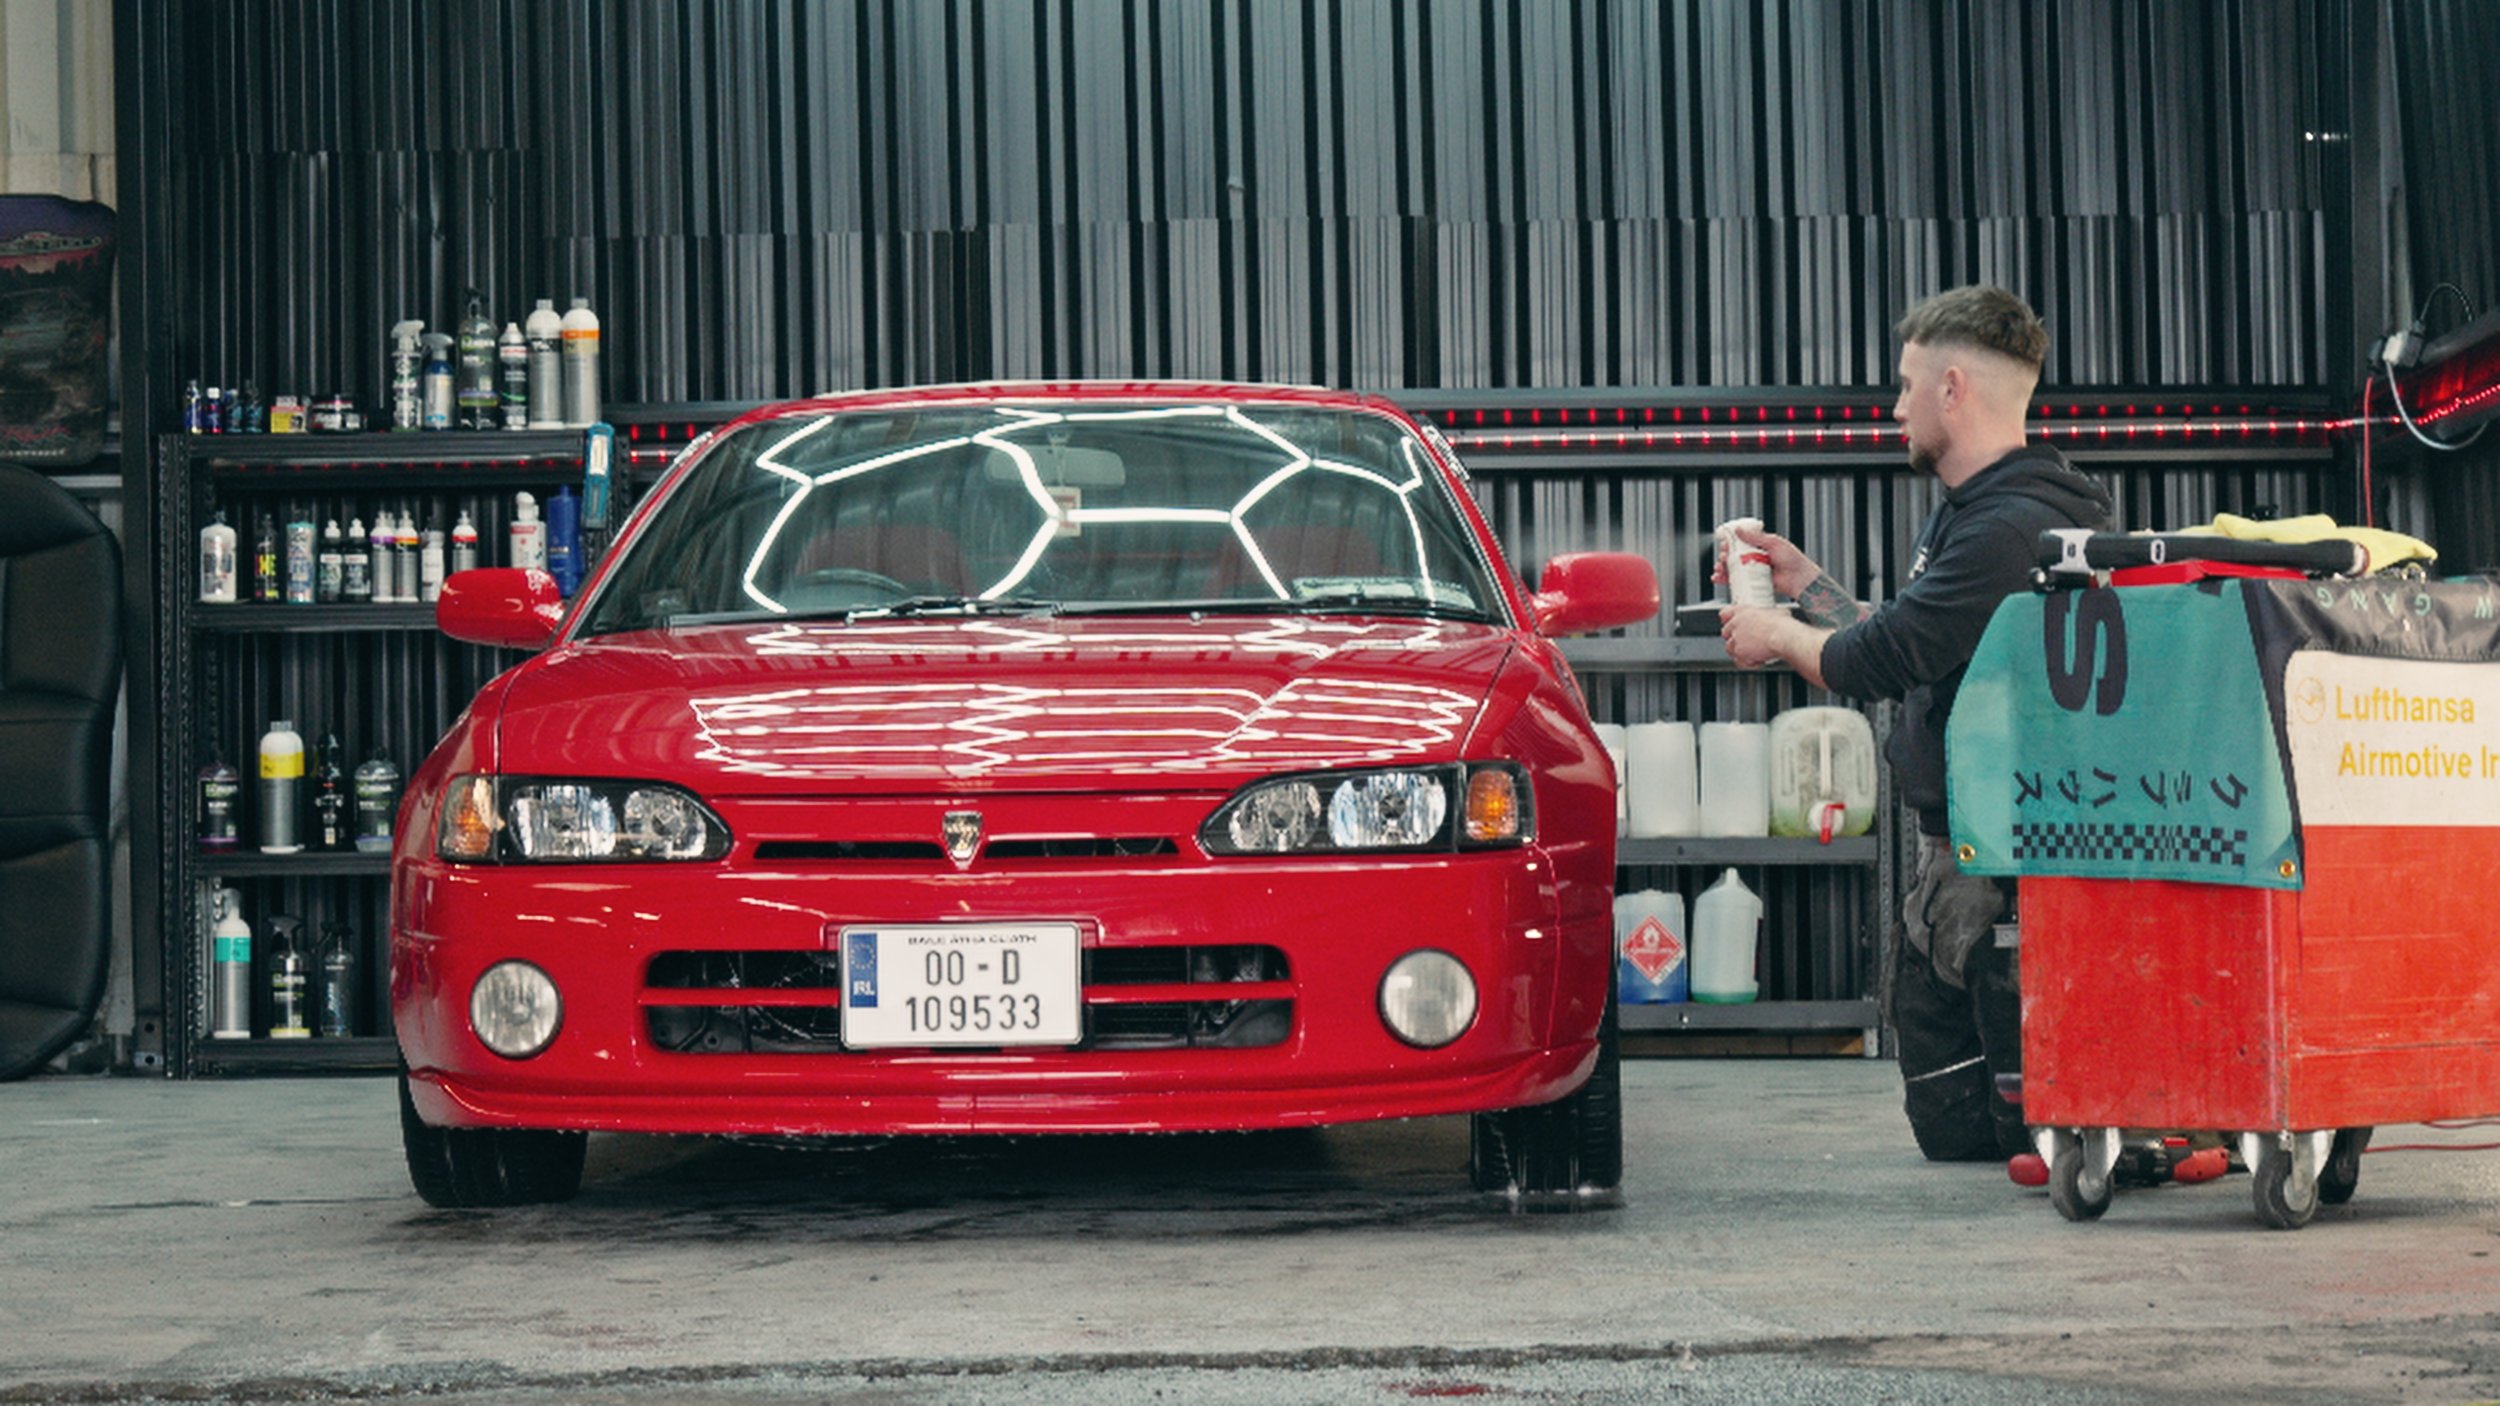
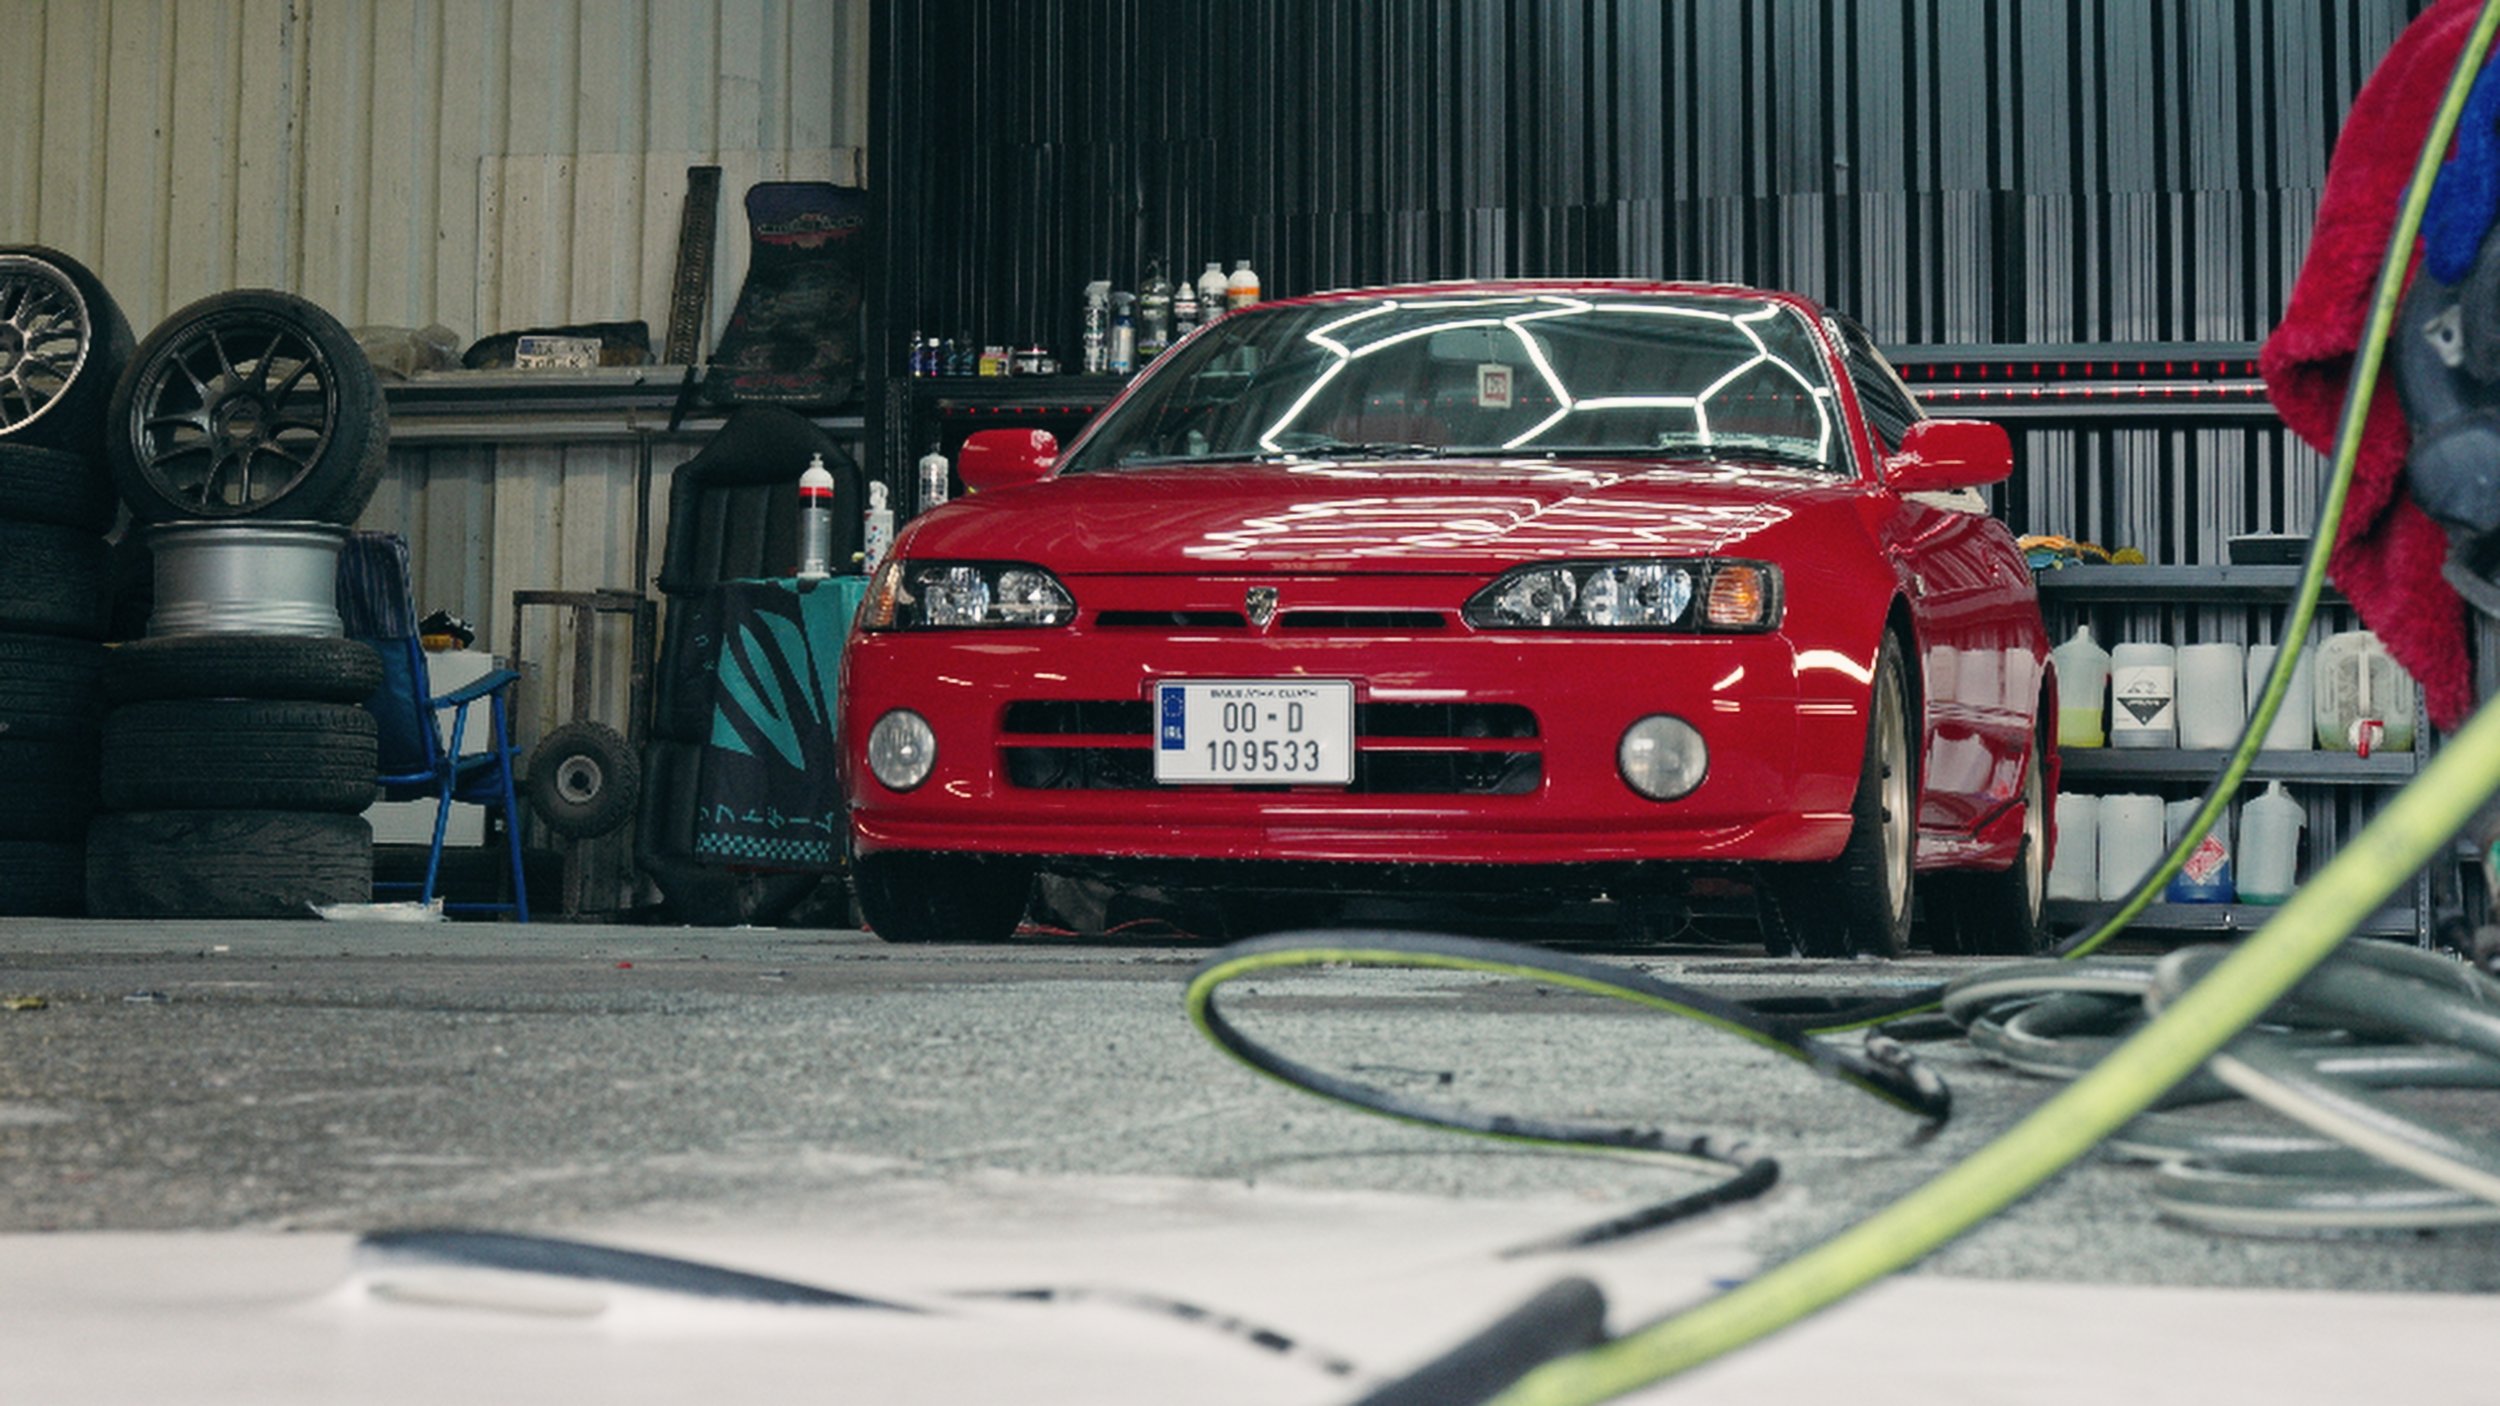
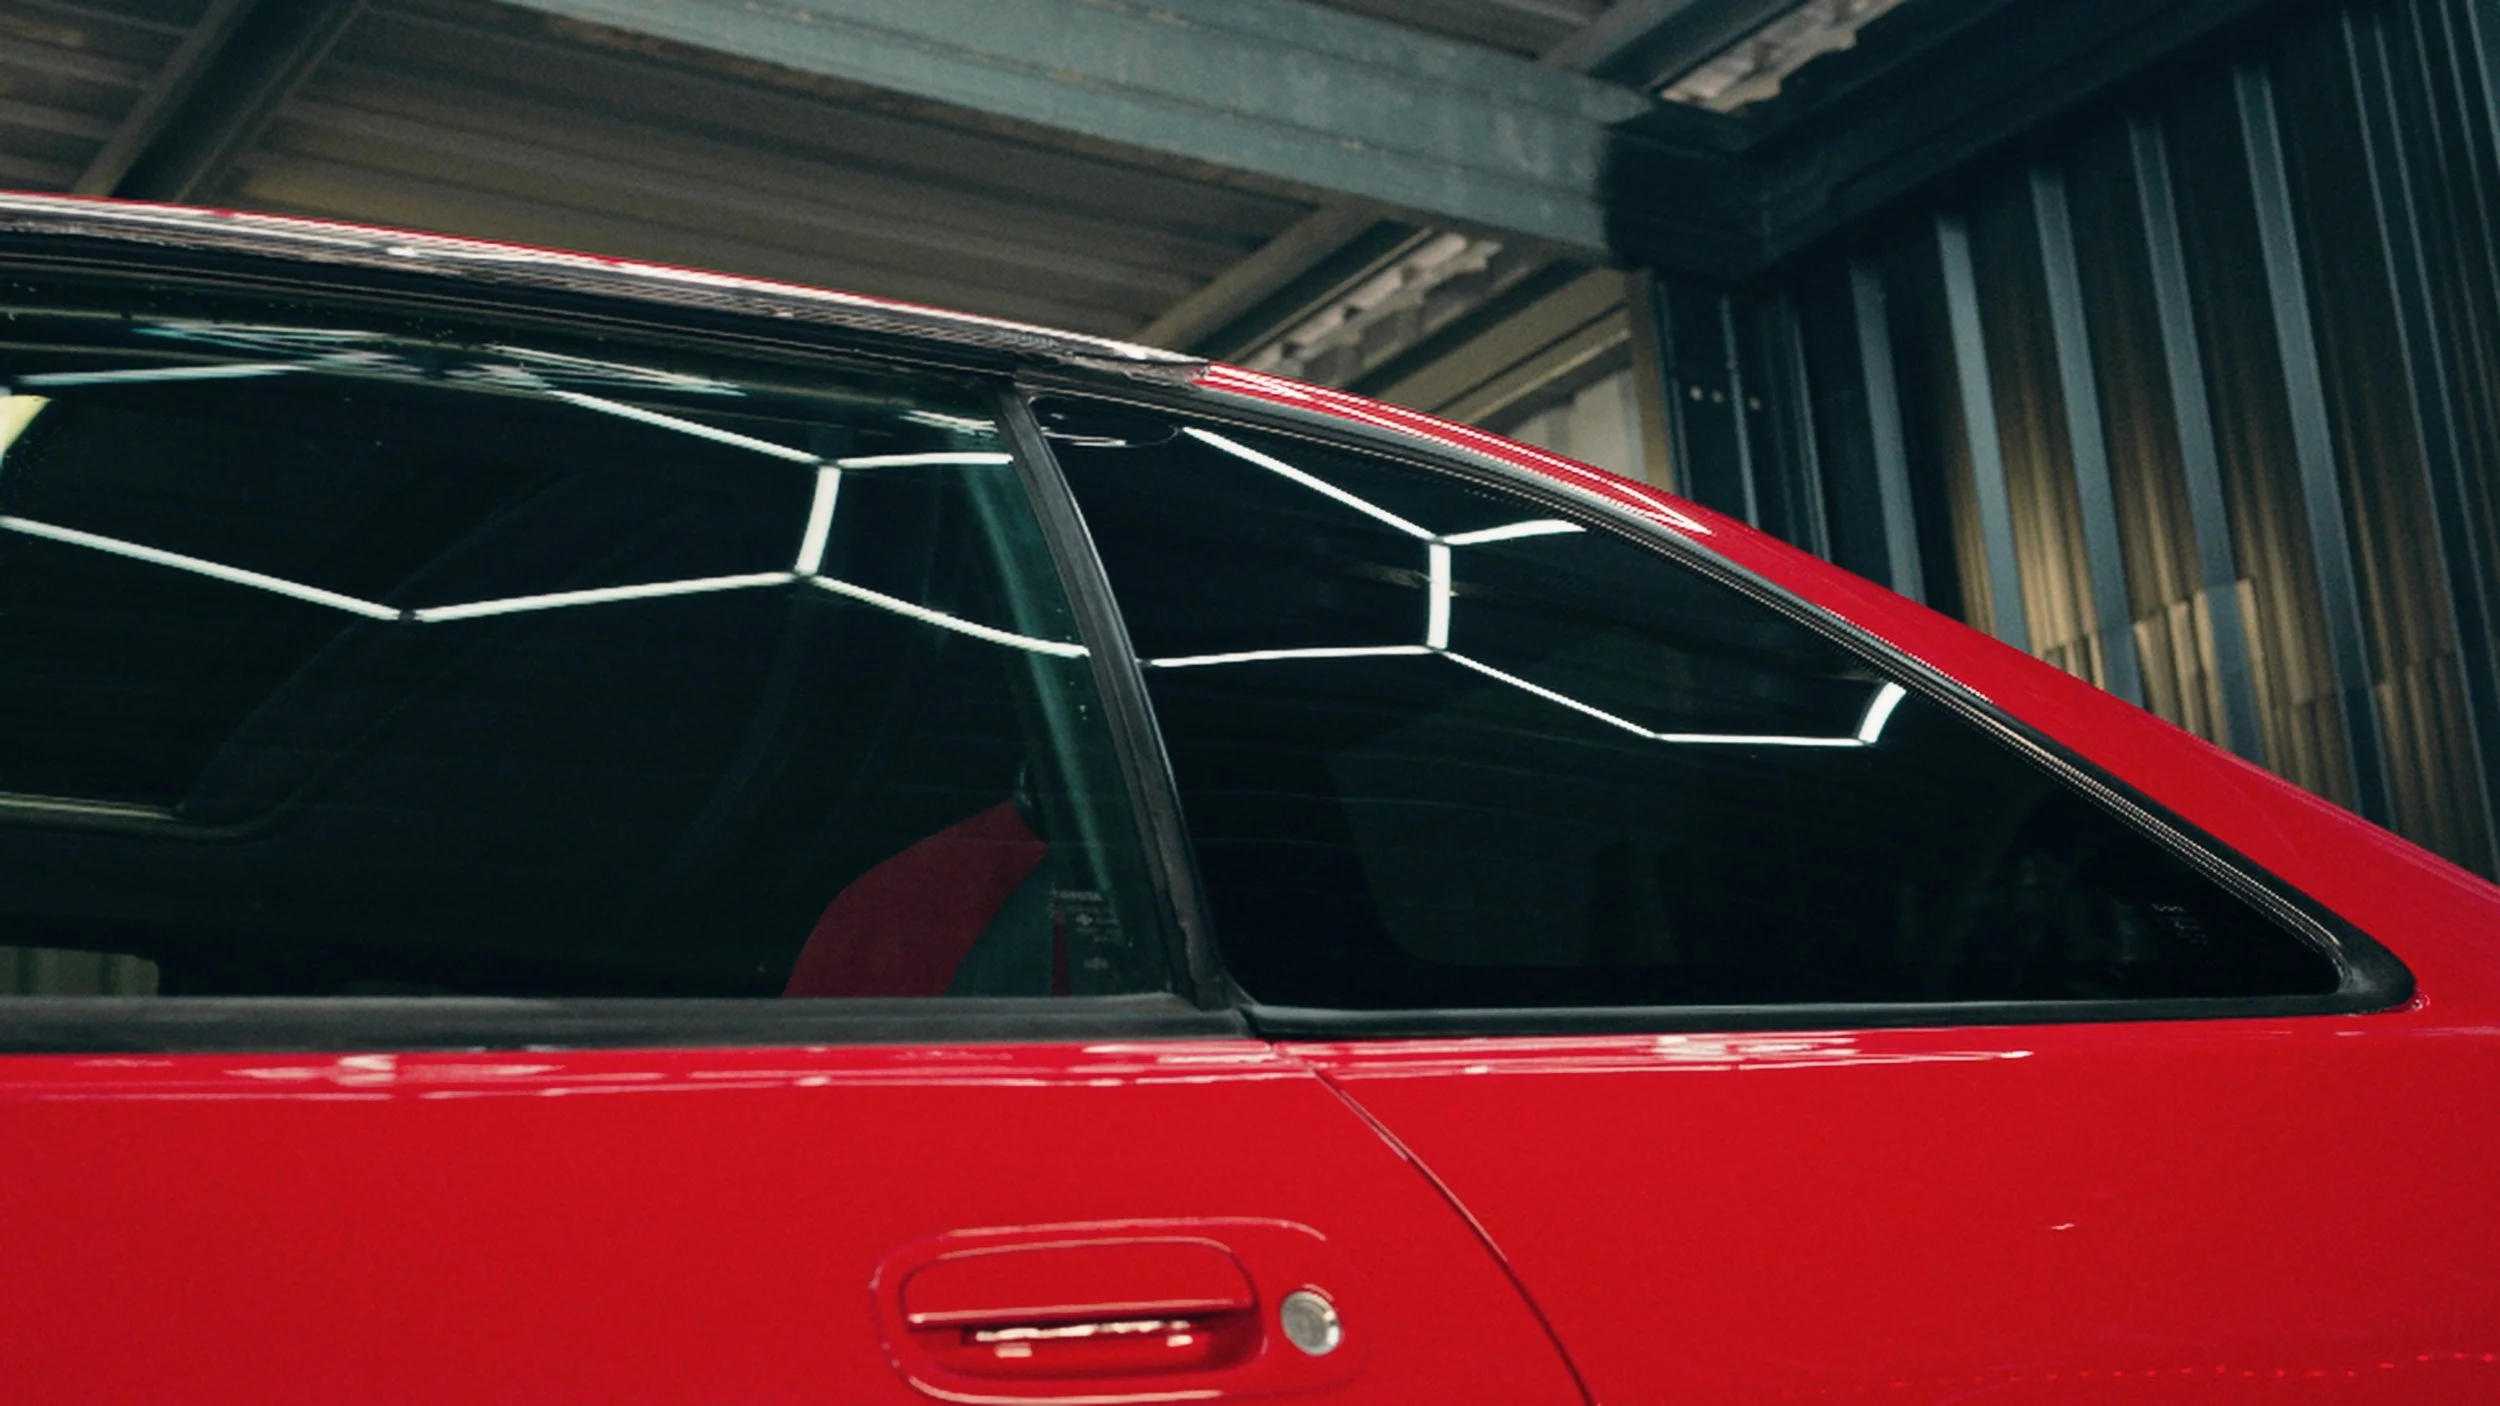
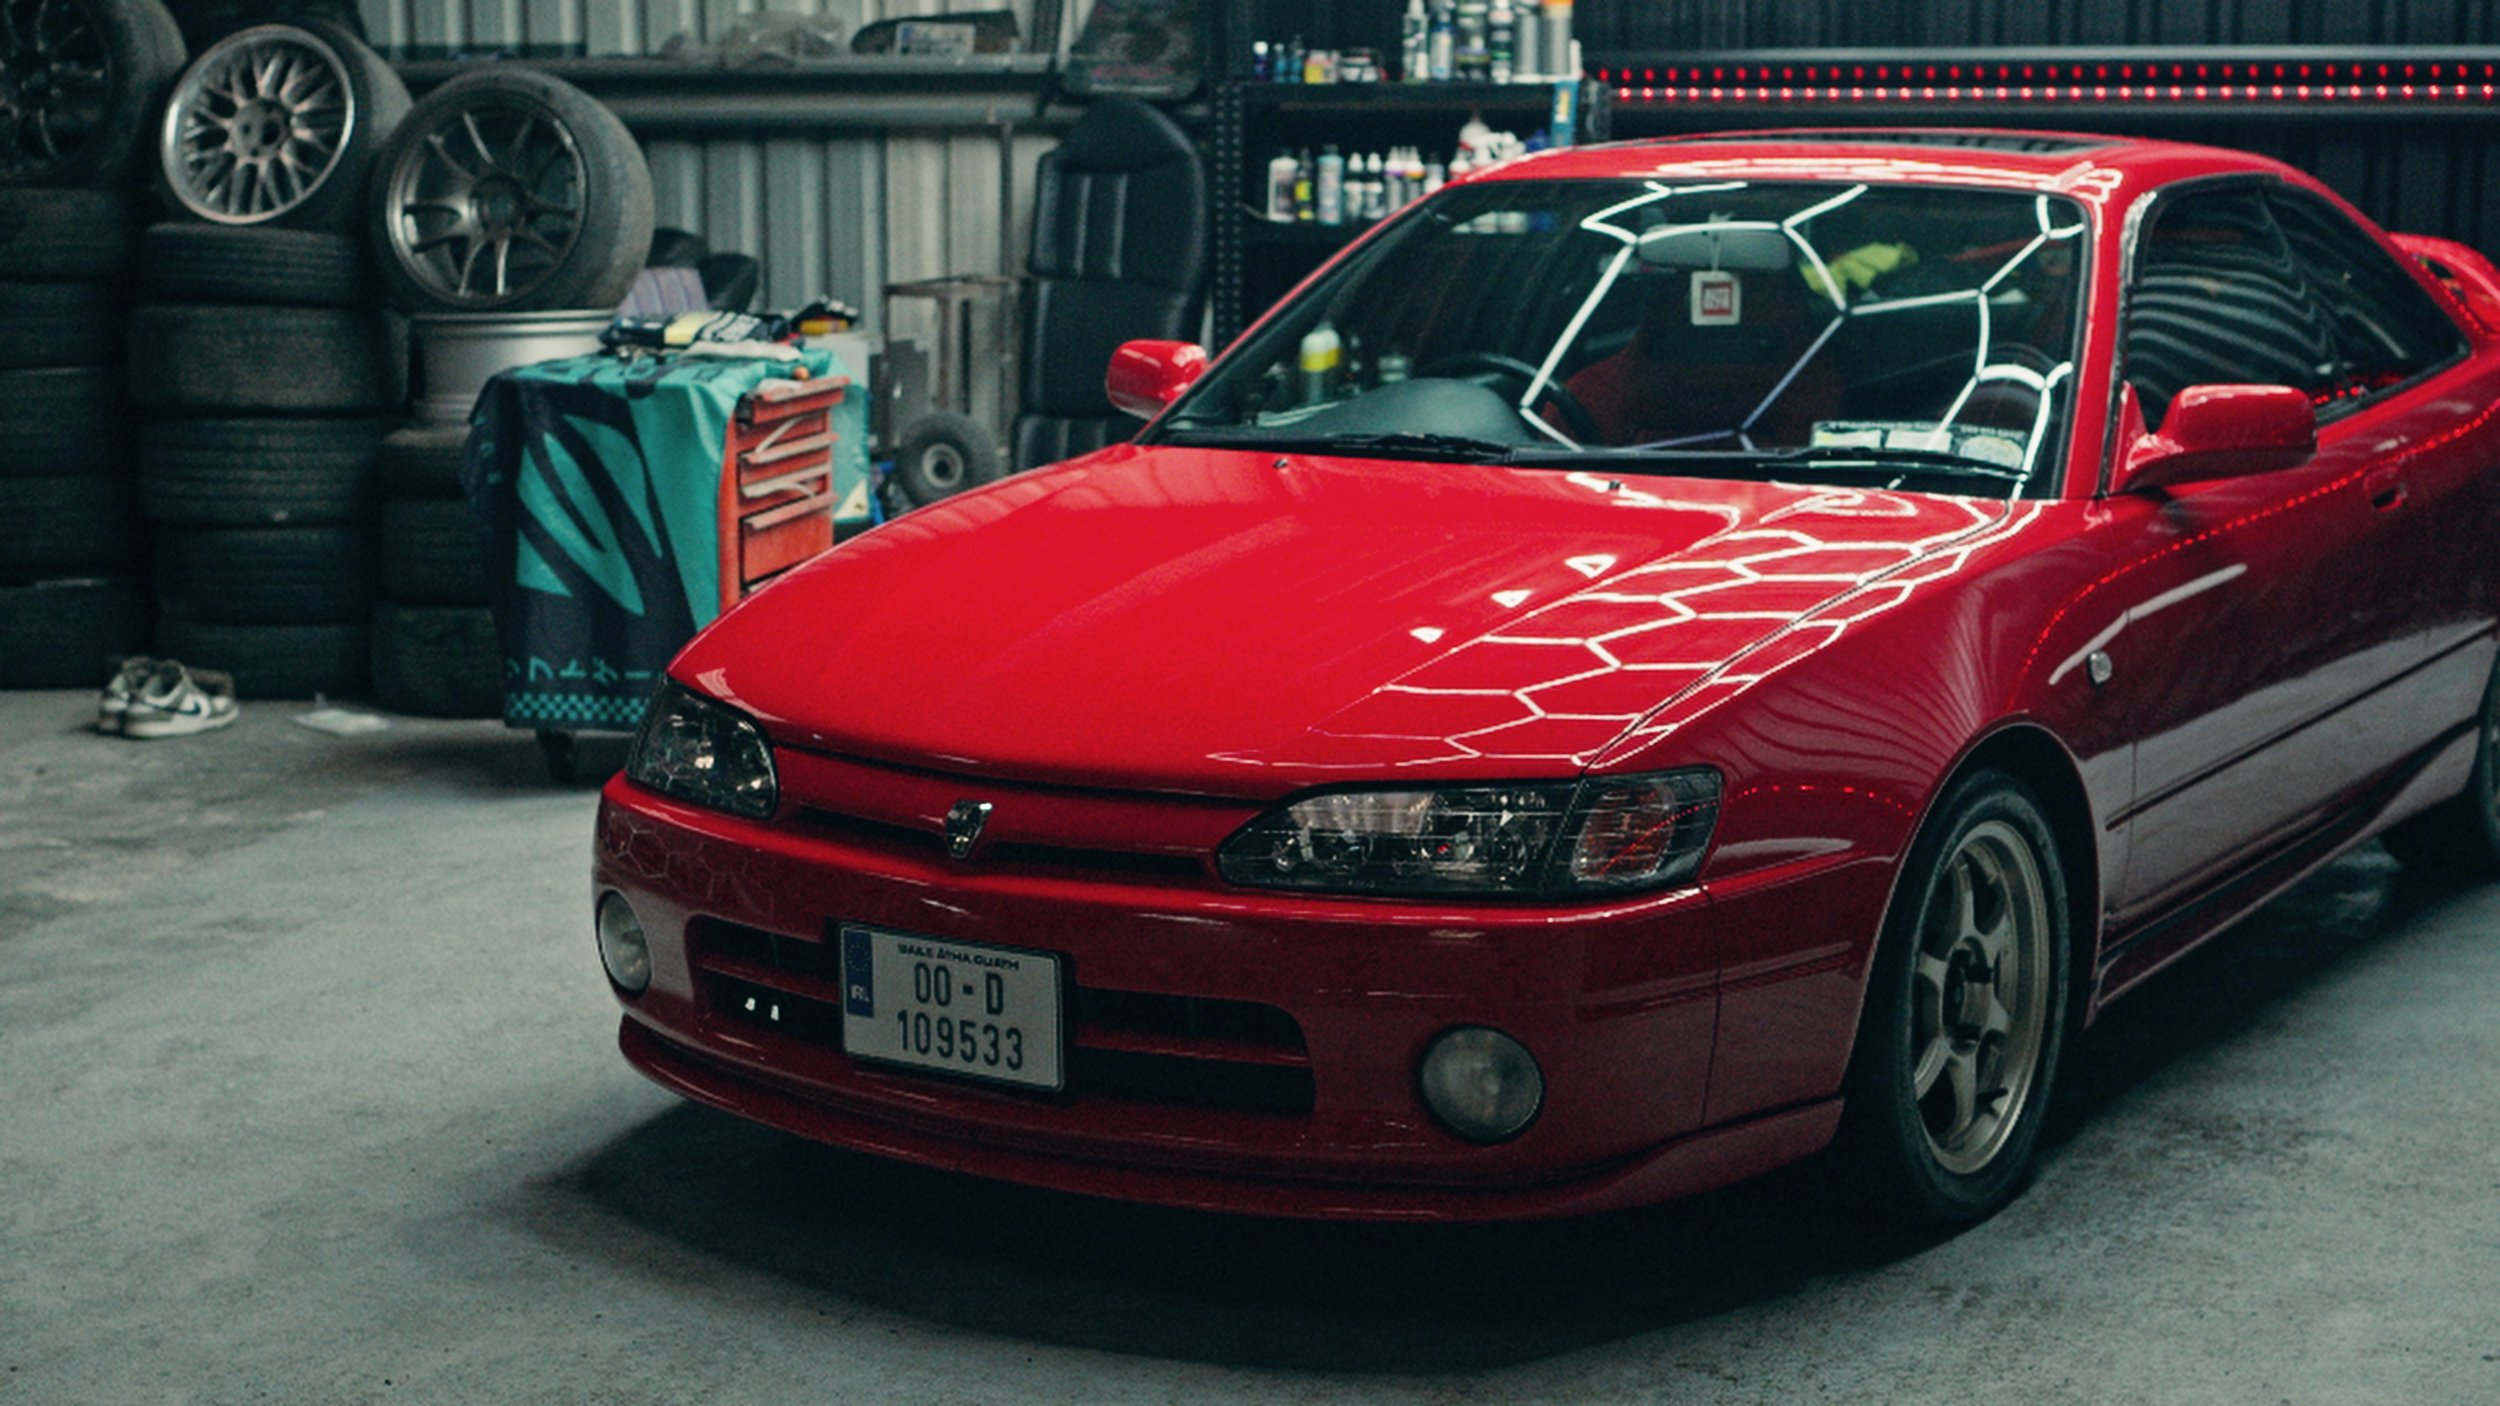
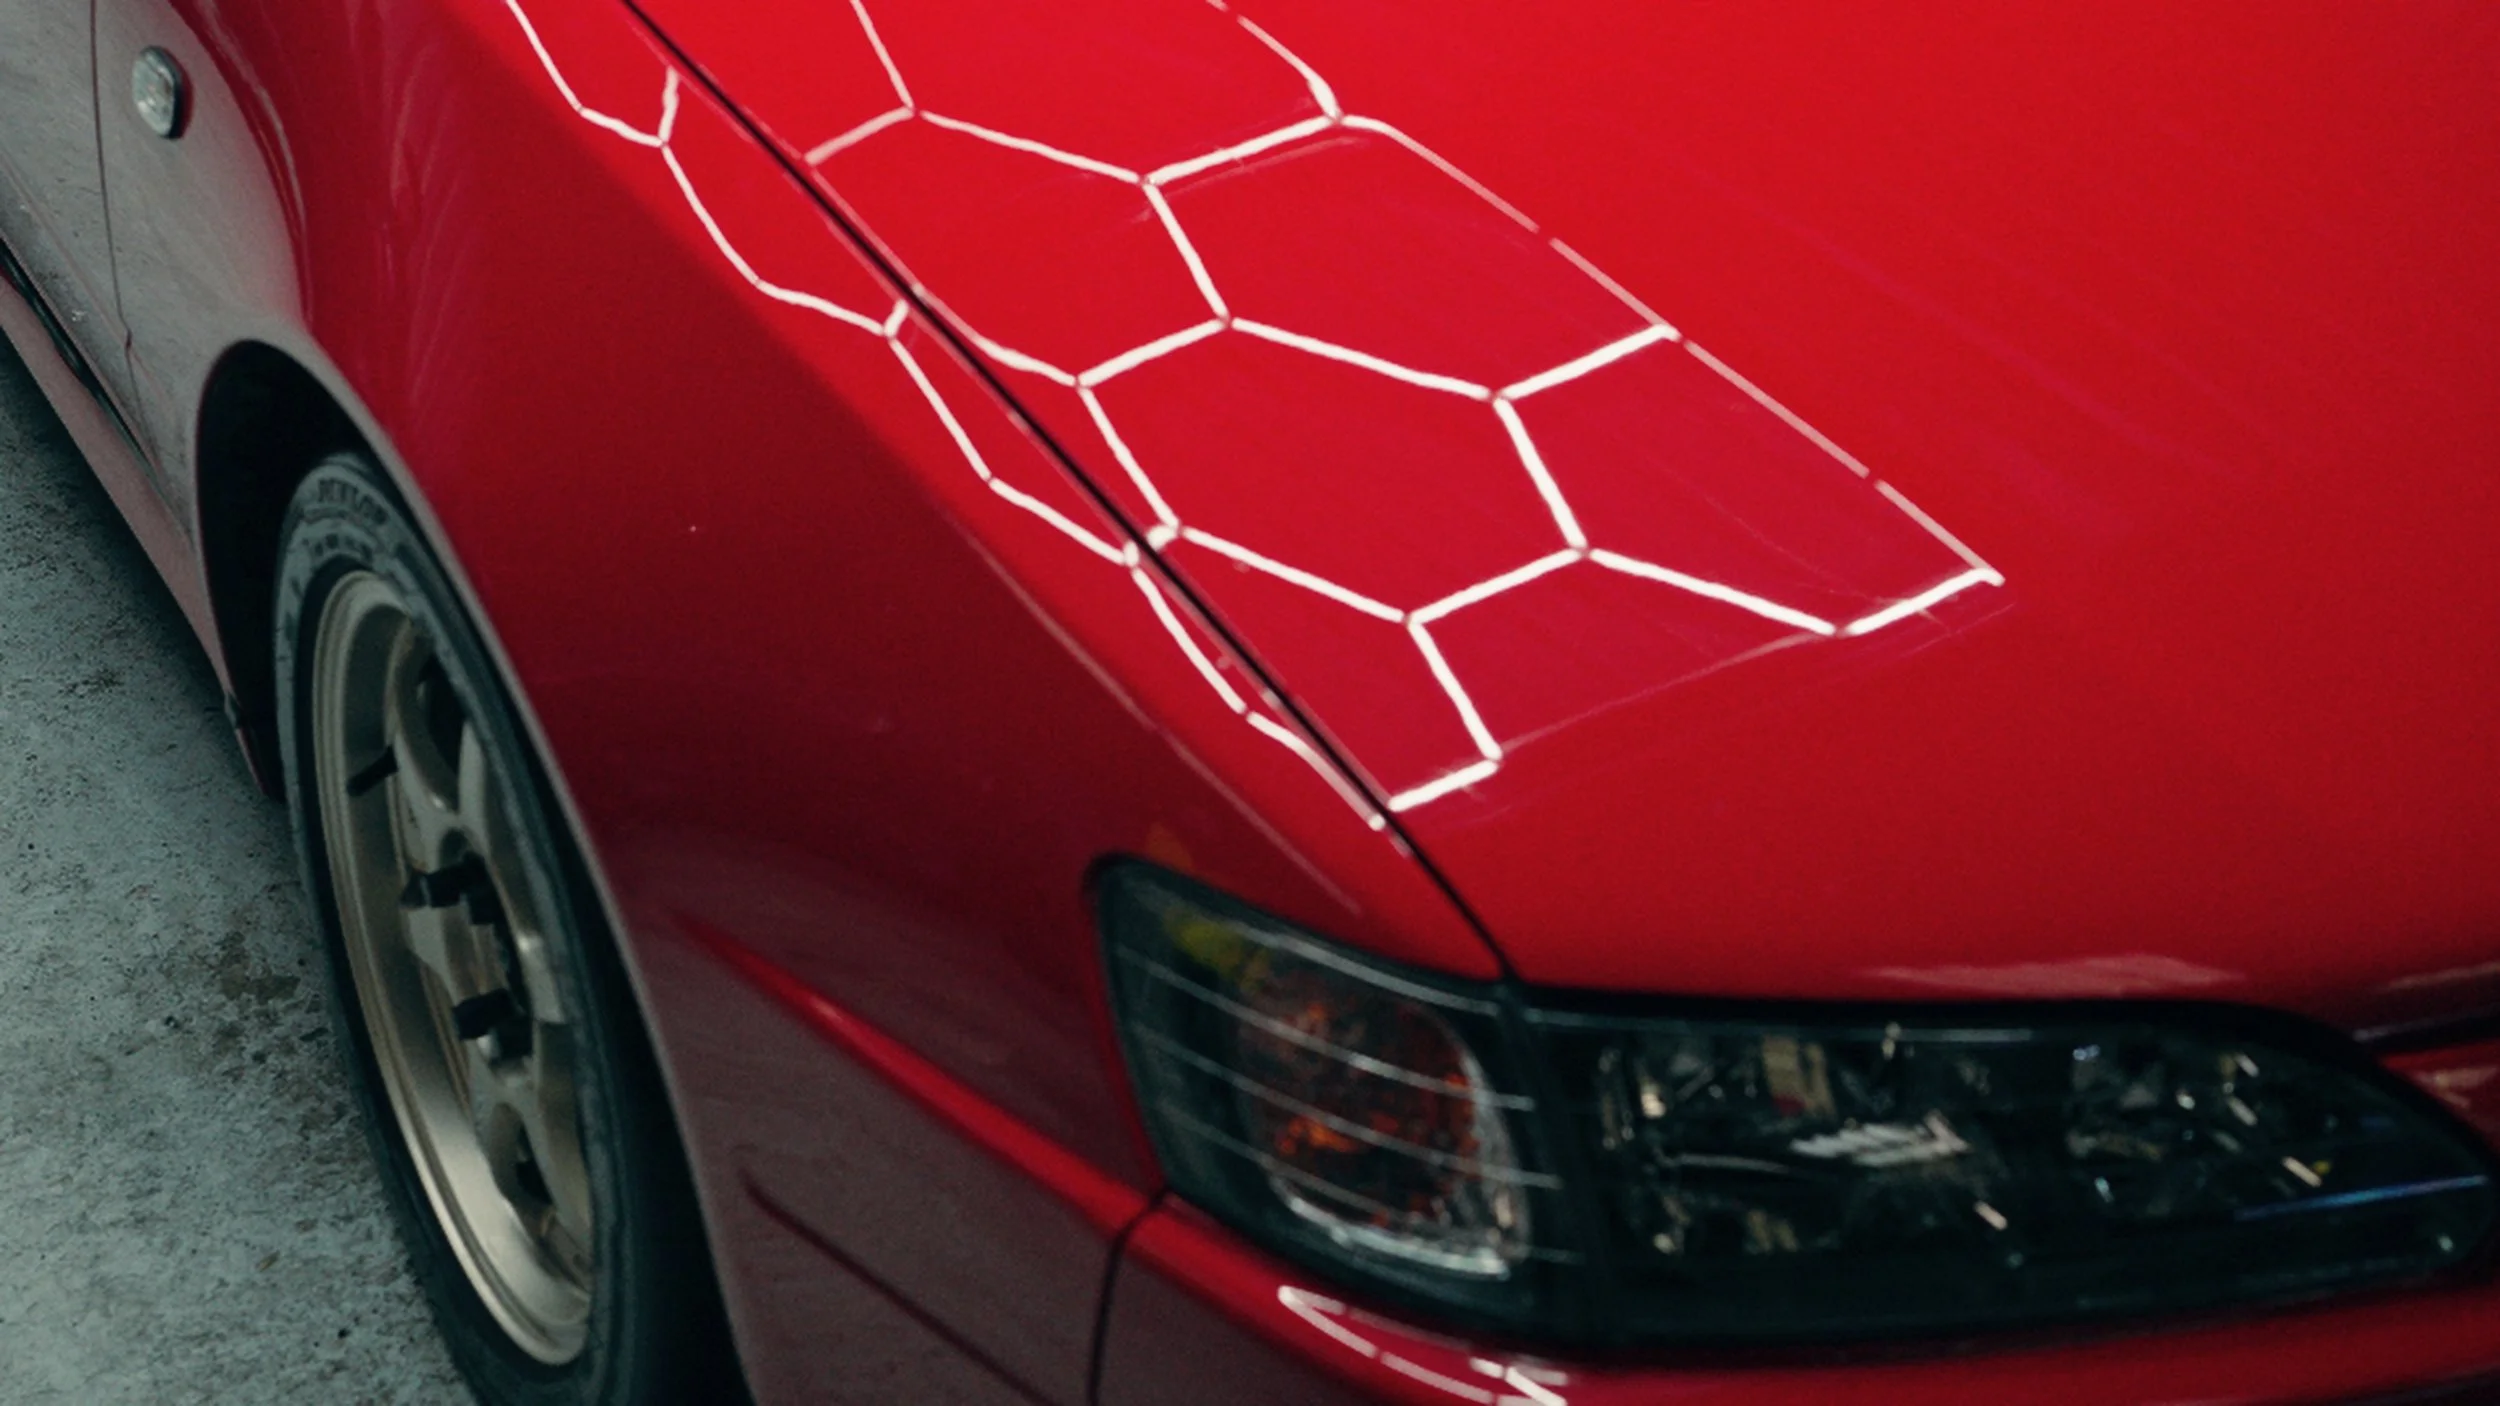
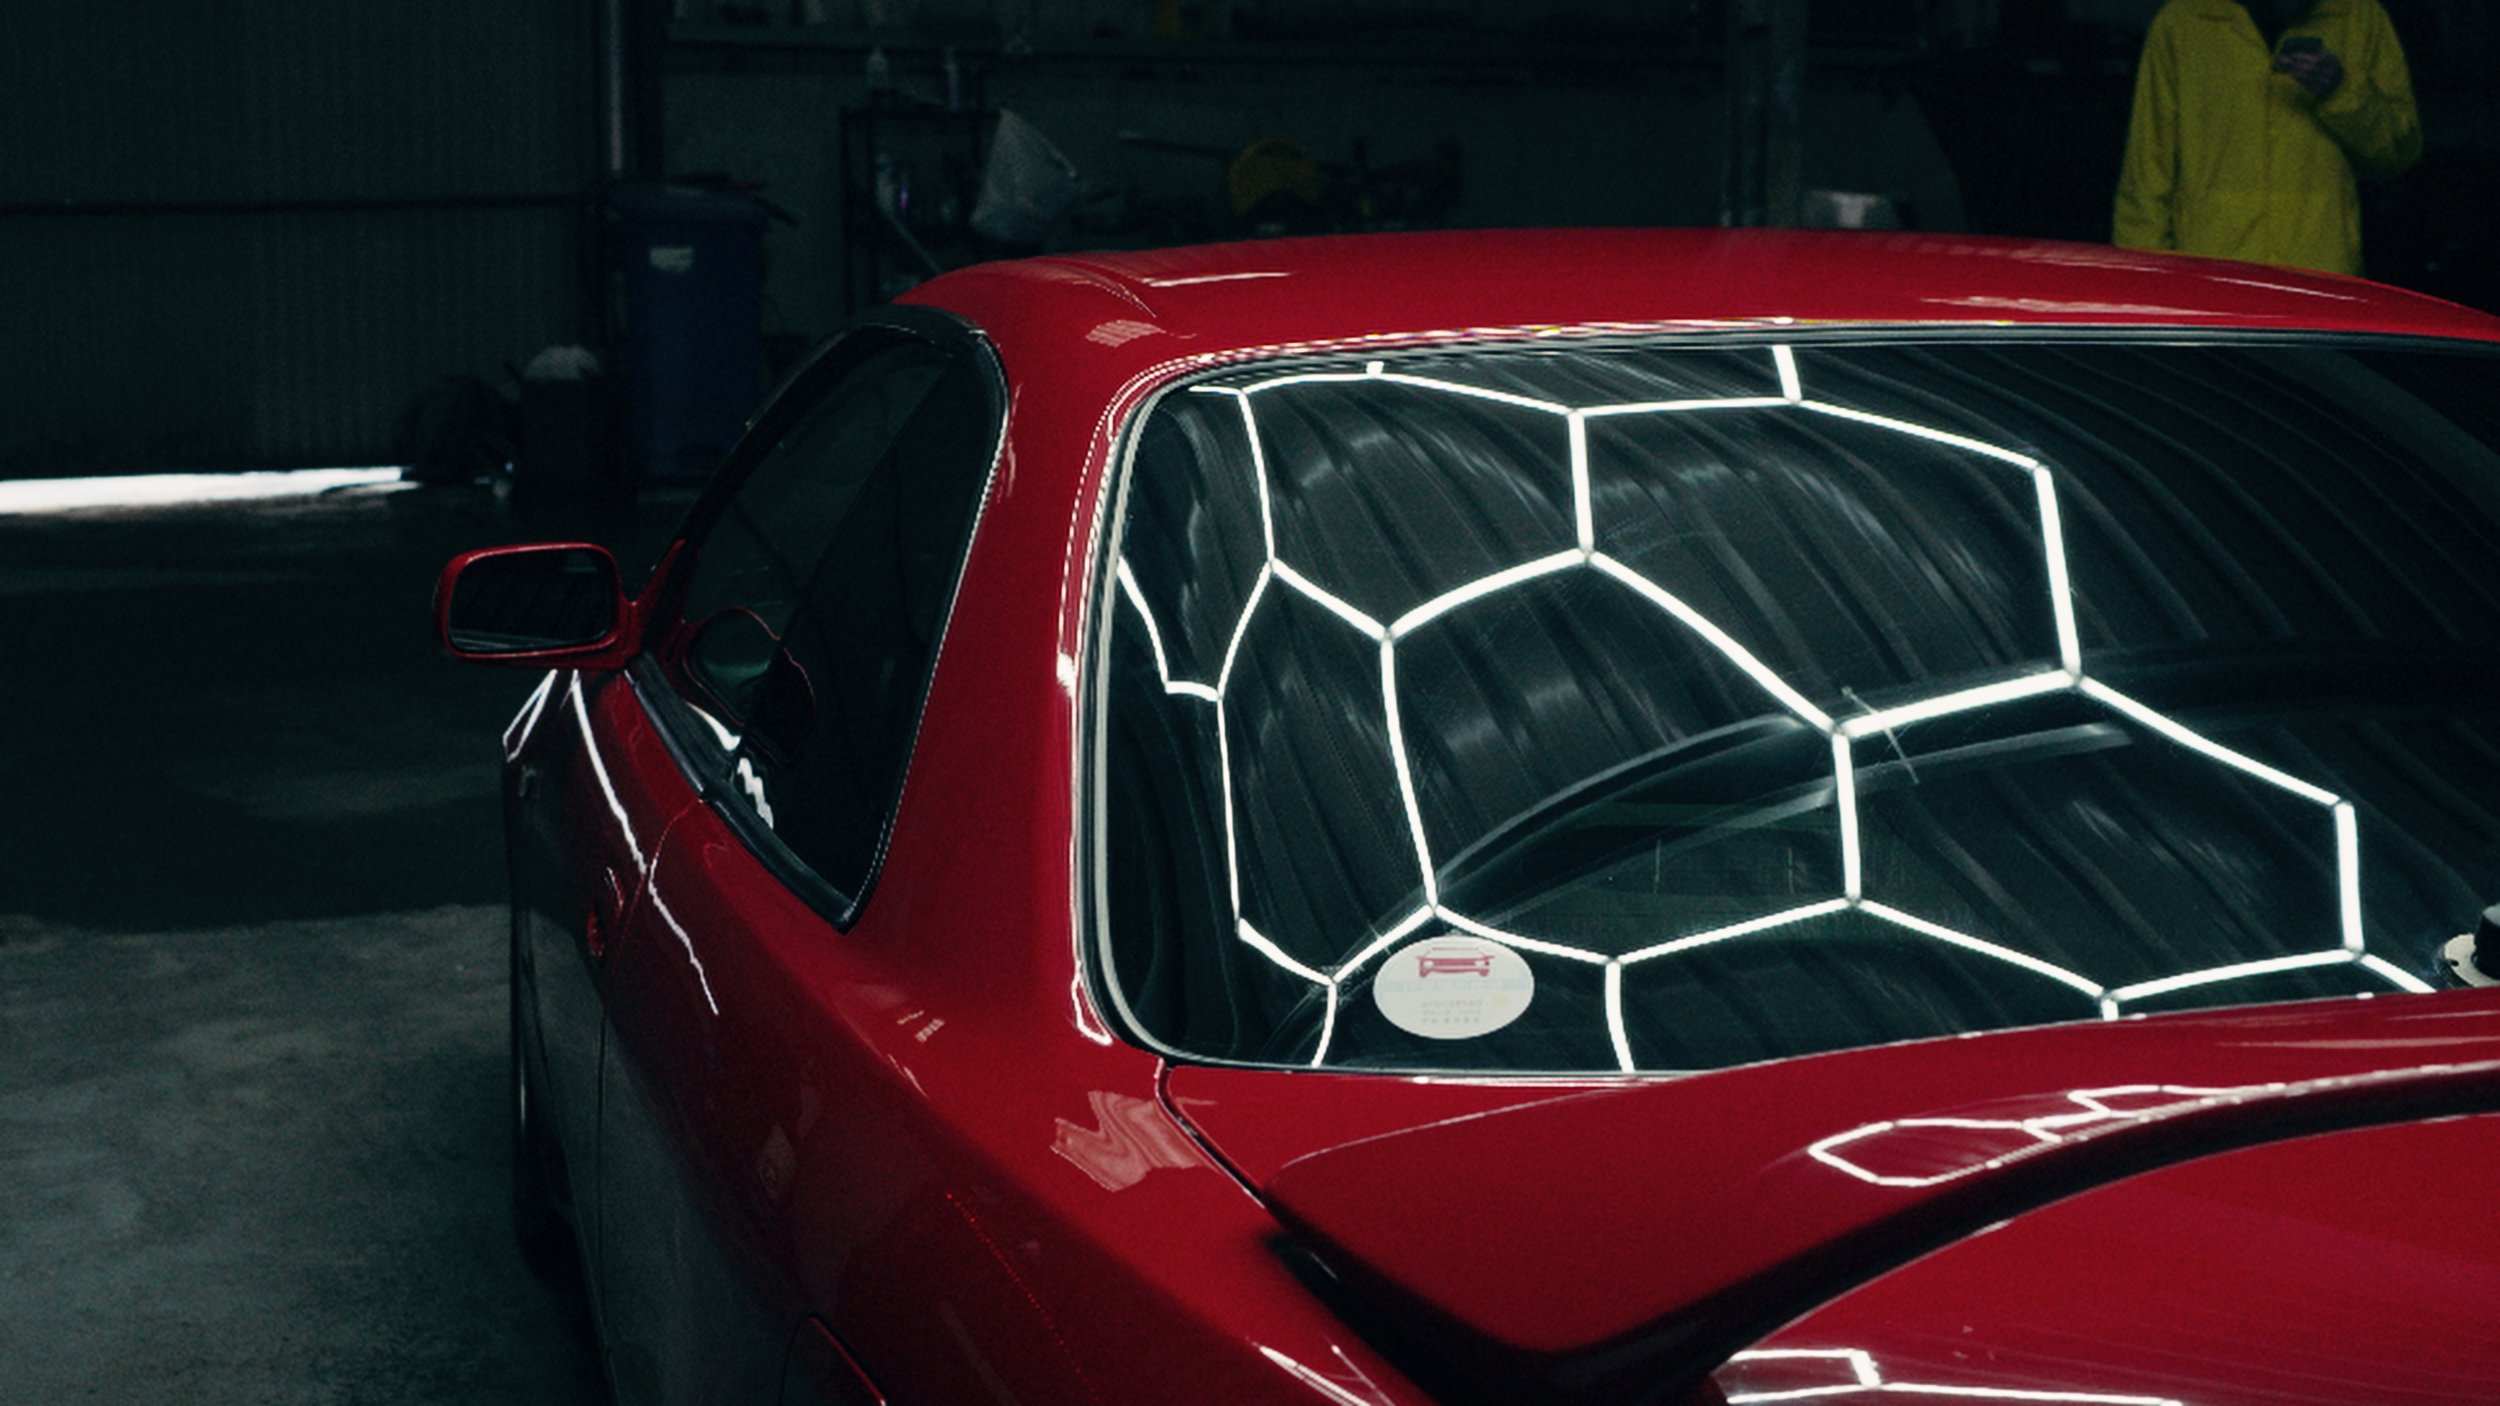
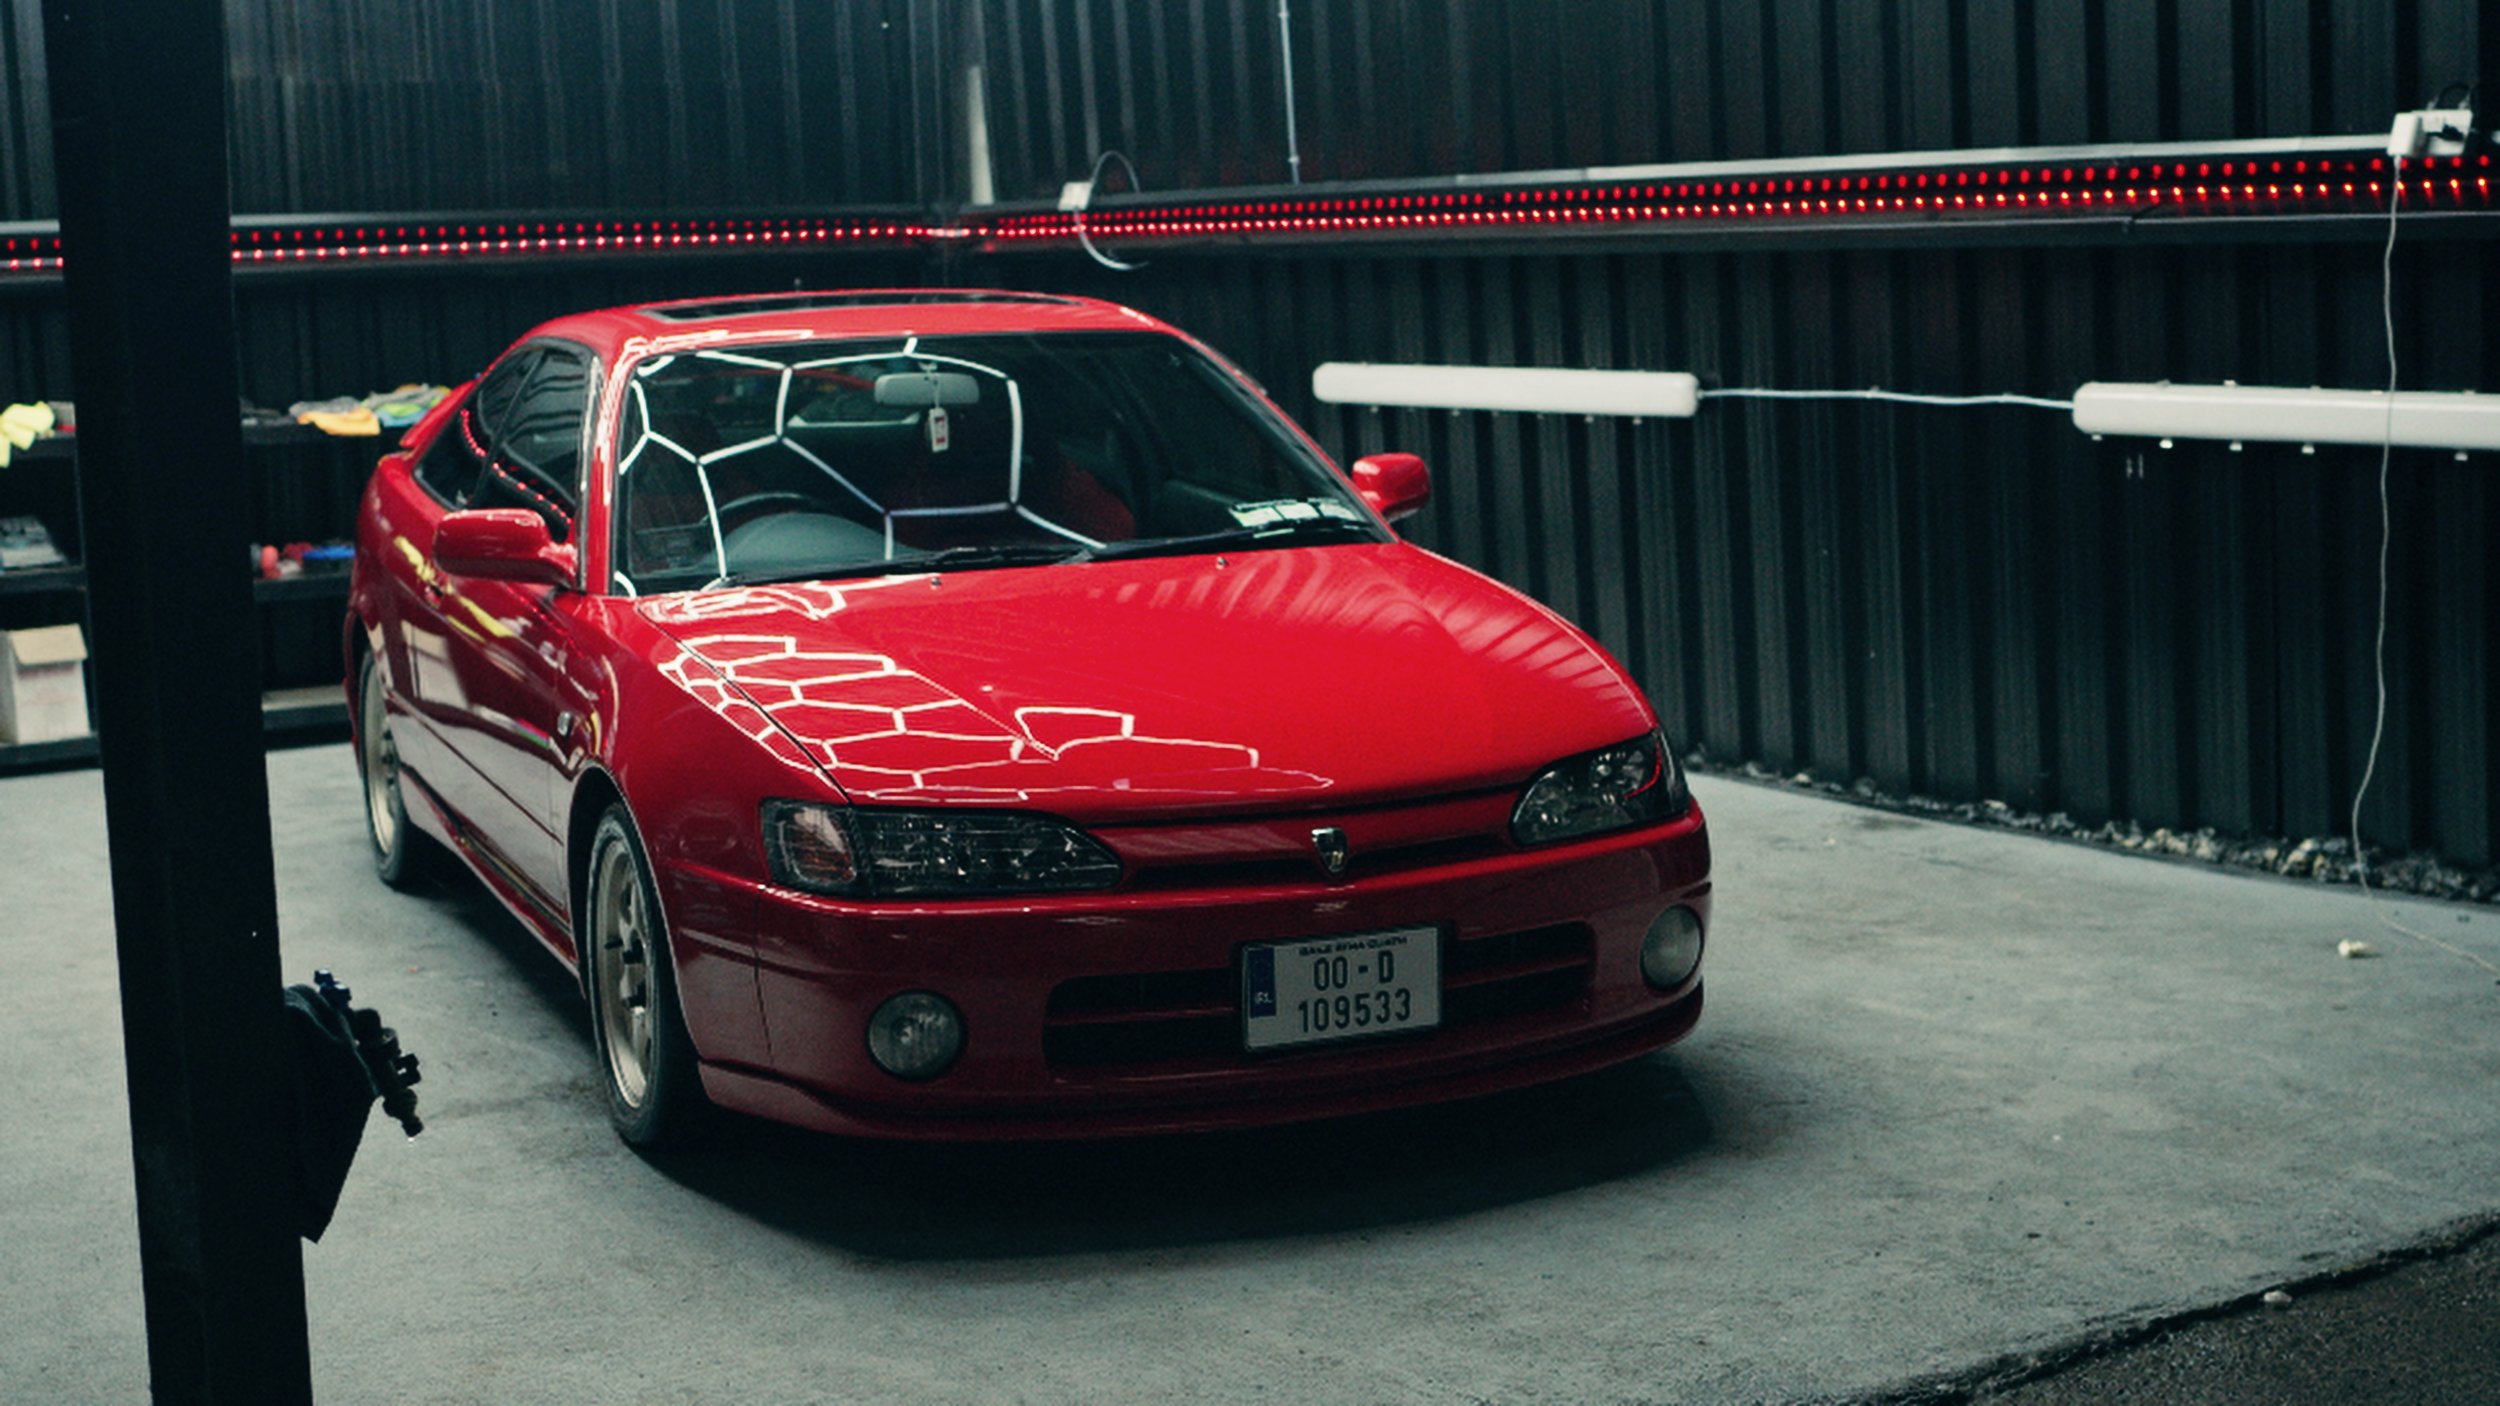
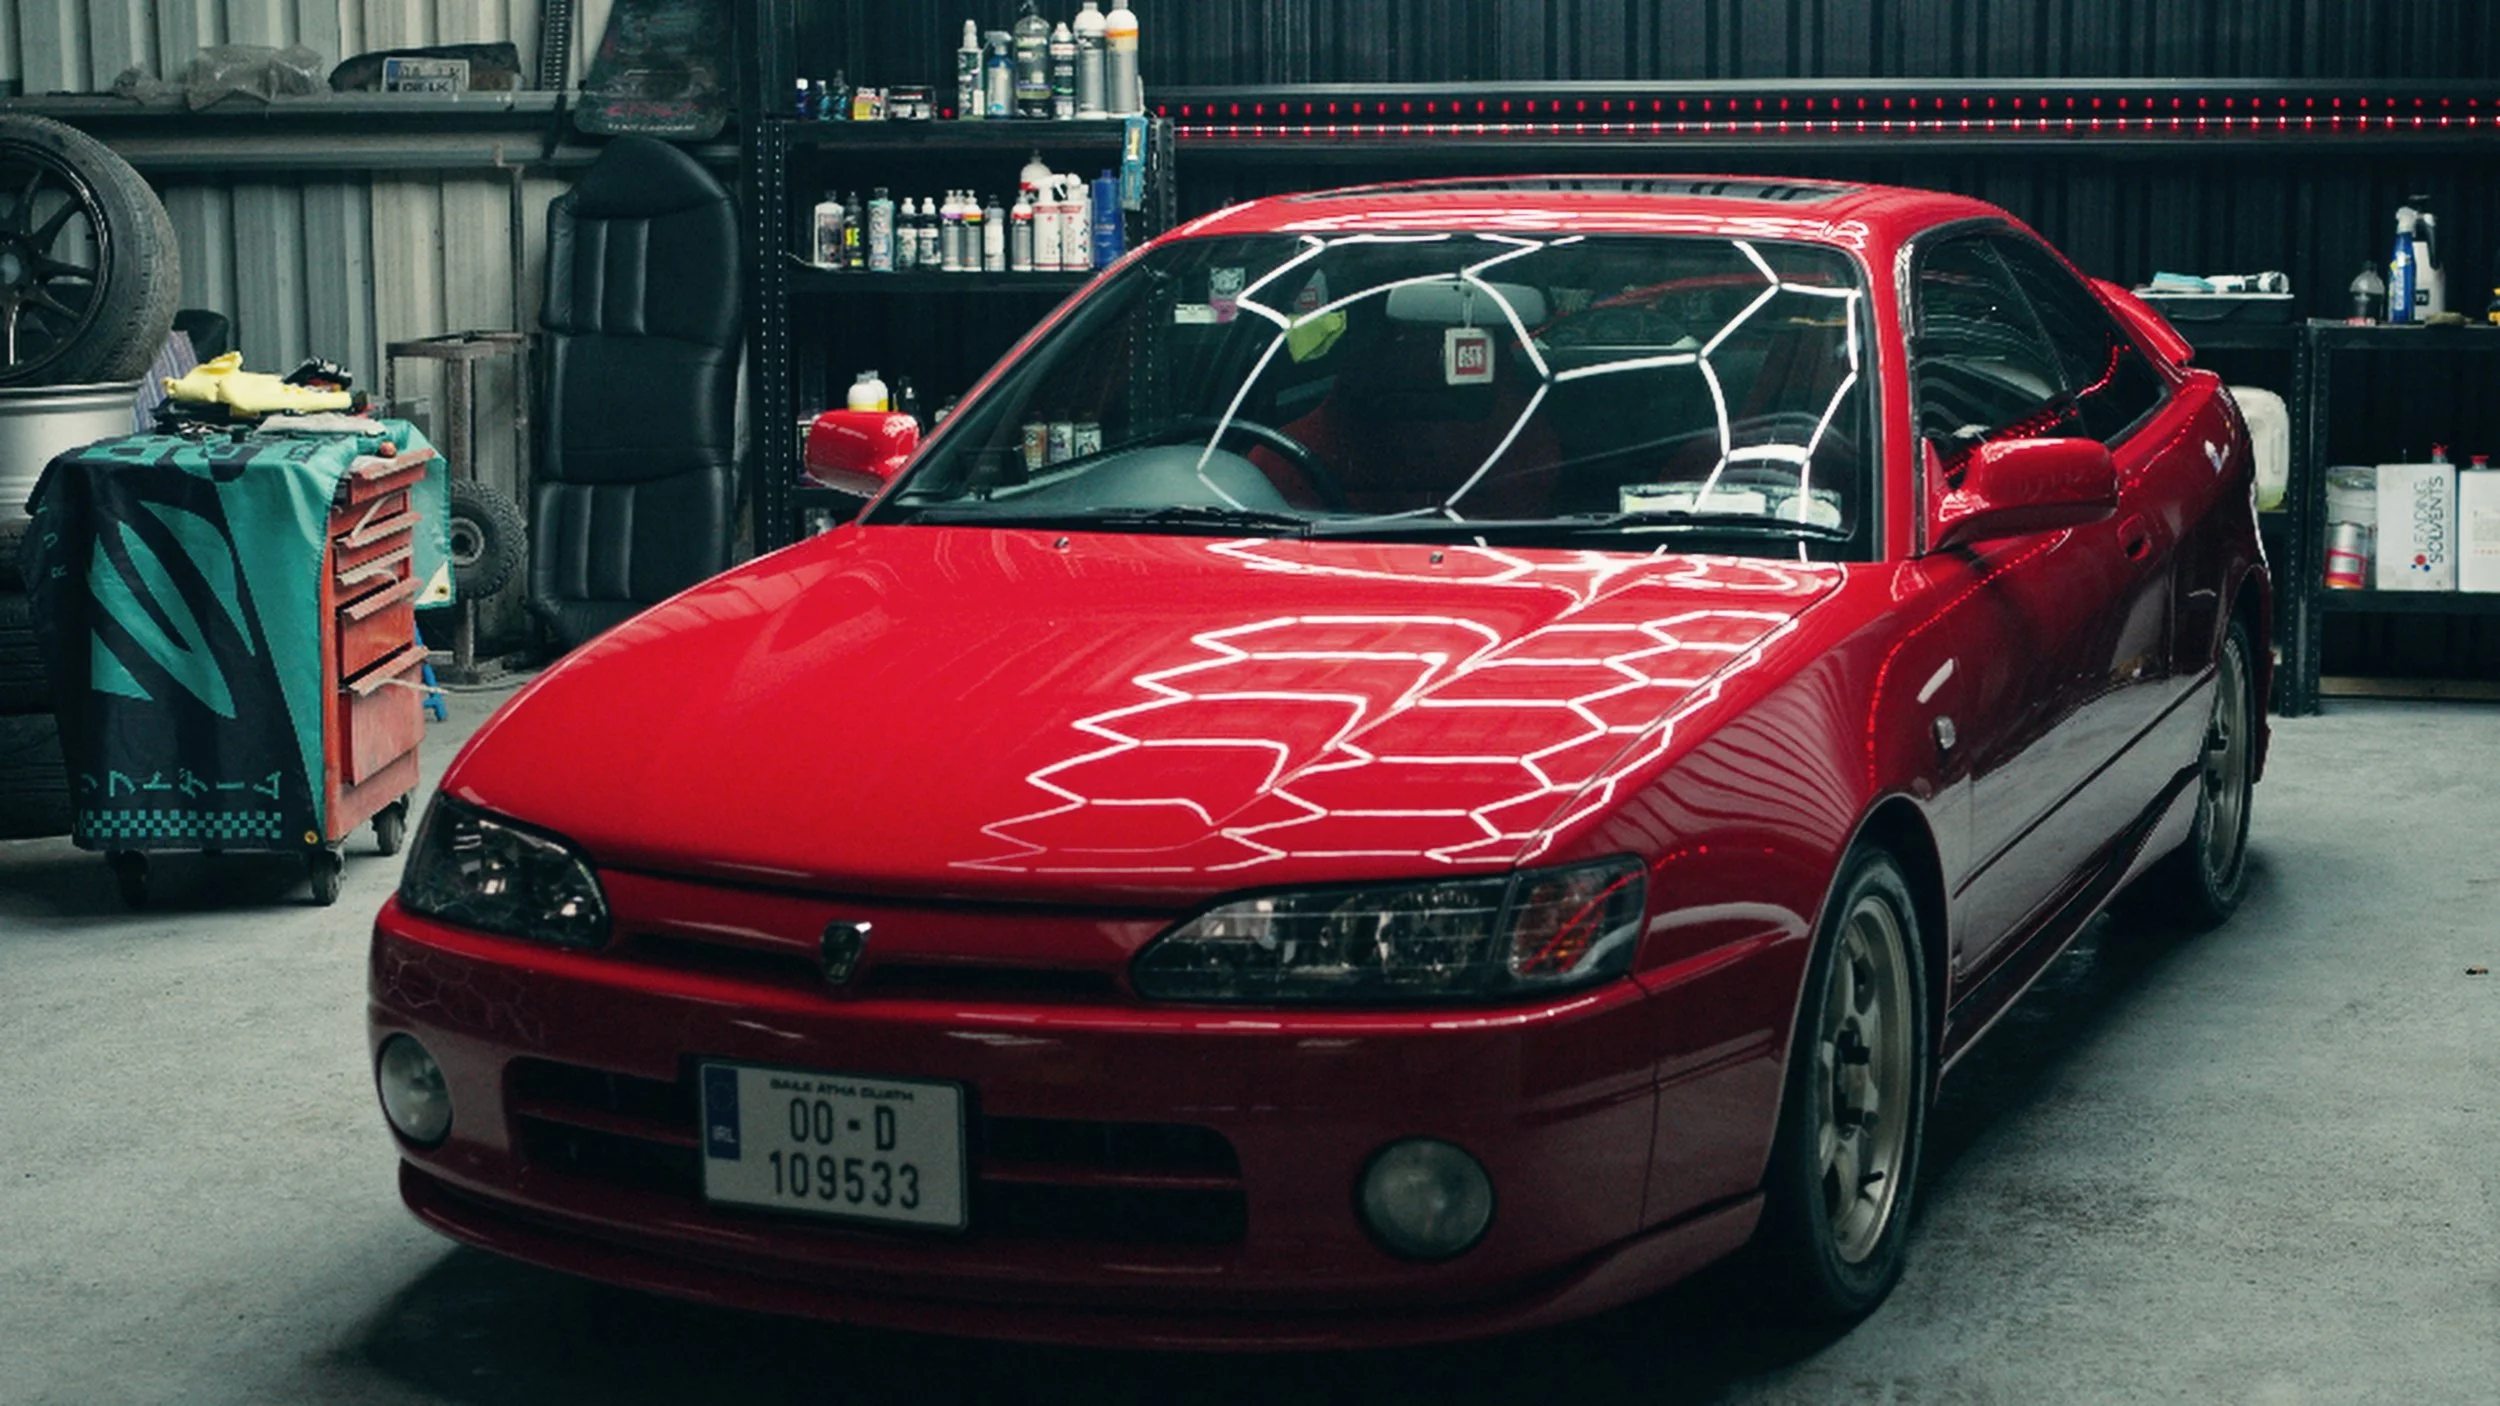
Since then, fantastic hex lighting and a lick of black paint has been added, transforming the space into somewhere that a professional business would be proud of. A setup built around doing things the right way rather than the quick way. Under the LEDs, the Levin’s red paint shows what he’s dealing with. I can't emphasise just how important proper light is, not only for Shane but for me. This video with not be possible without great lighting and a great detailer can't work in the dark.
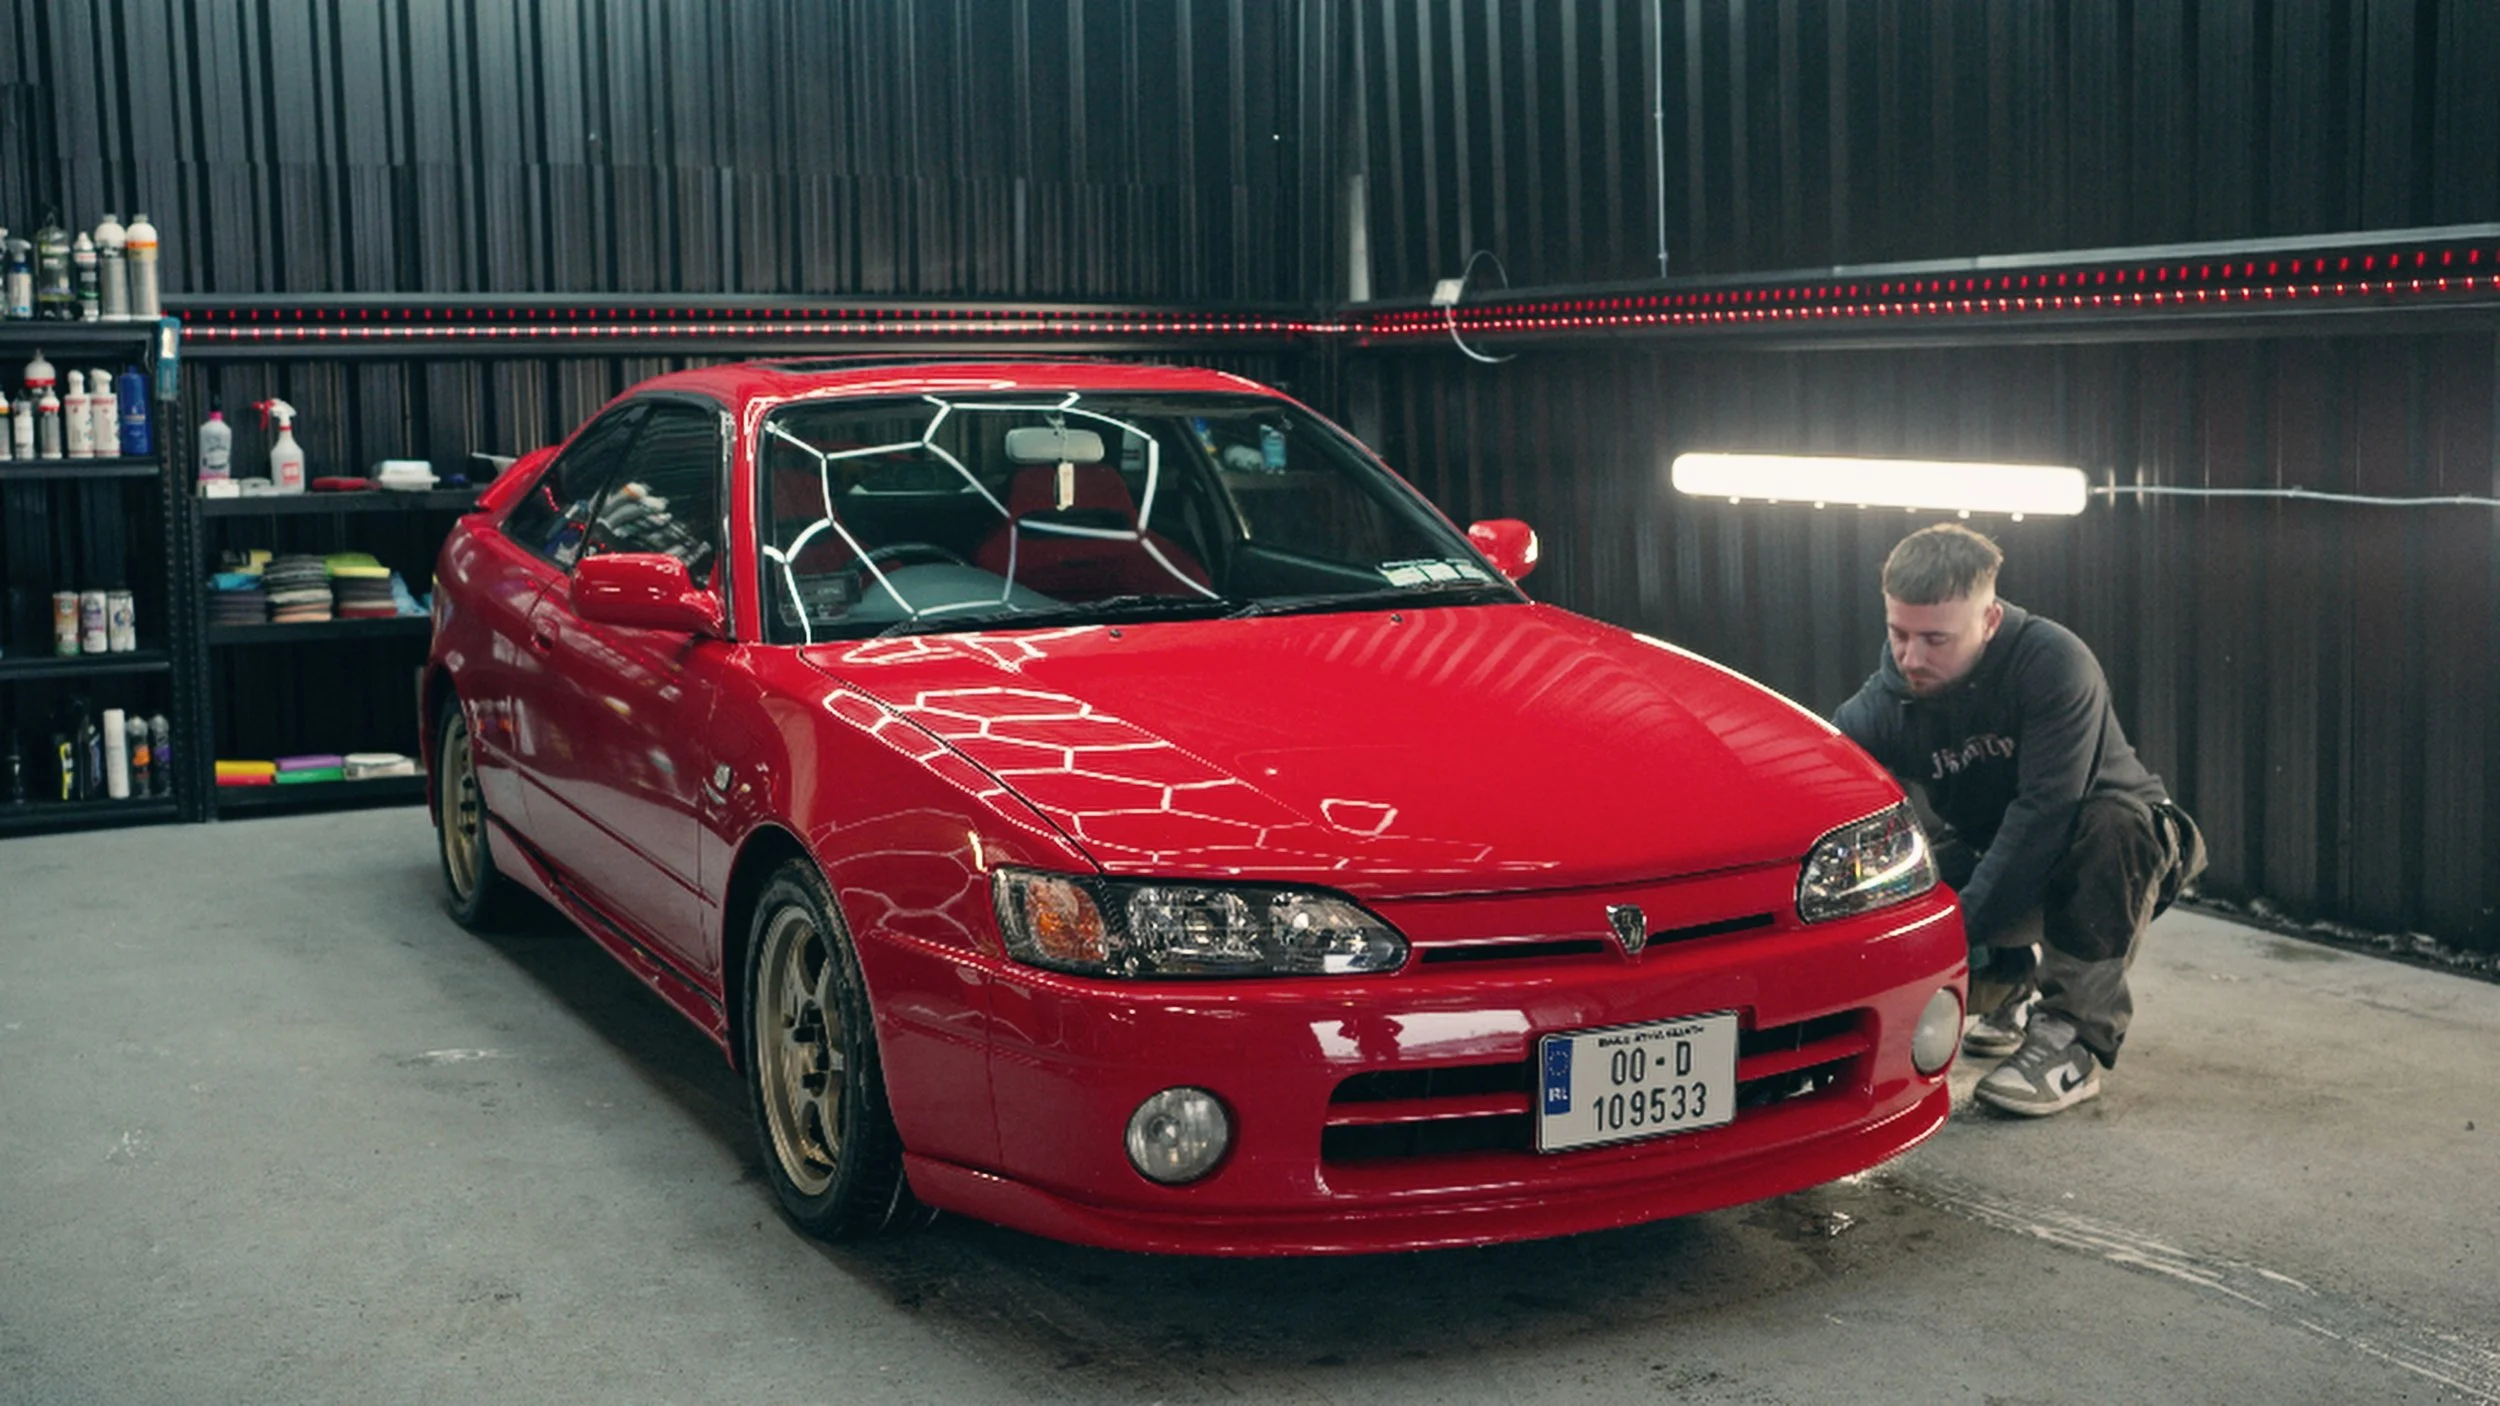
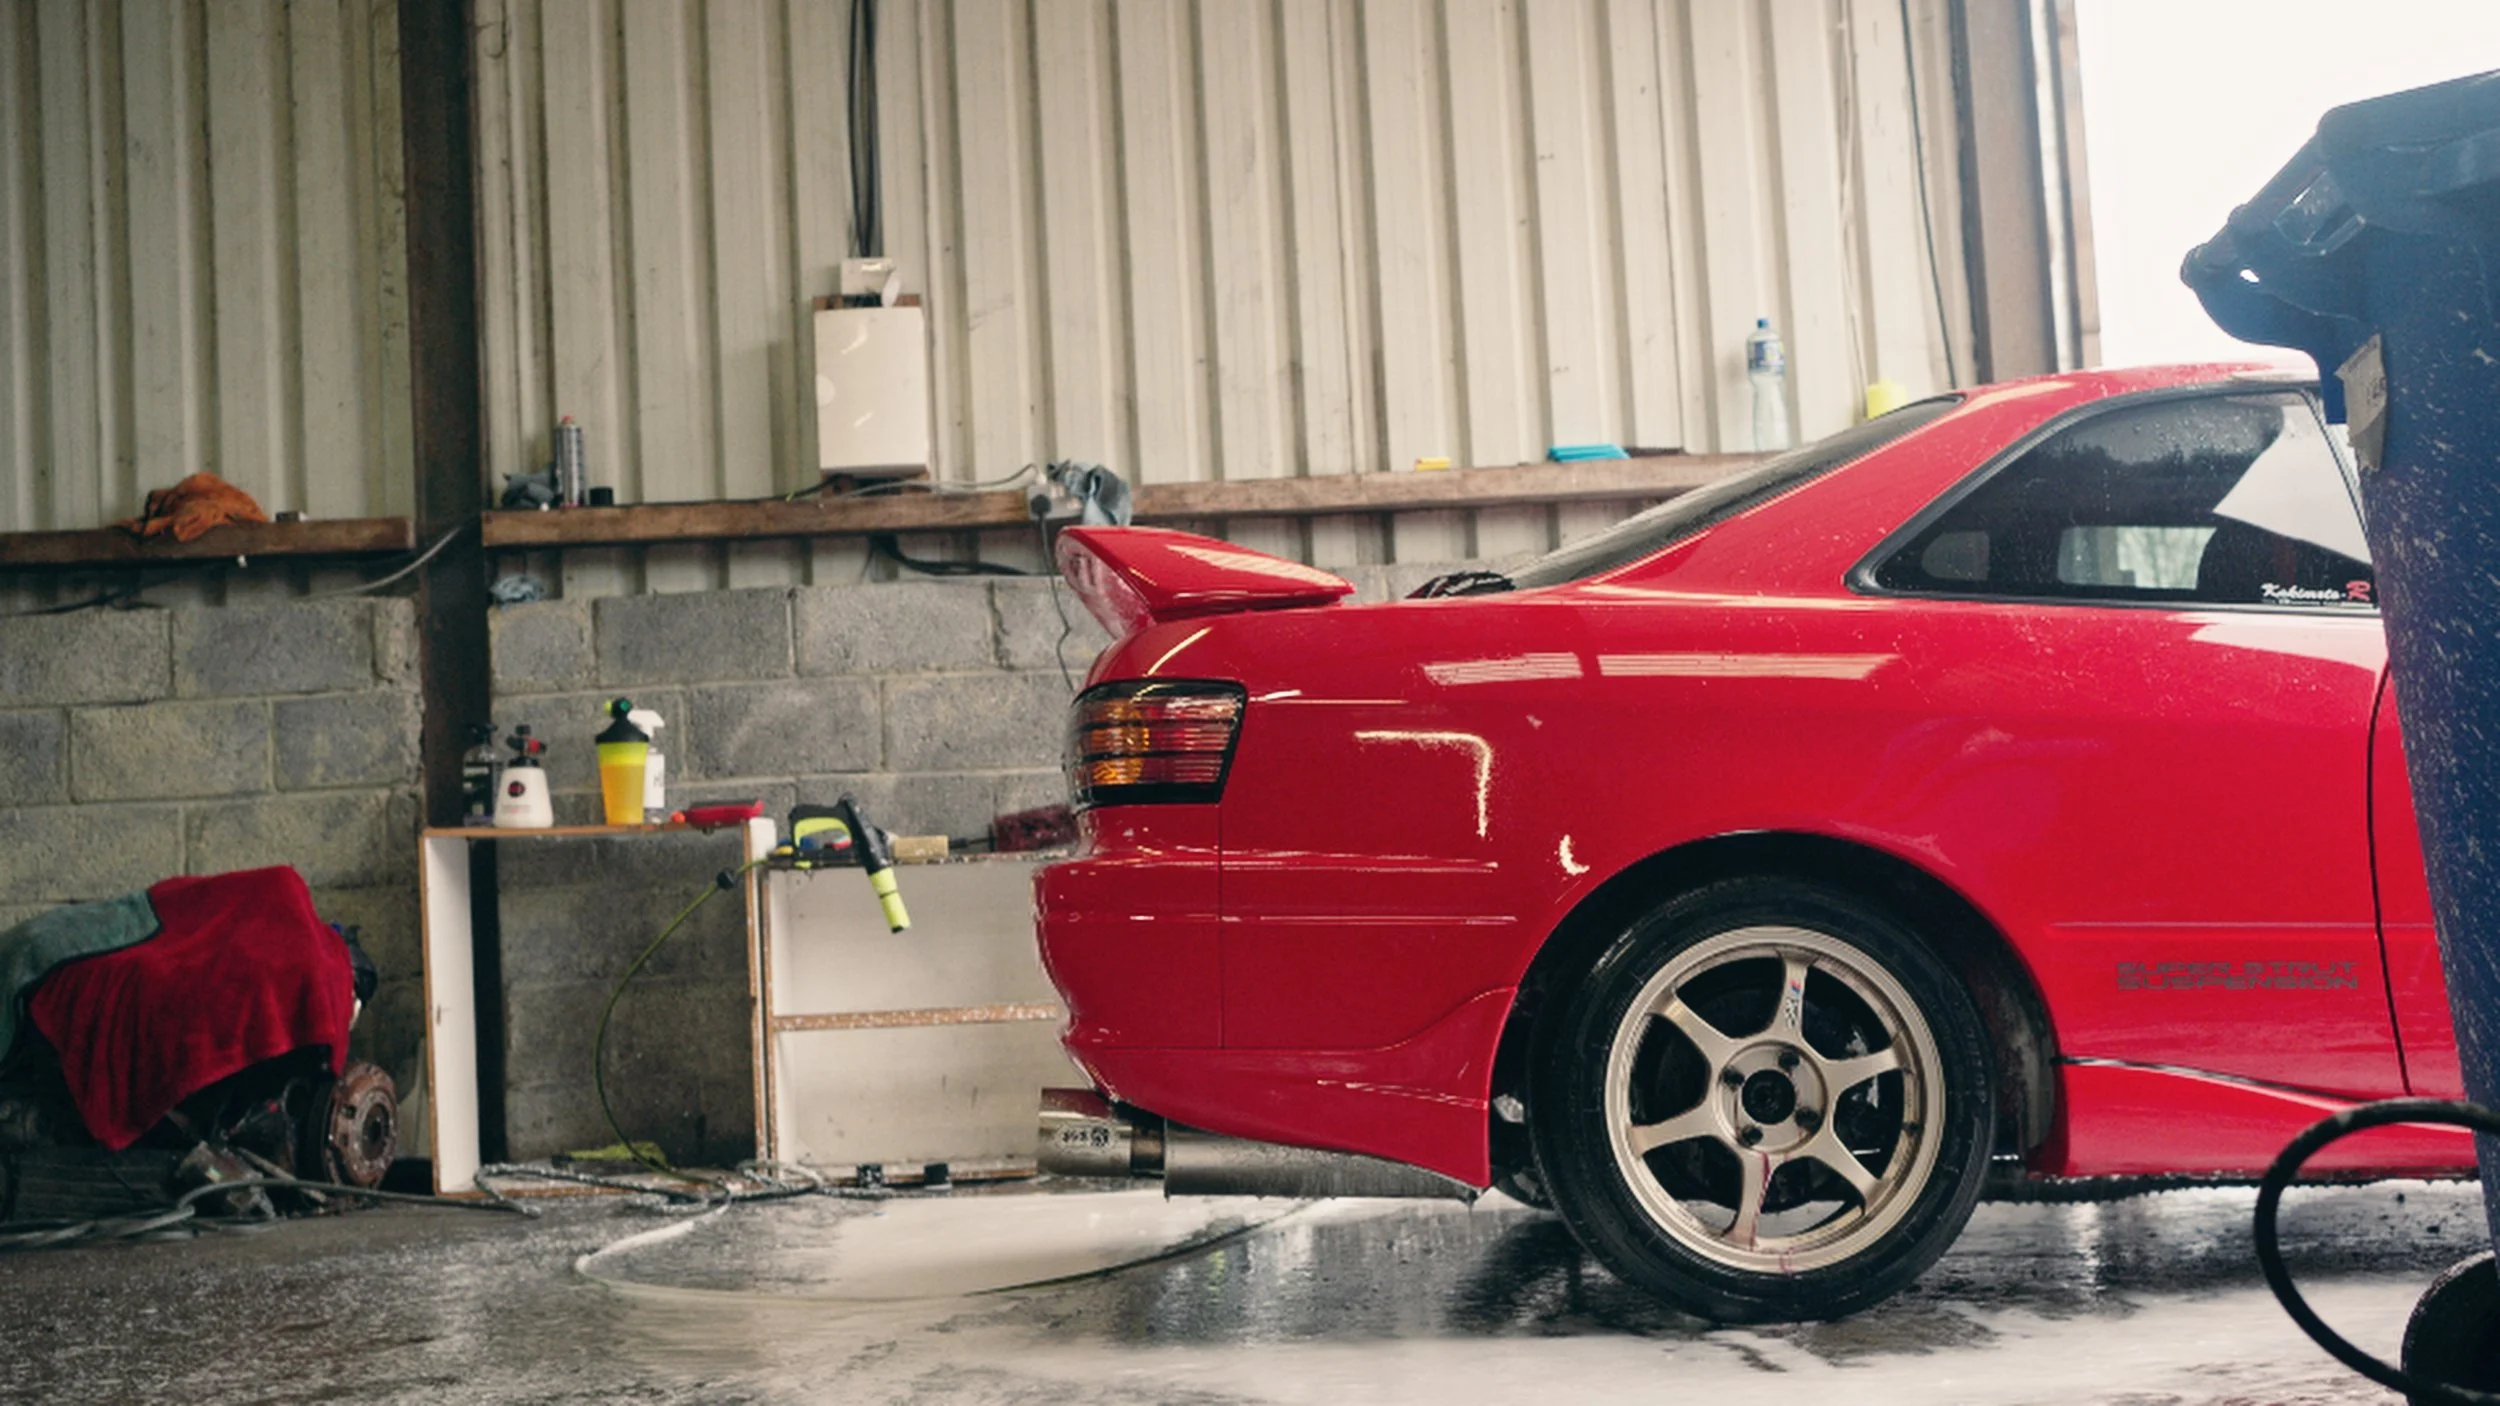
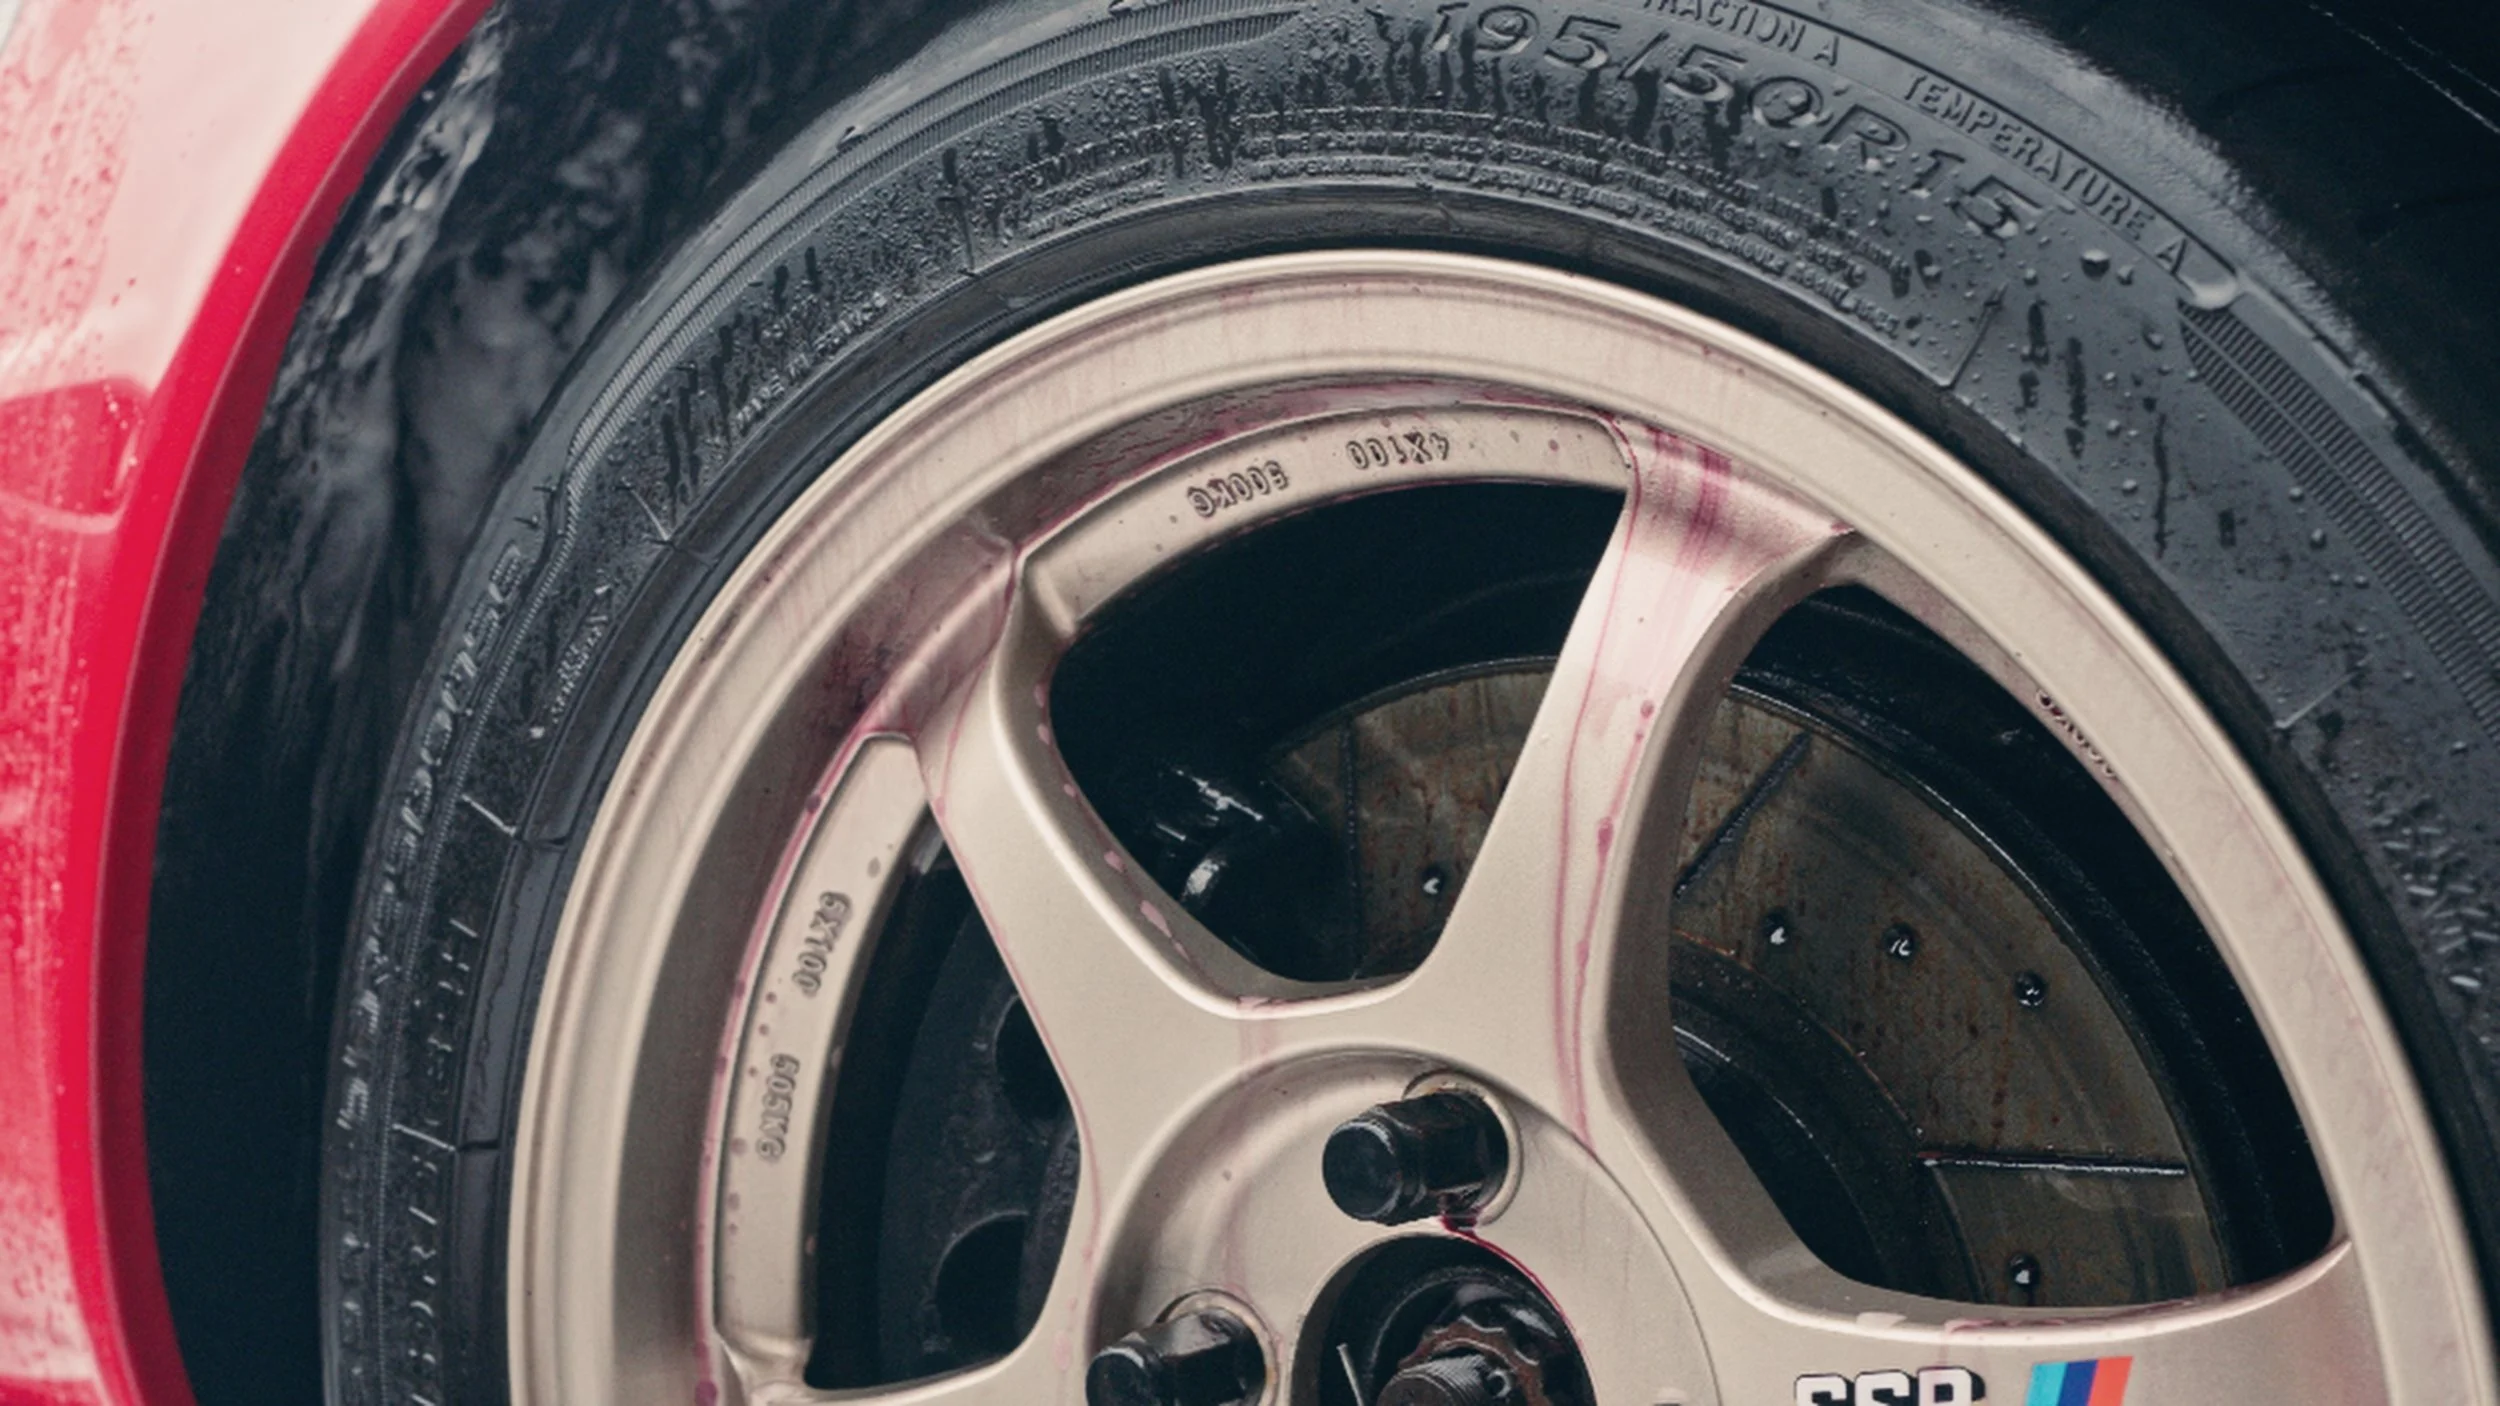
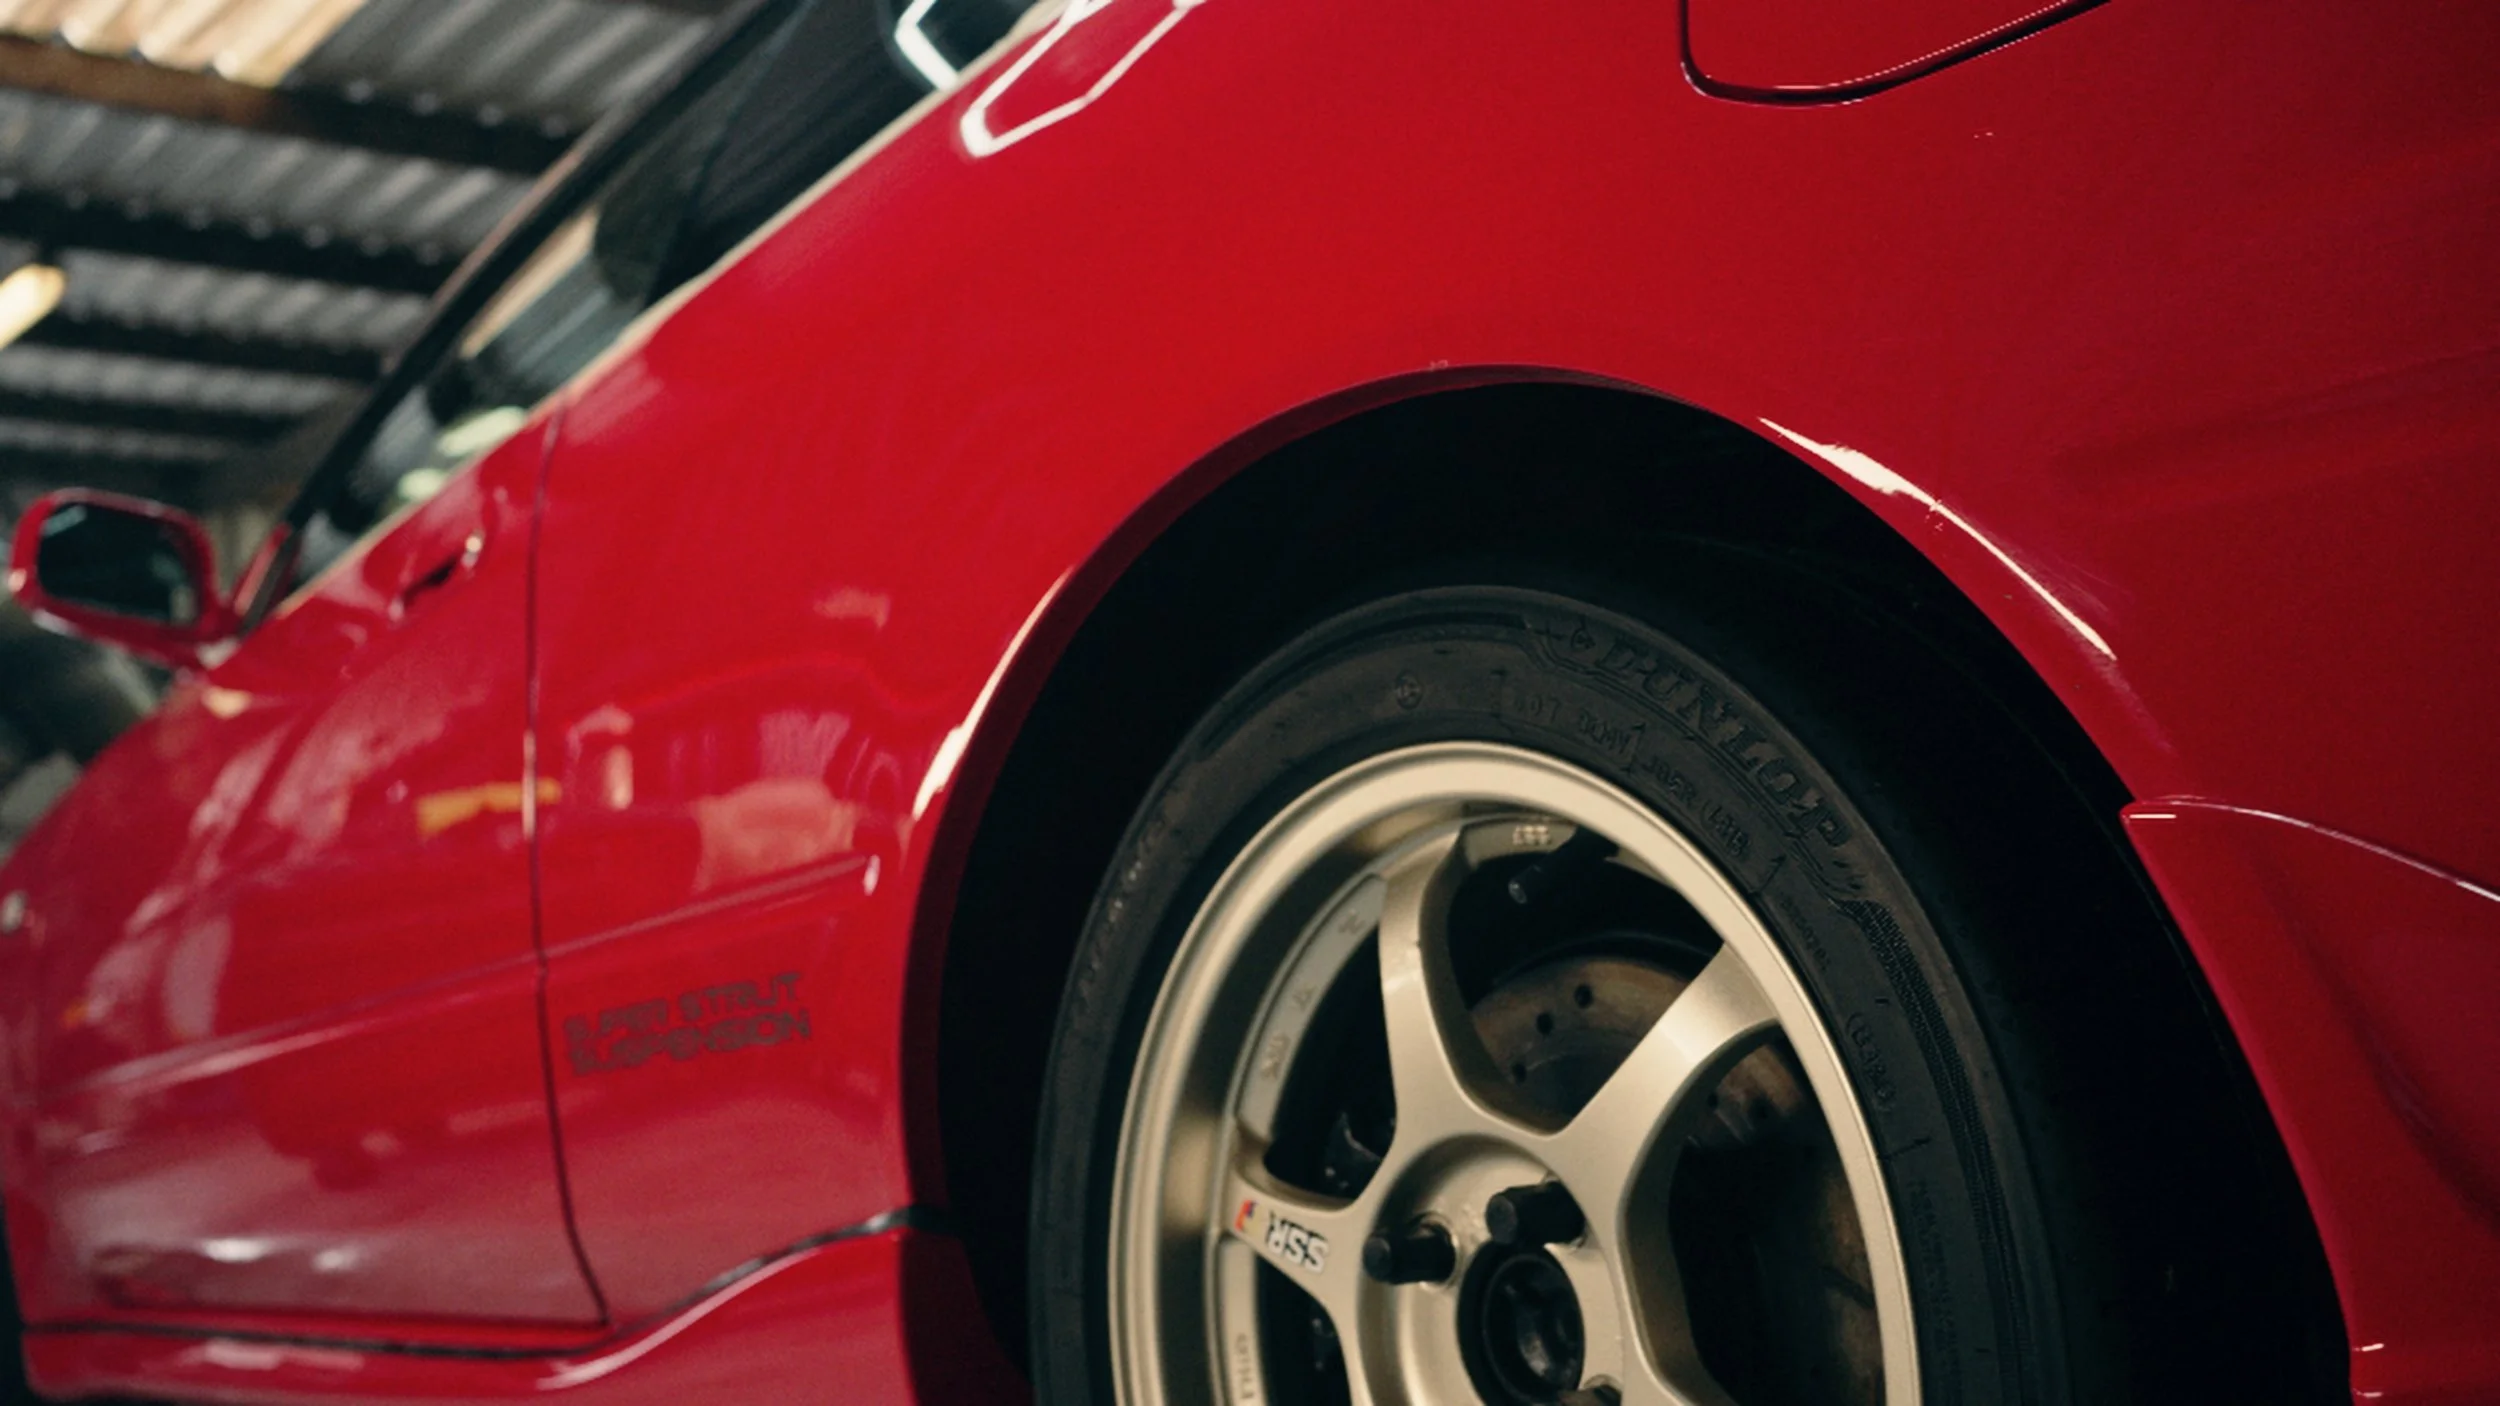
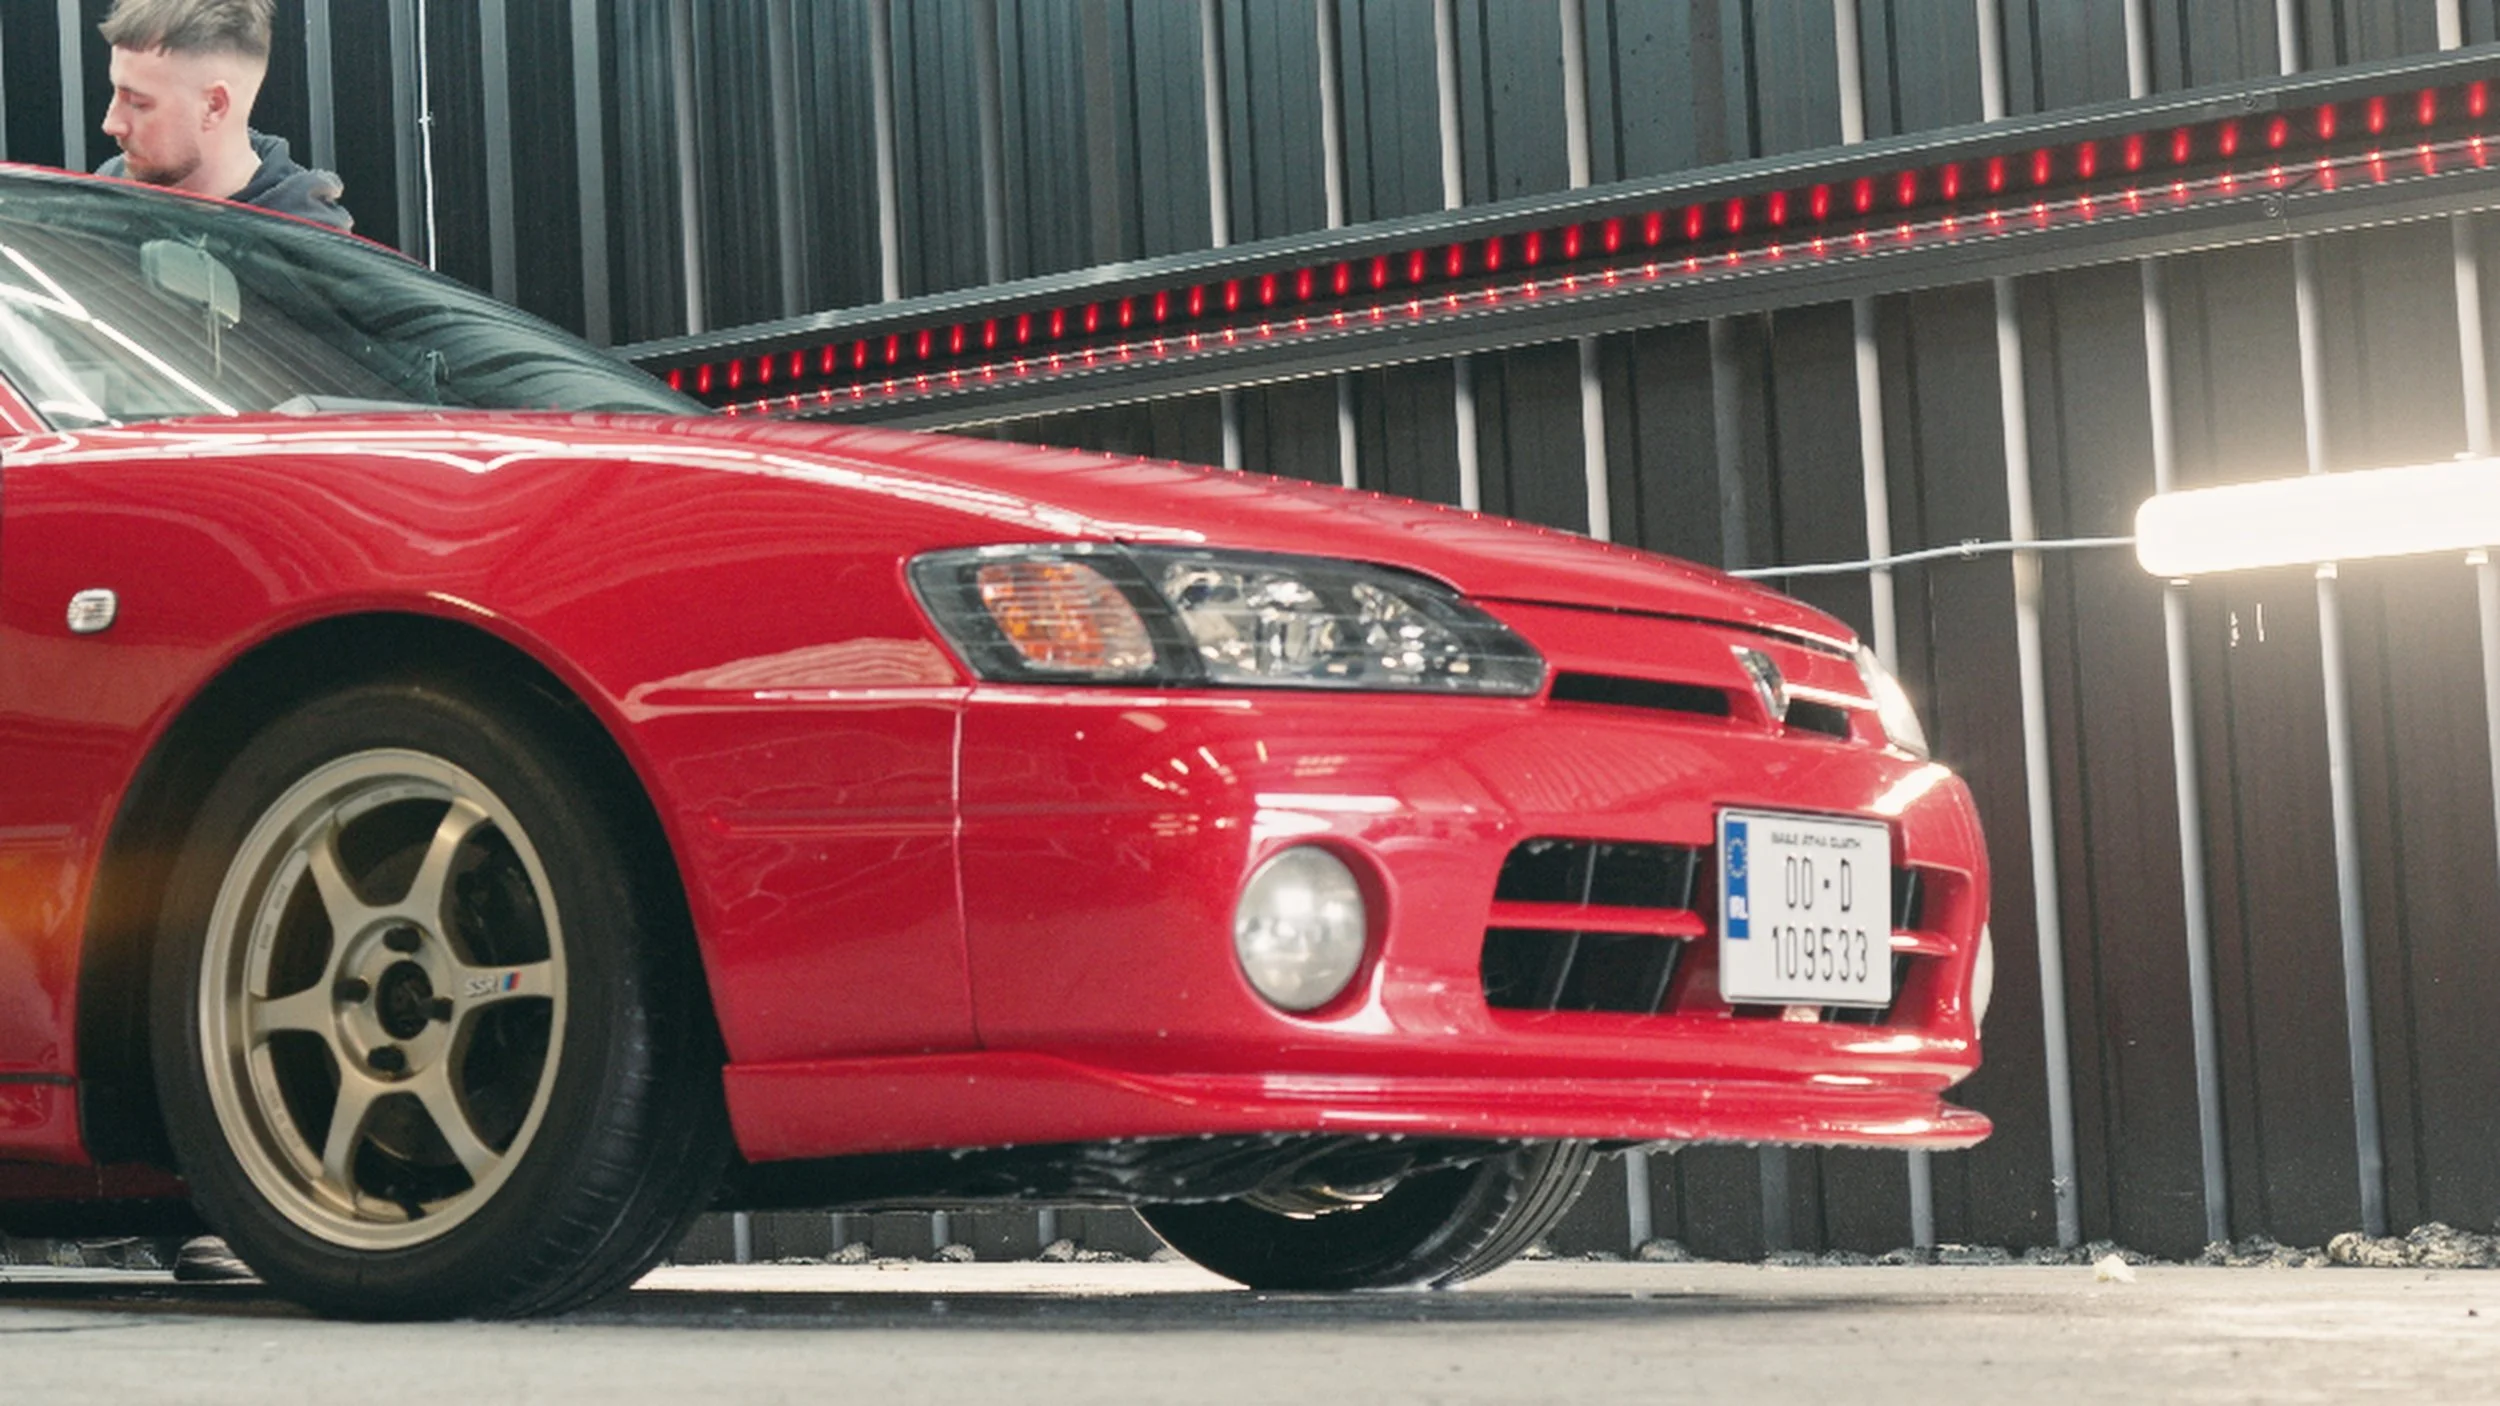
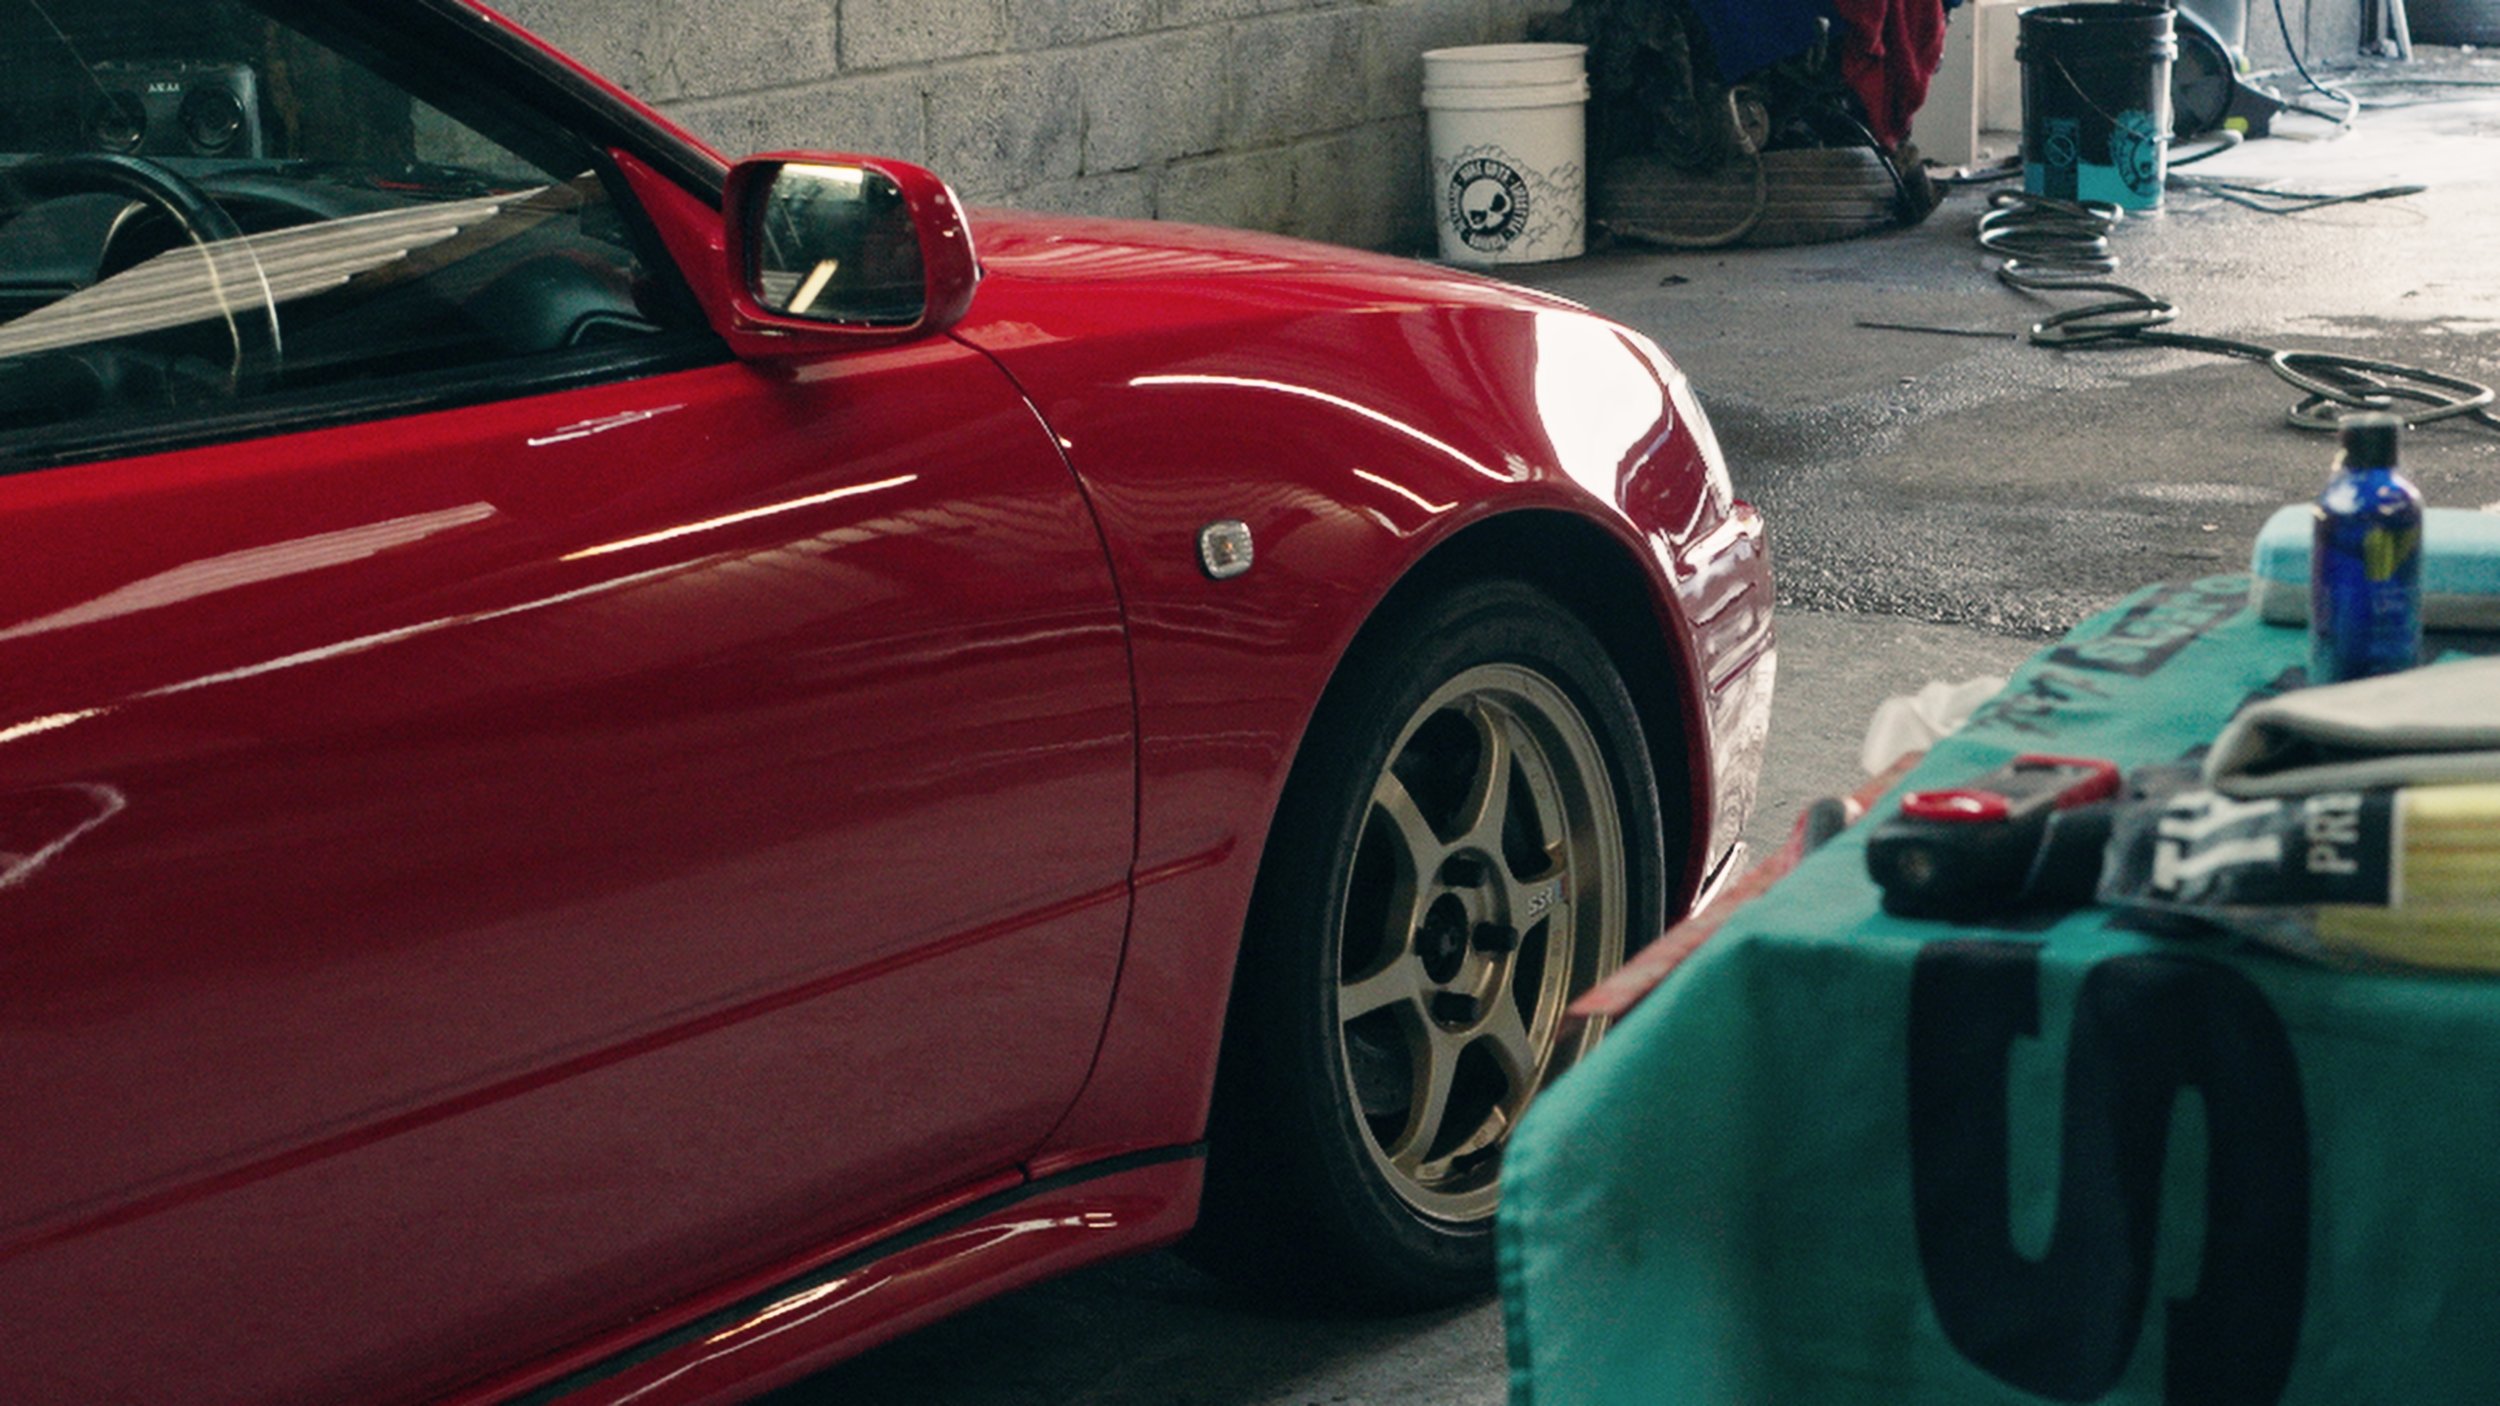
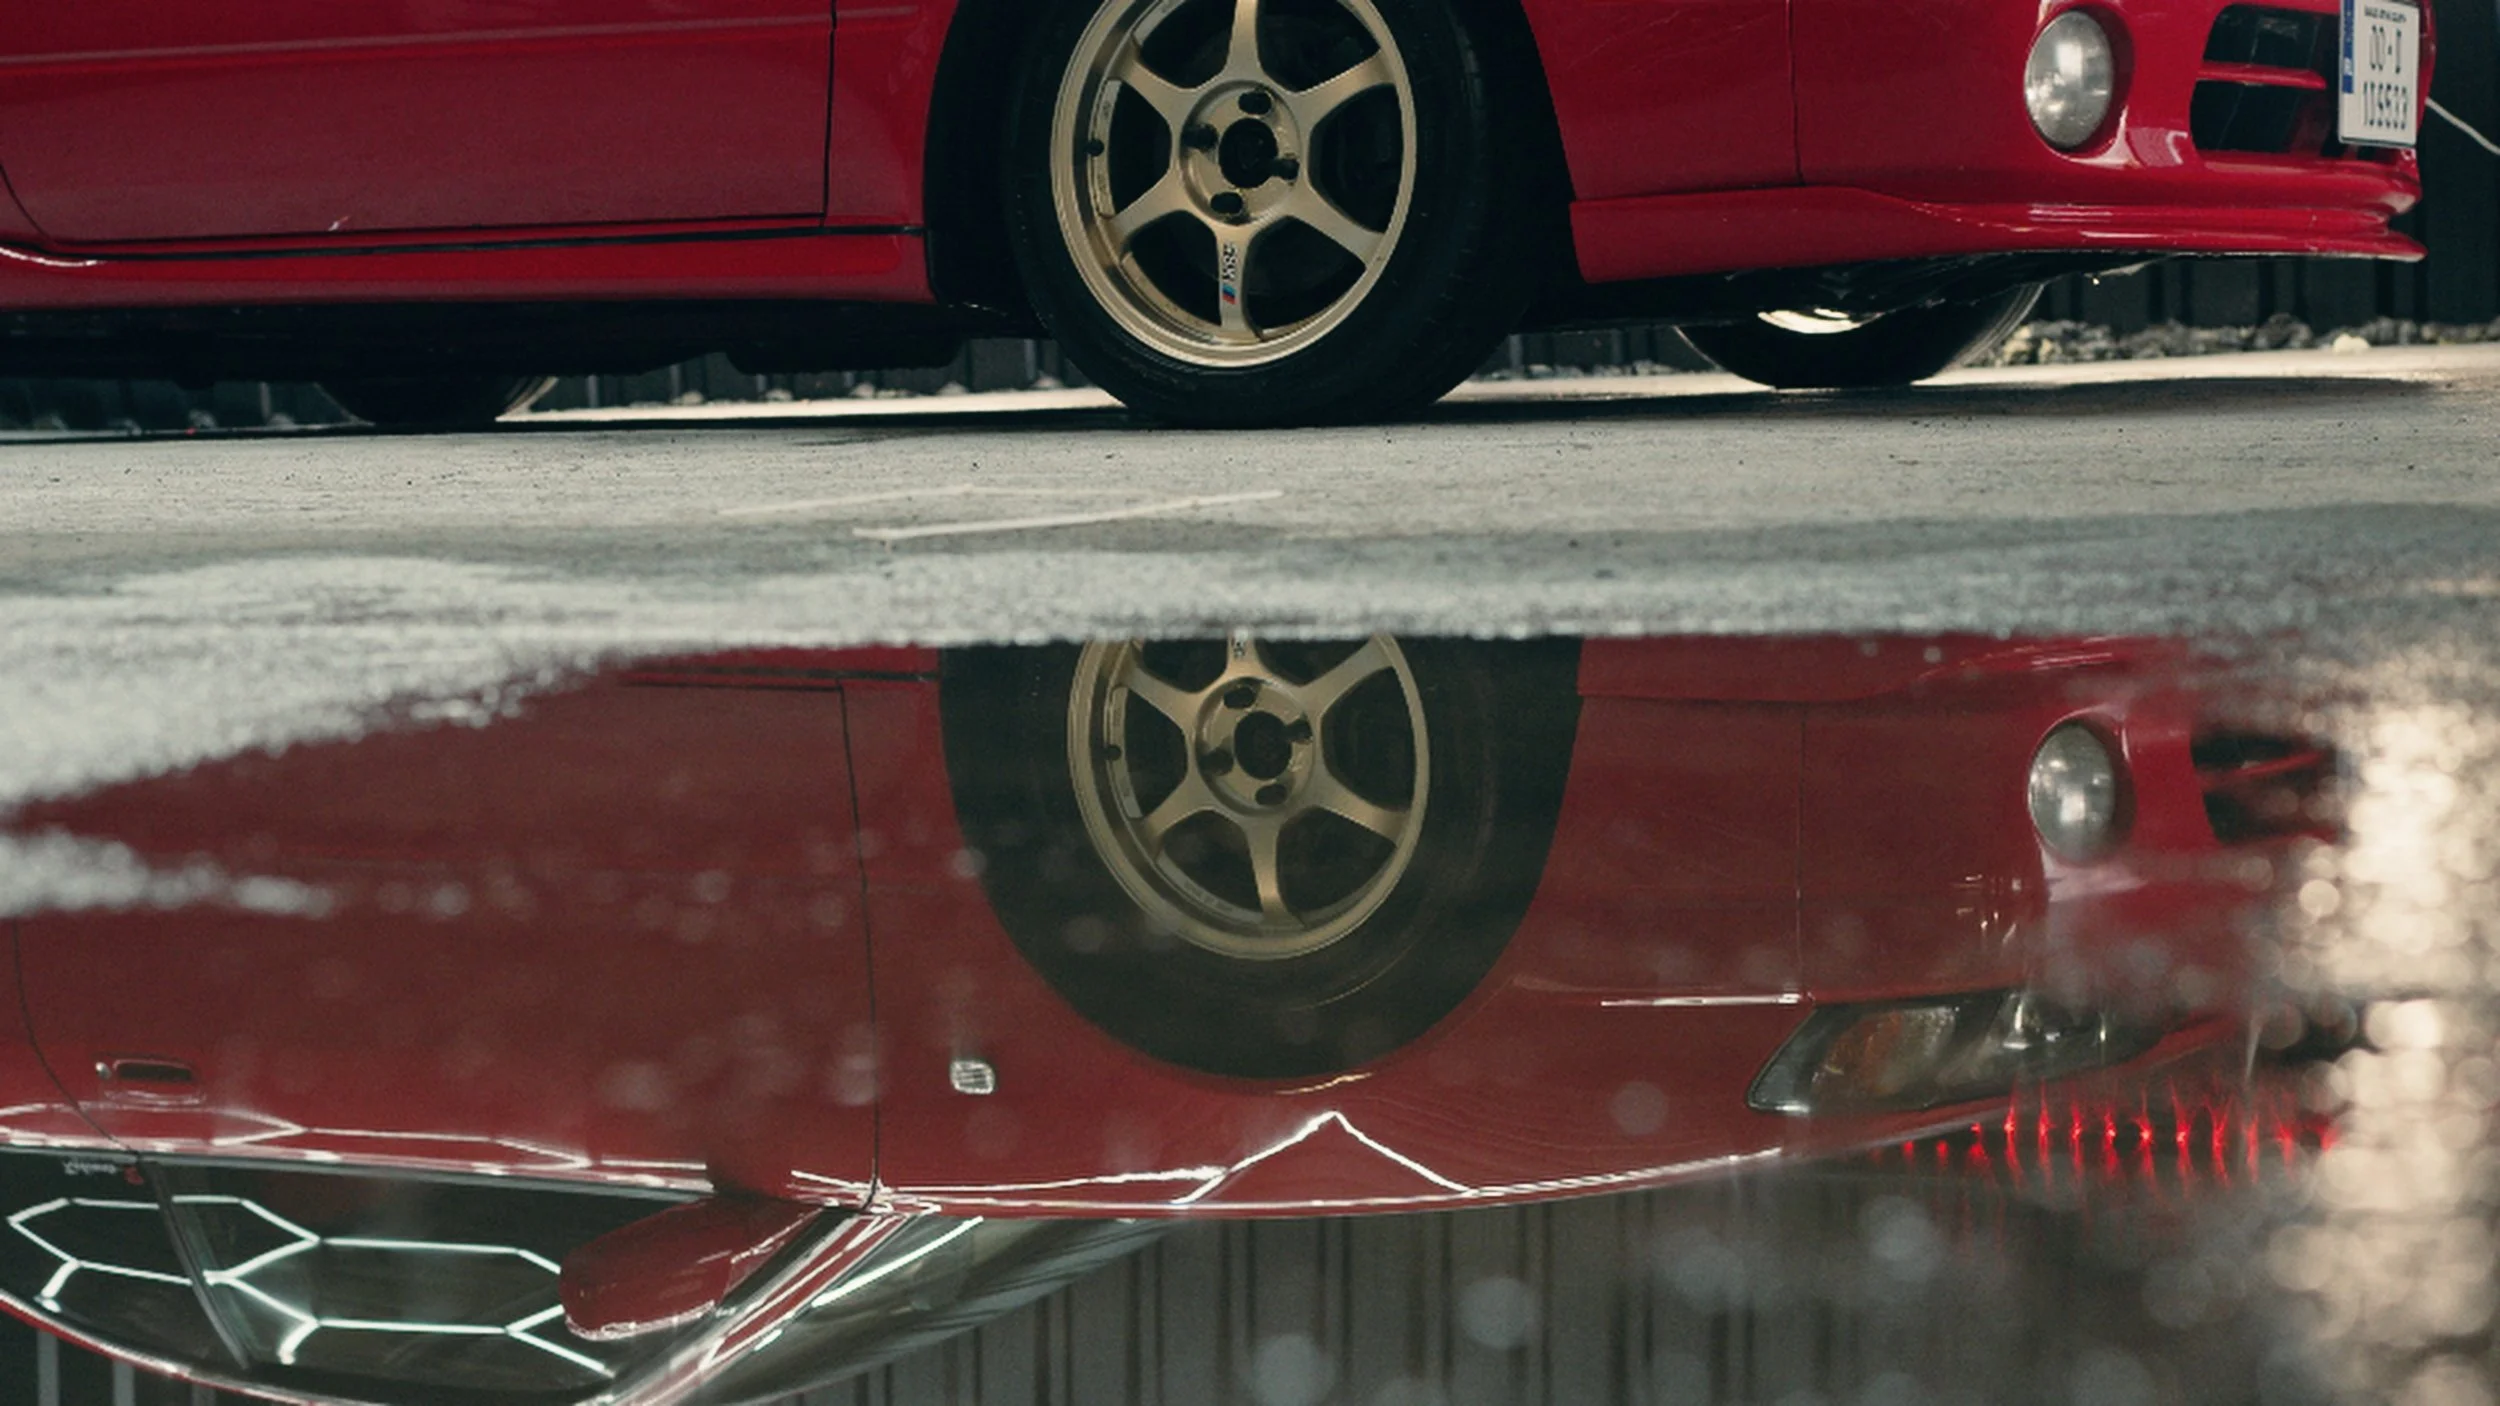
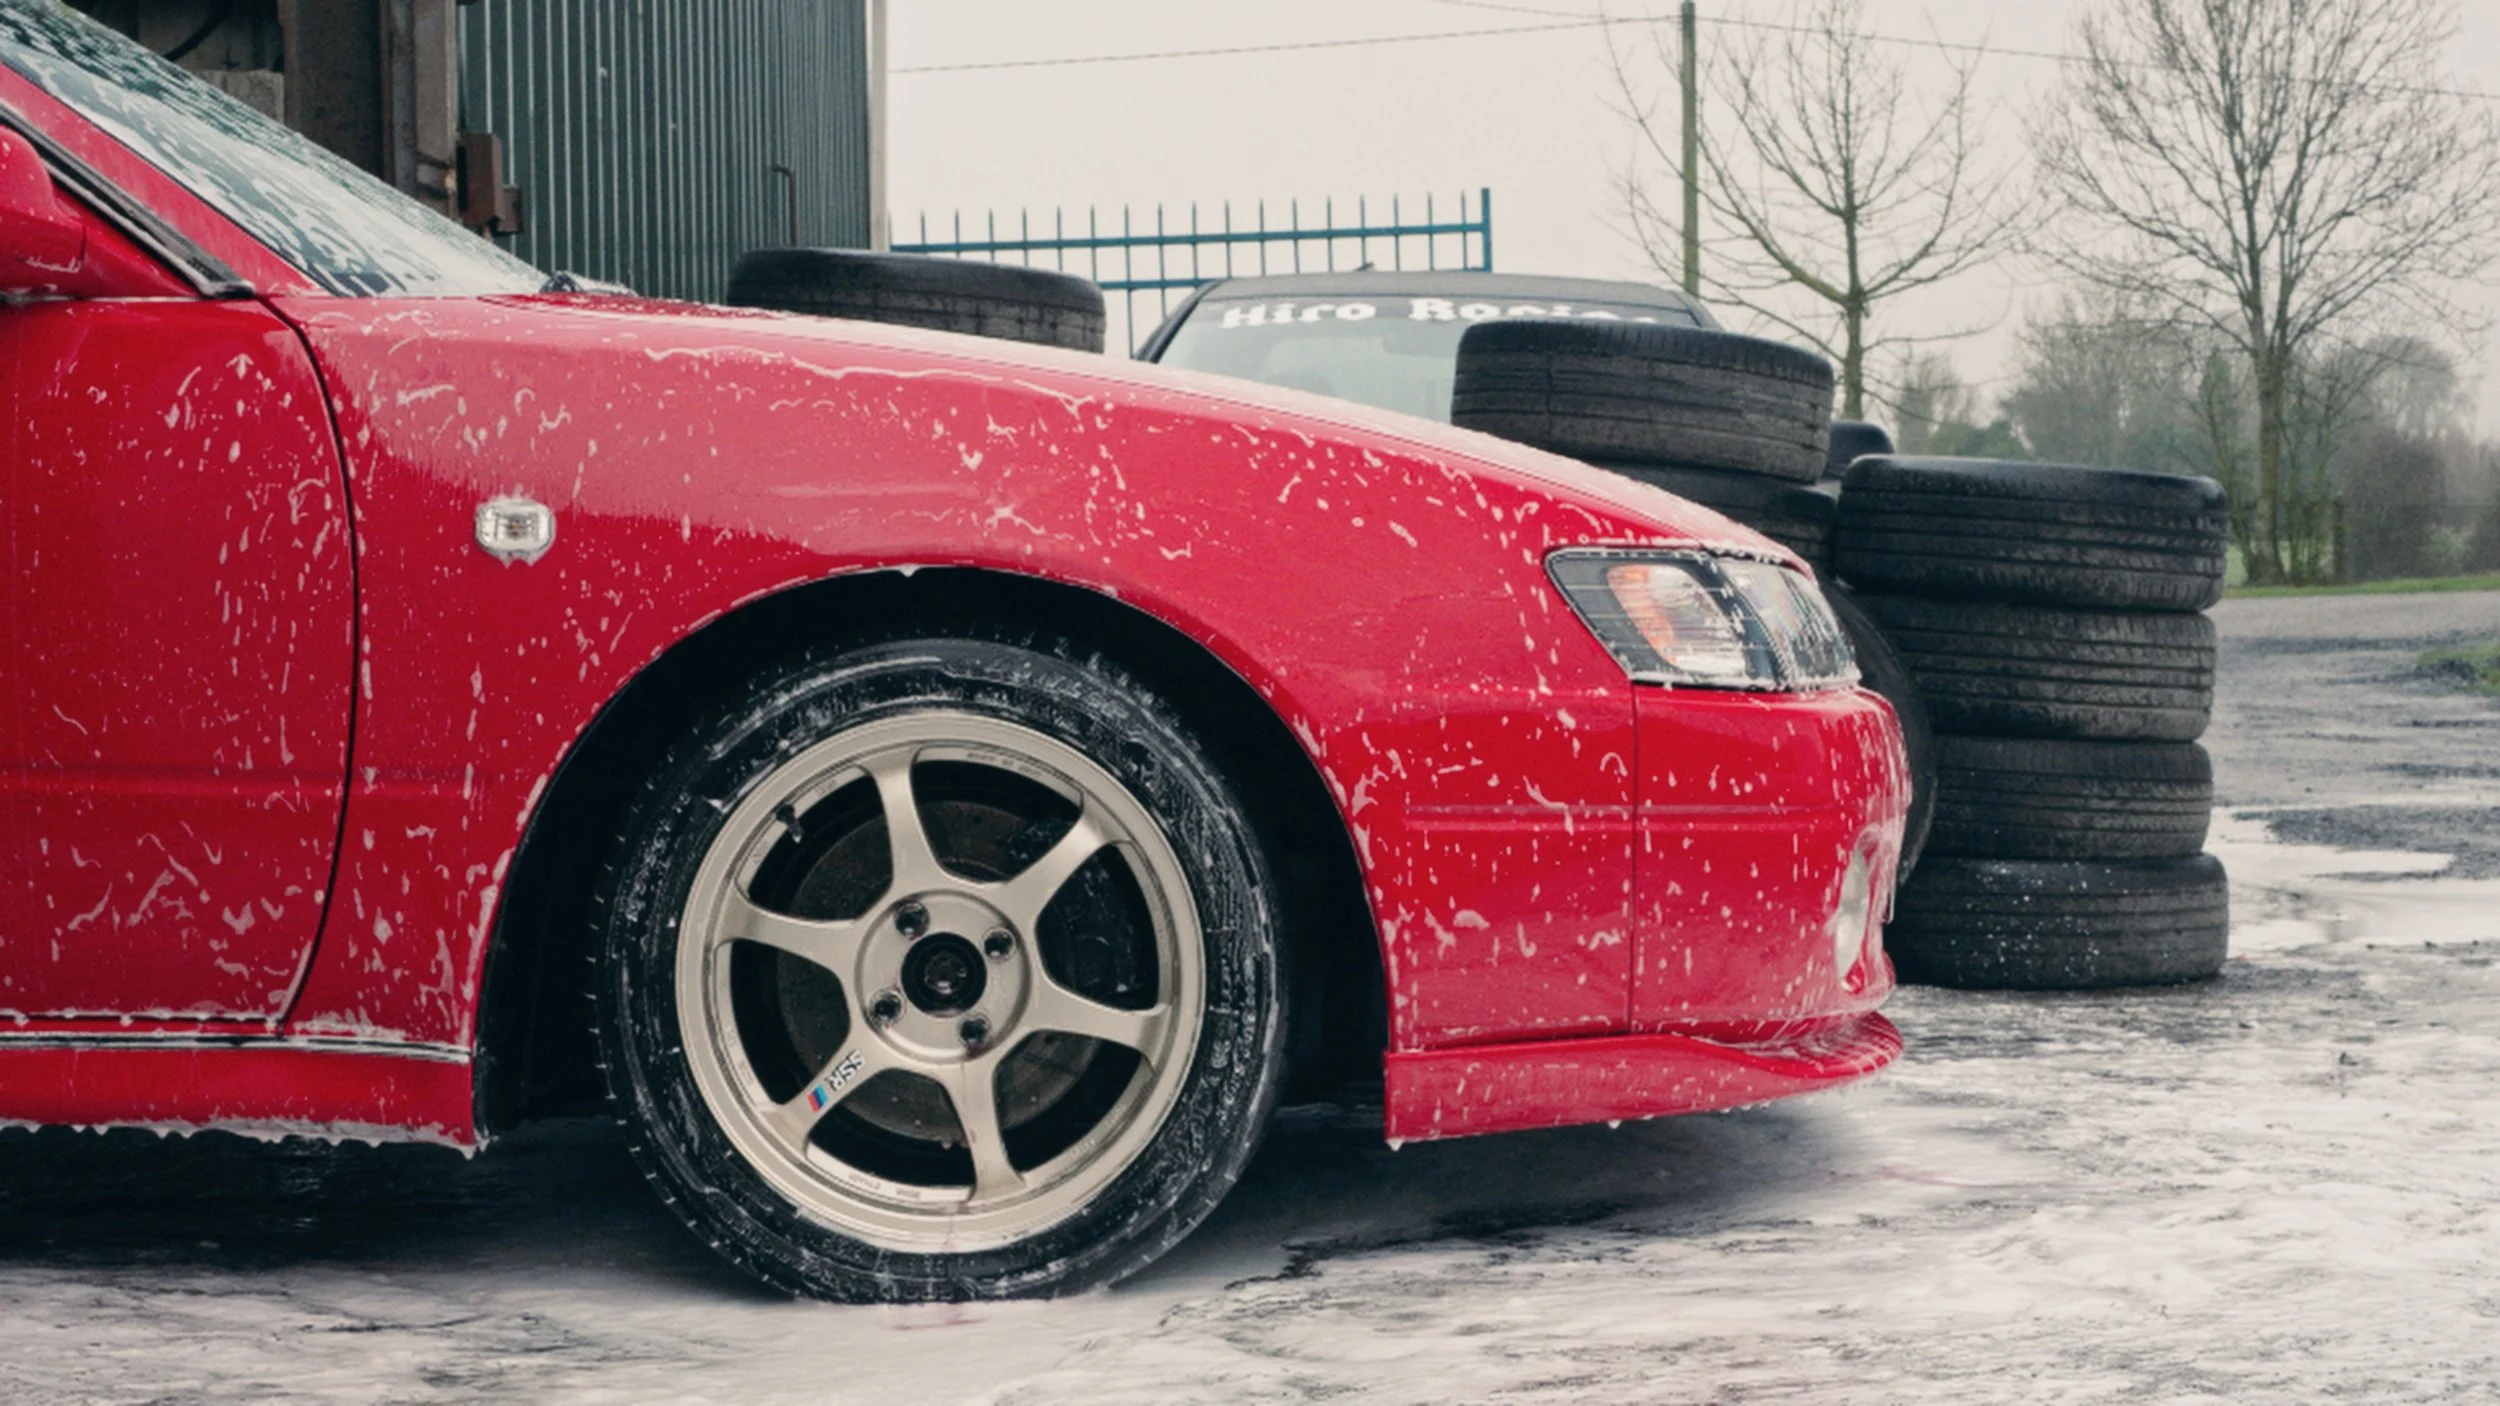
The paint has a soft, slightly pink tone, with dull reflections and tired lacquer that tell the story of years on the road. At each corner sit 15 inch SSR Type‑Cs in their original soft gold finish. They suit the car perfectly, and Shane understands that preserving details like this is just as important as transforming the paint around them. This isn’t a full-blown show car, but in Shane’s hands, it’s treated with the same level of respect and care as anything that would roll into a hall under spotlights.
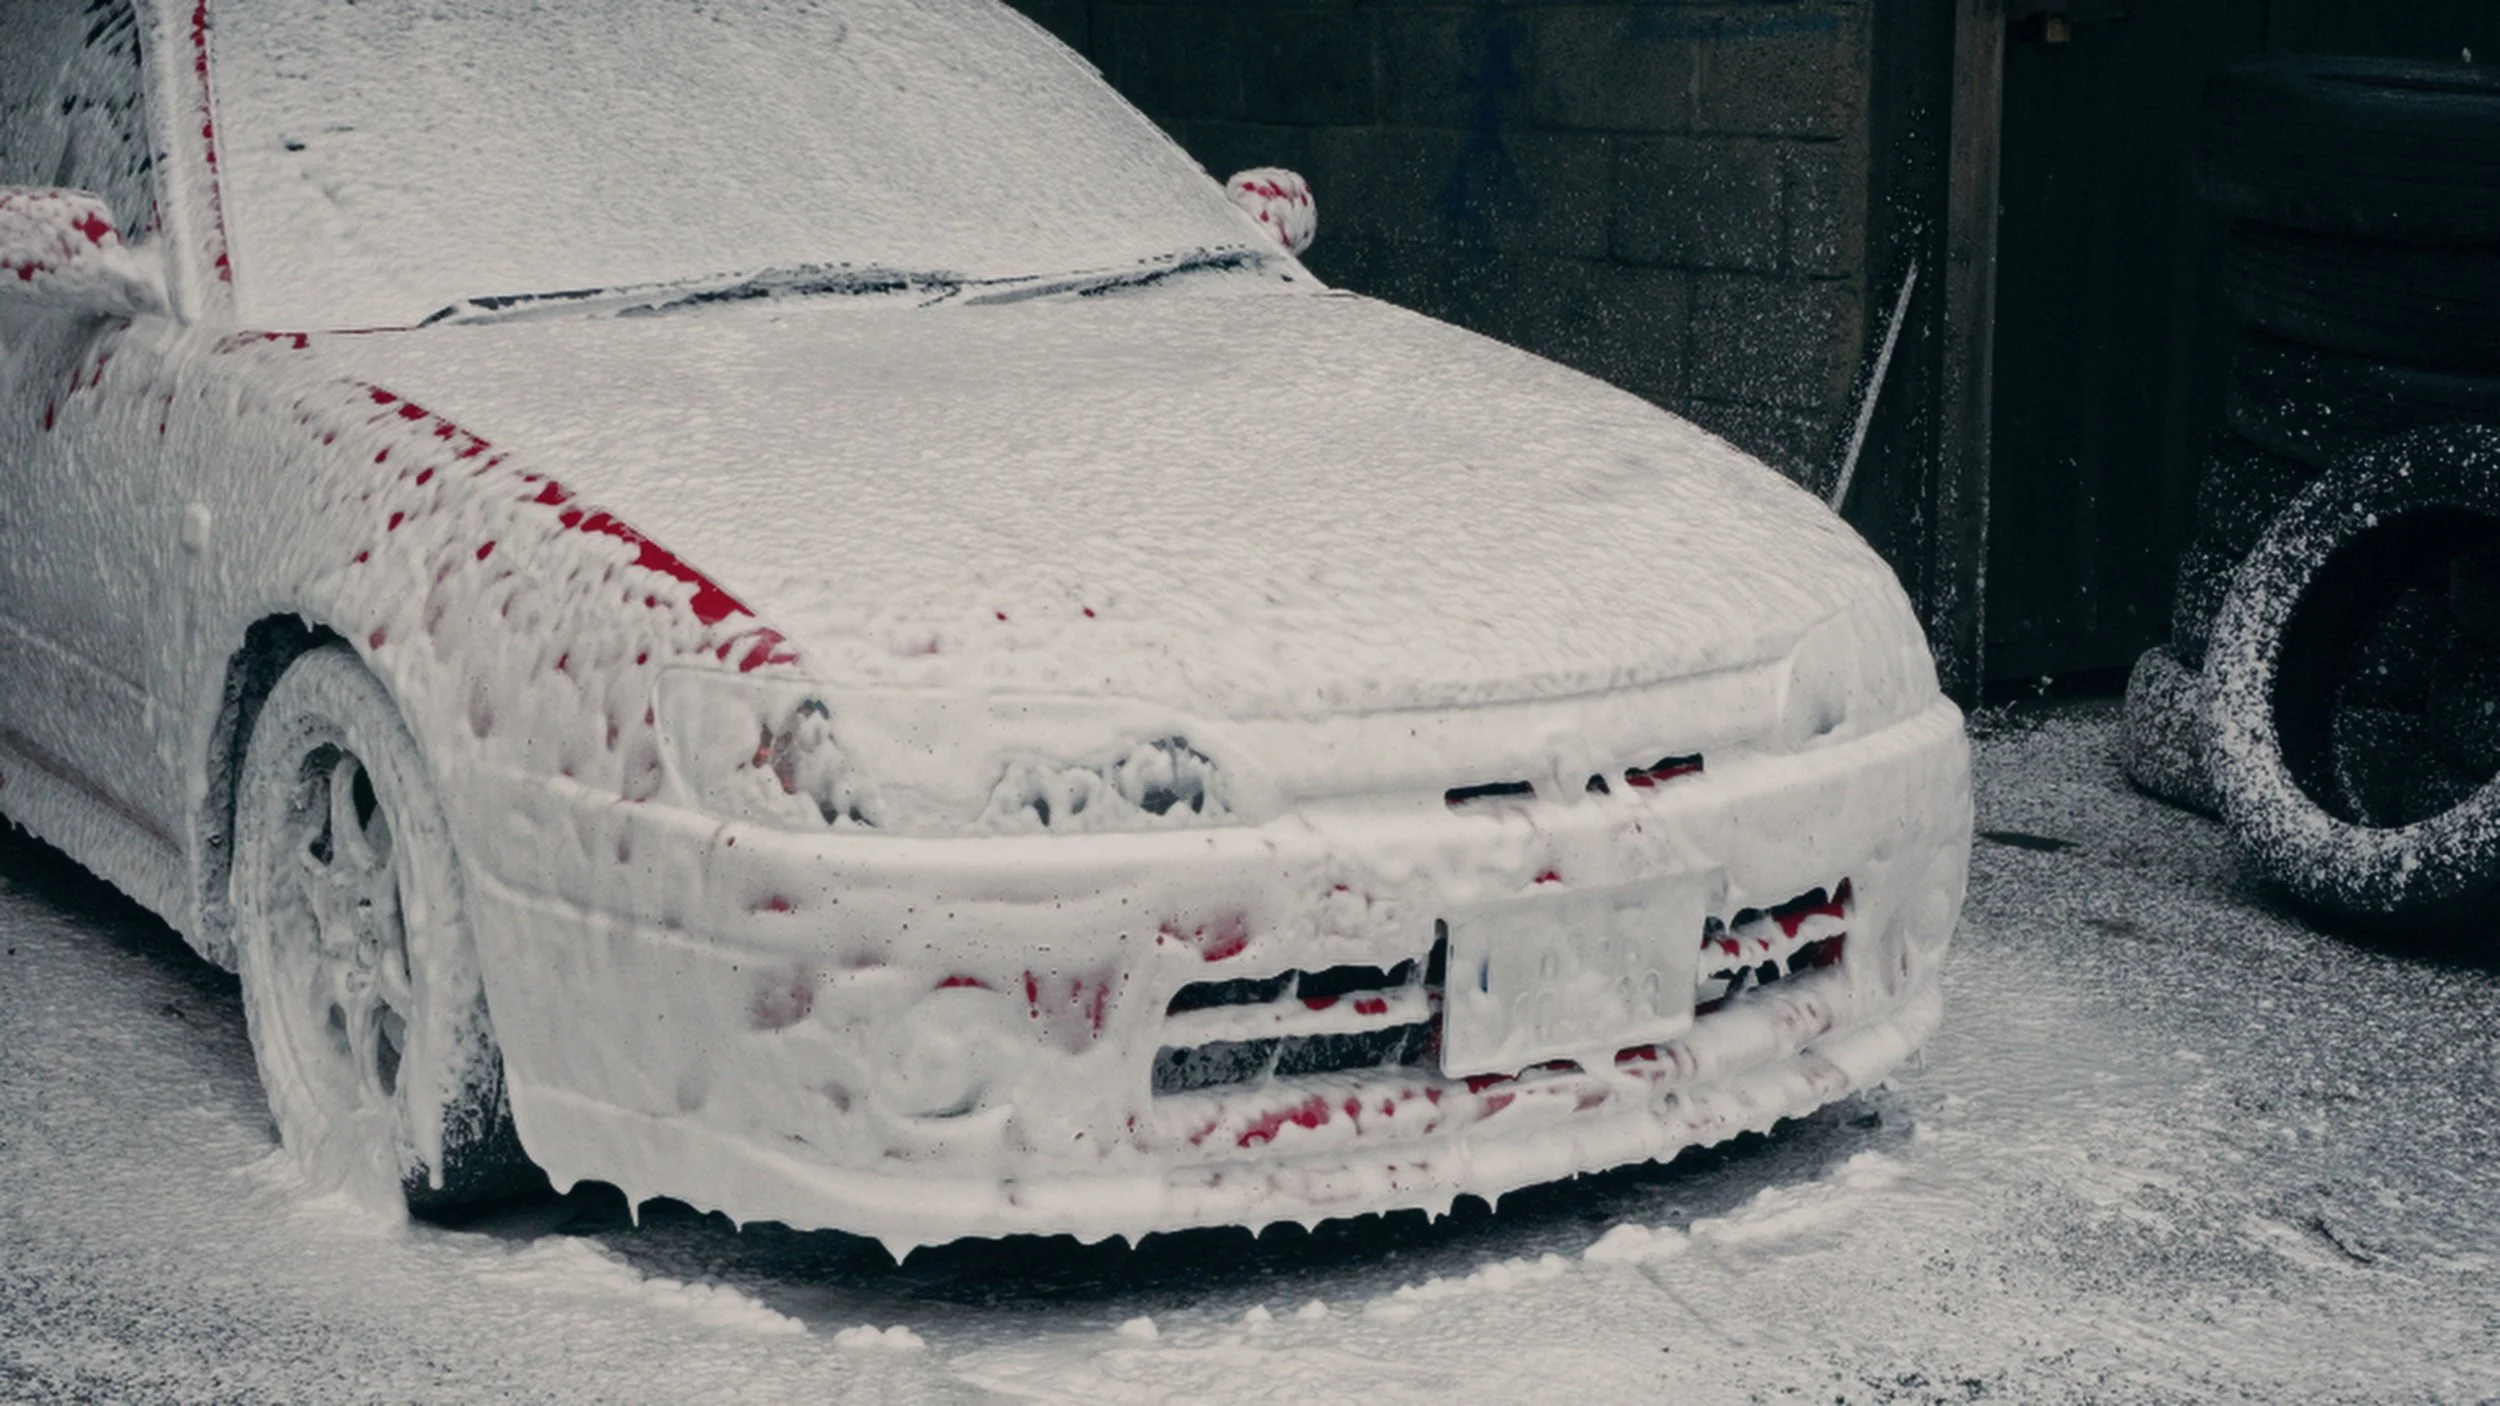
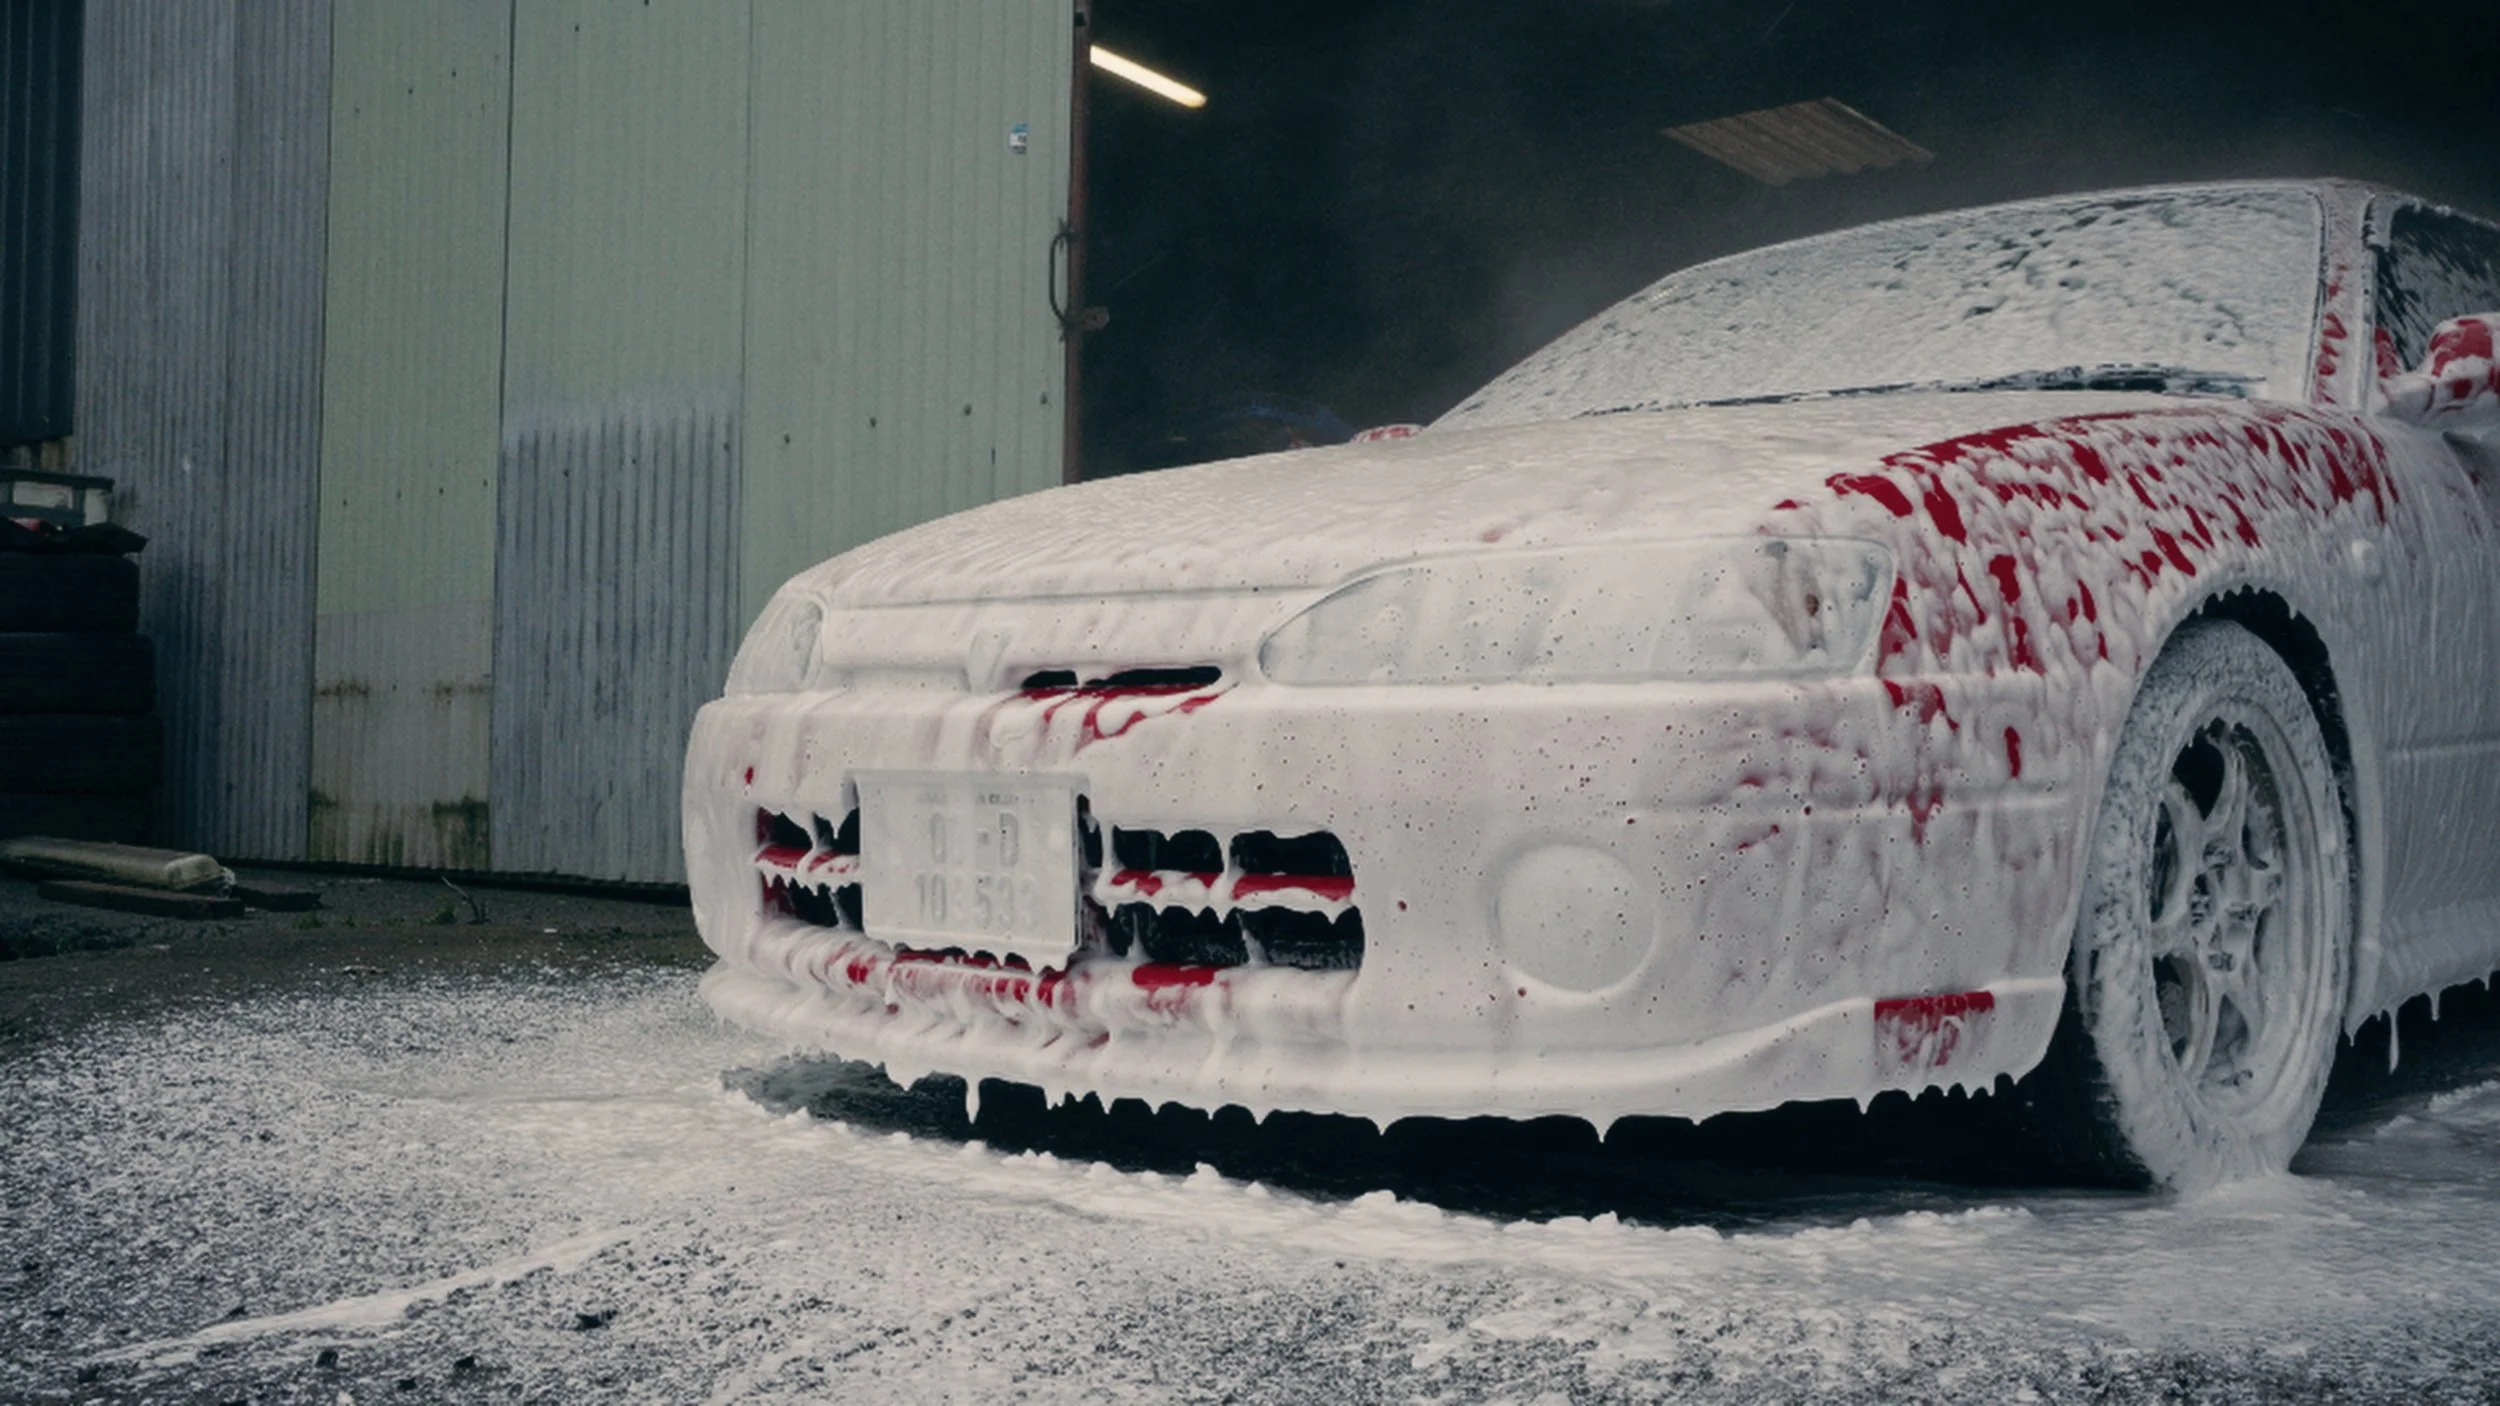
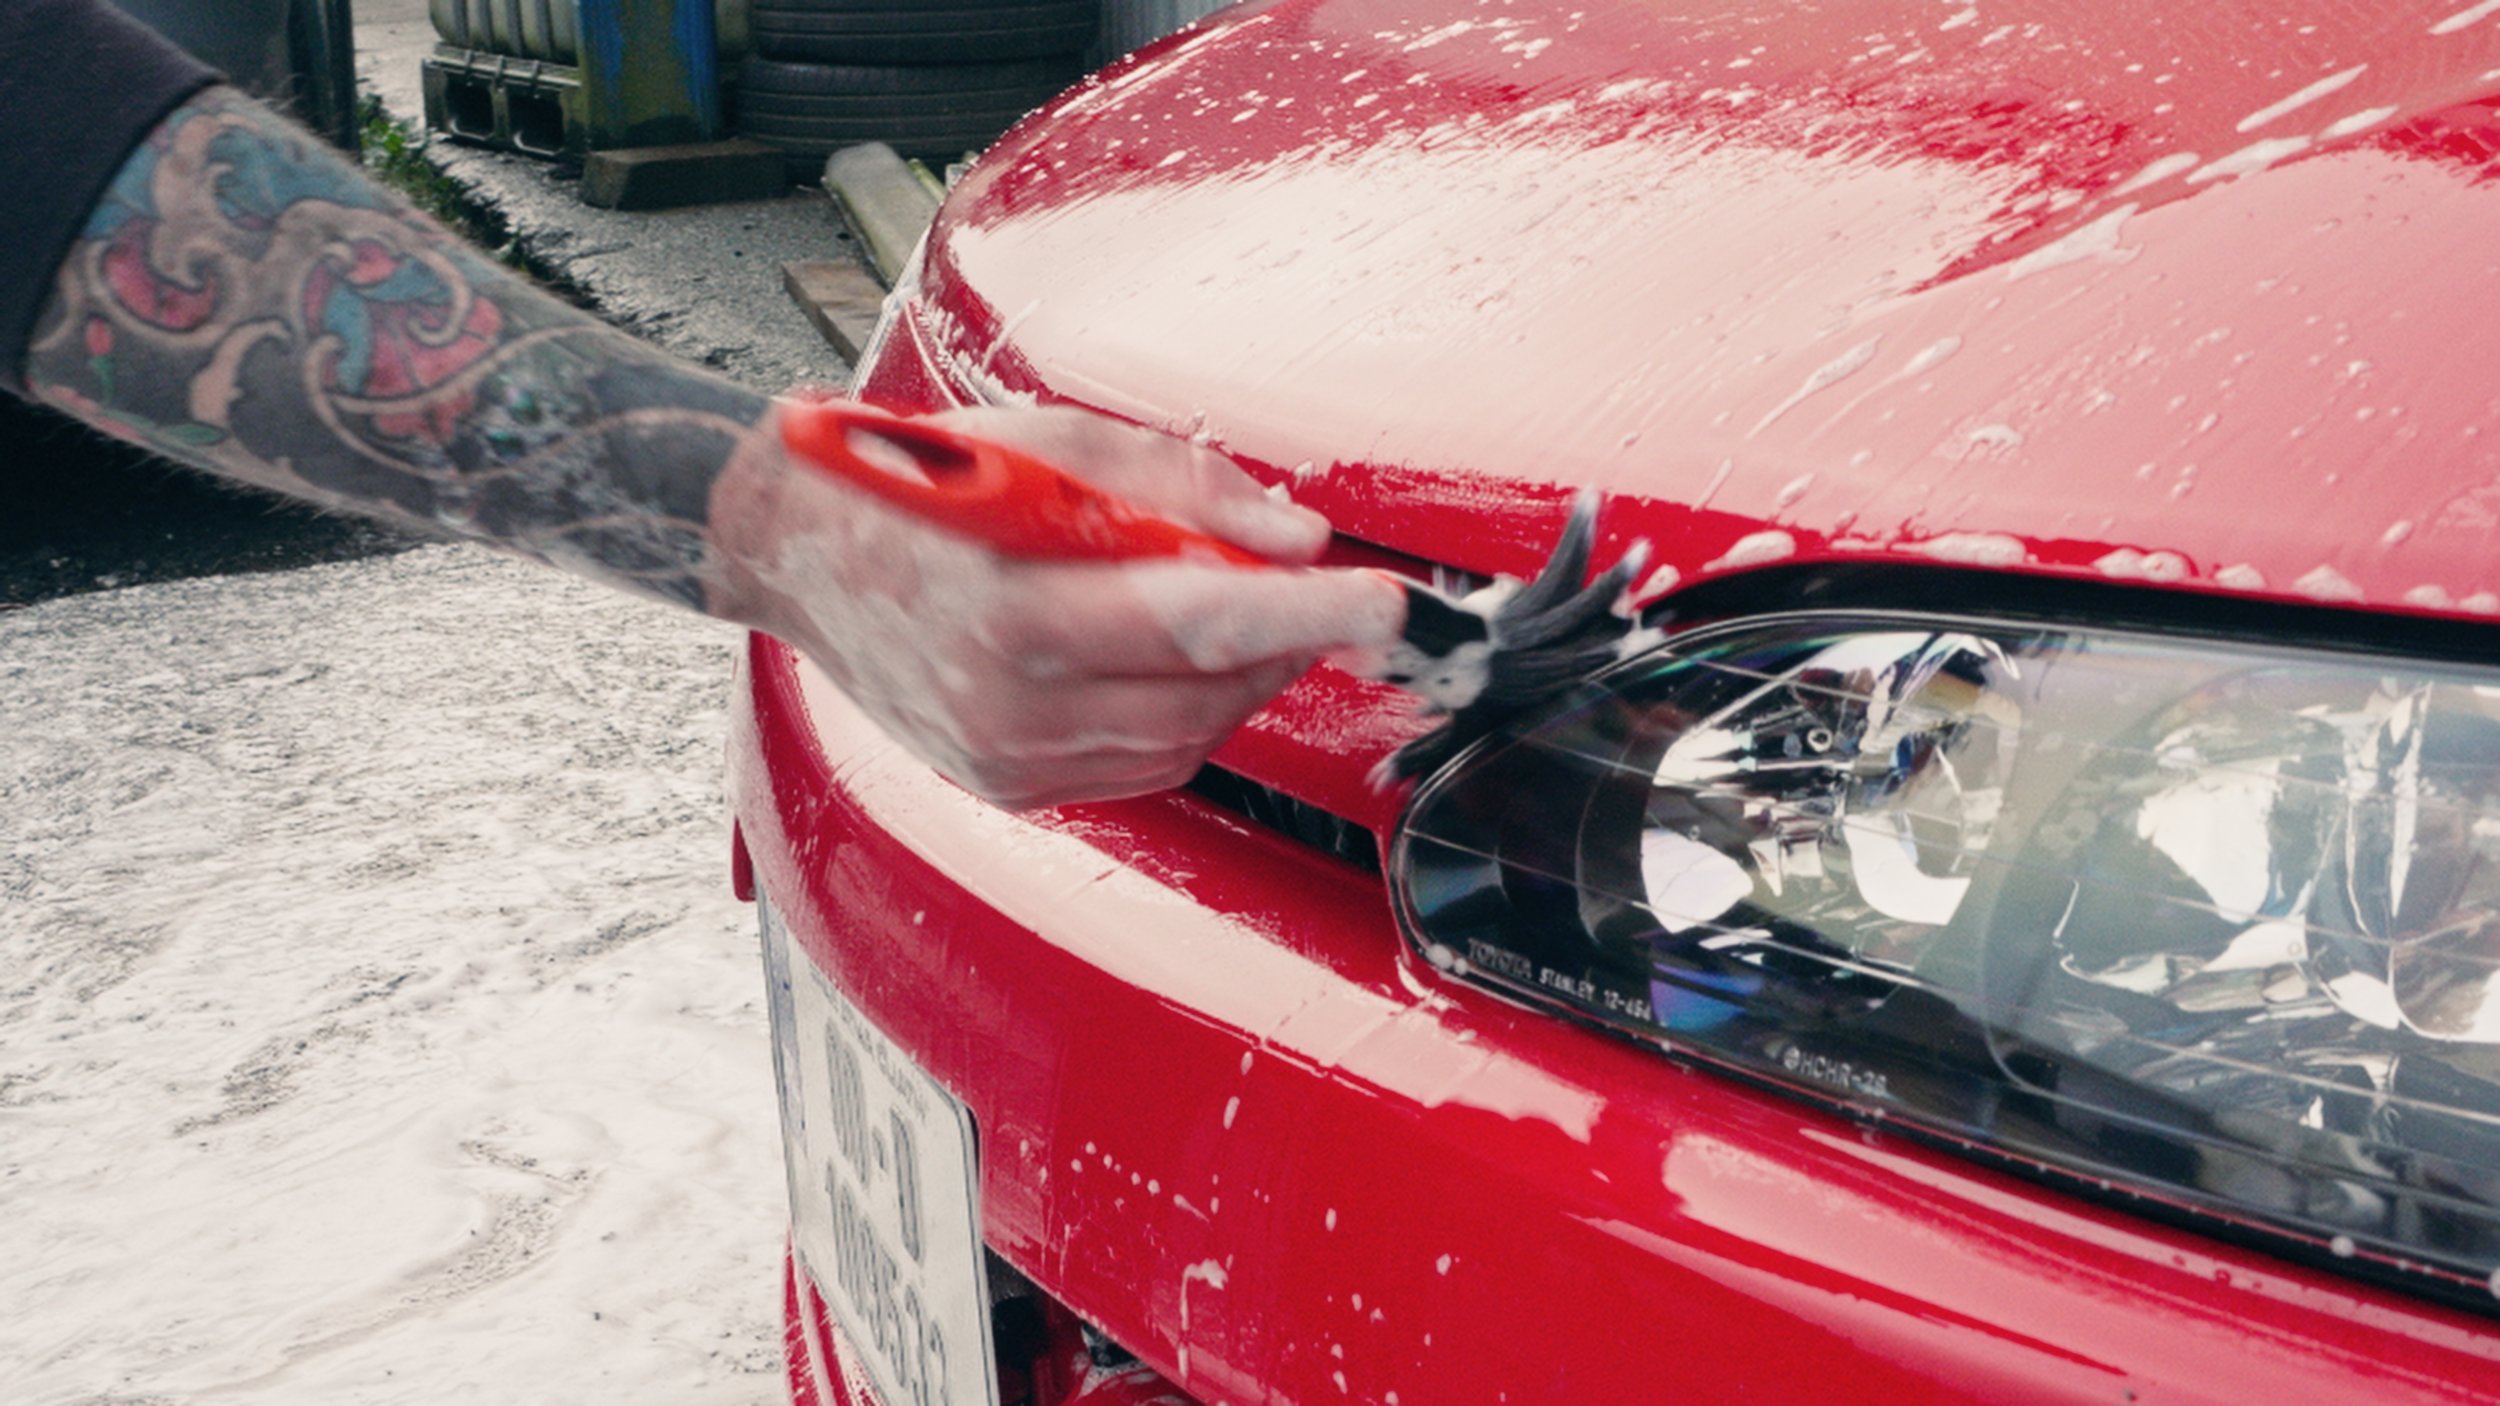
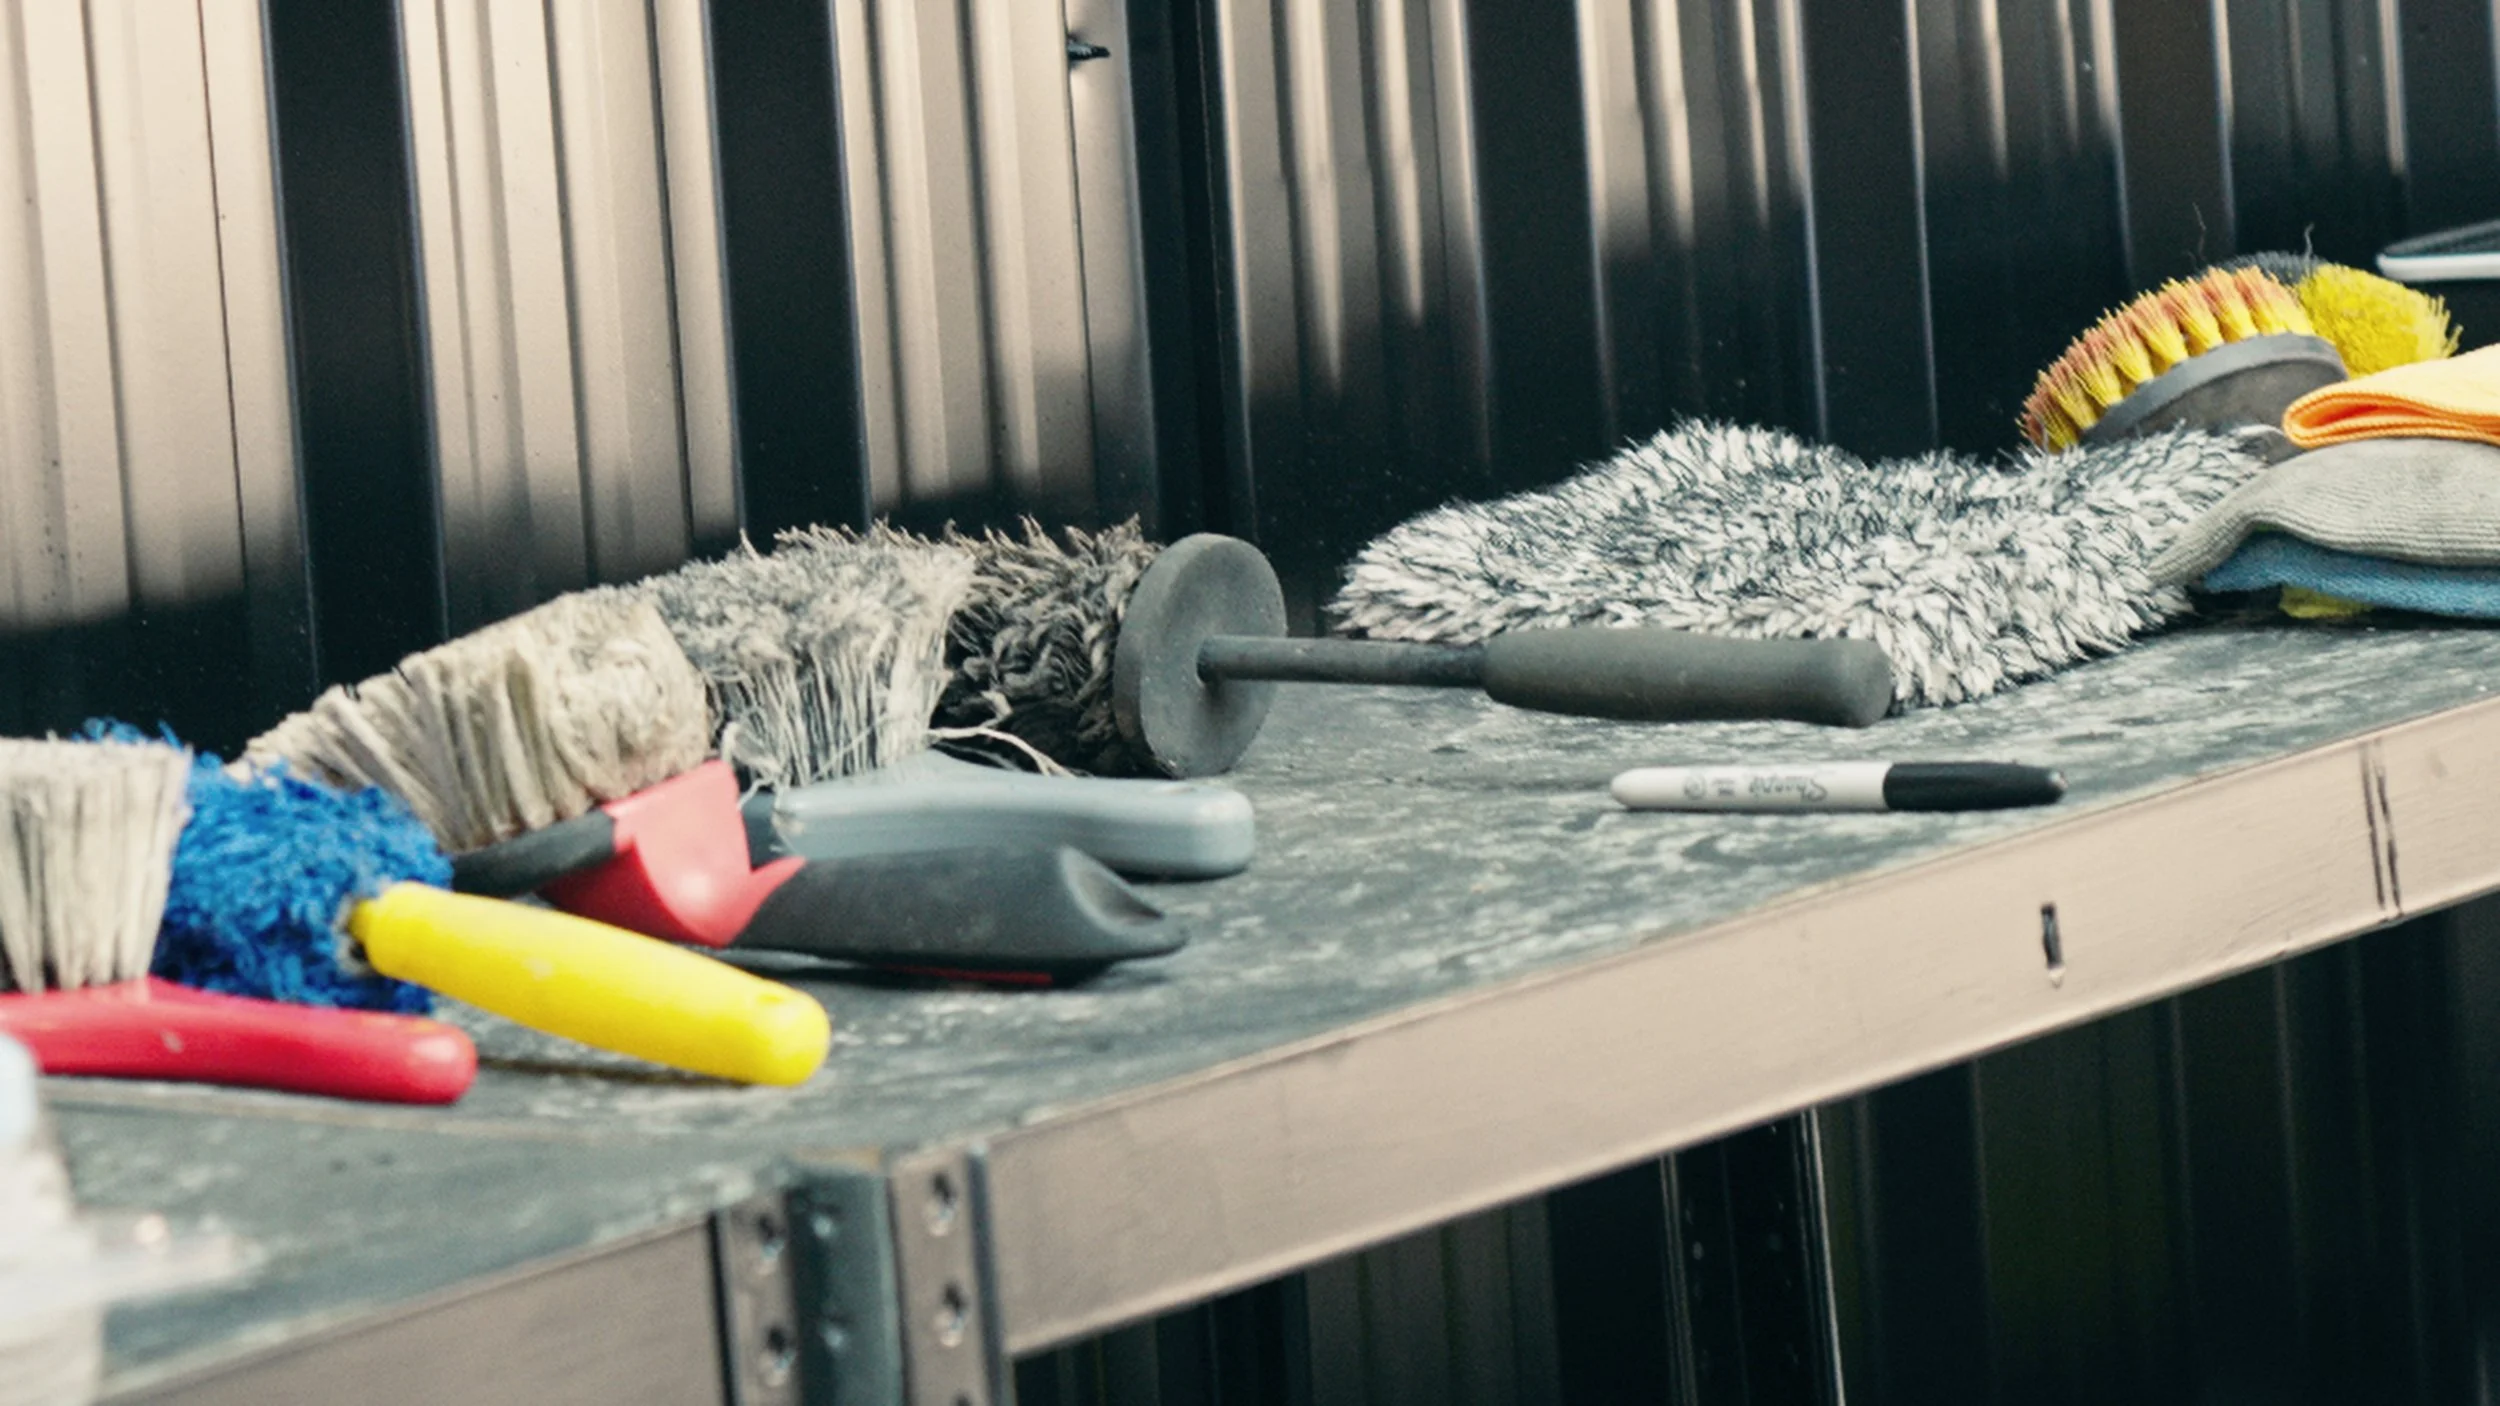
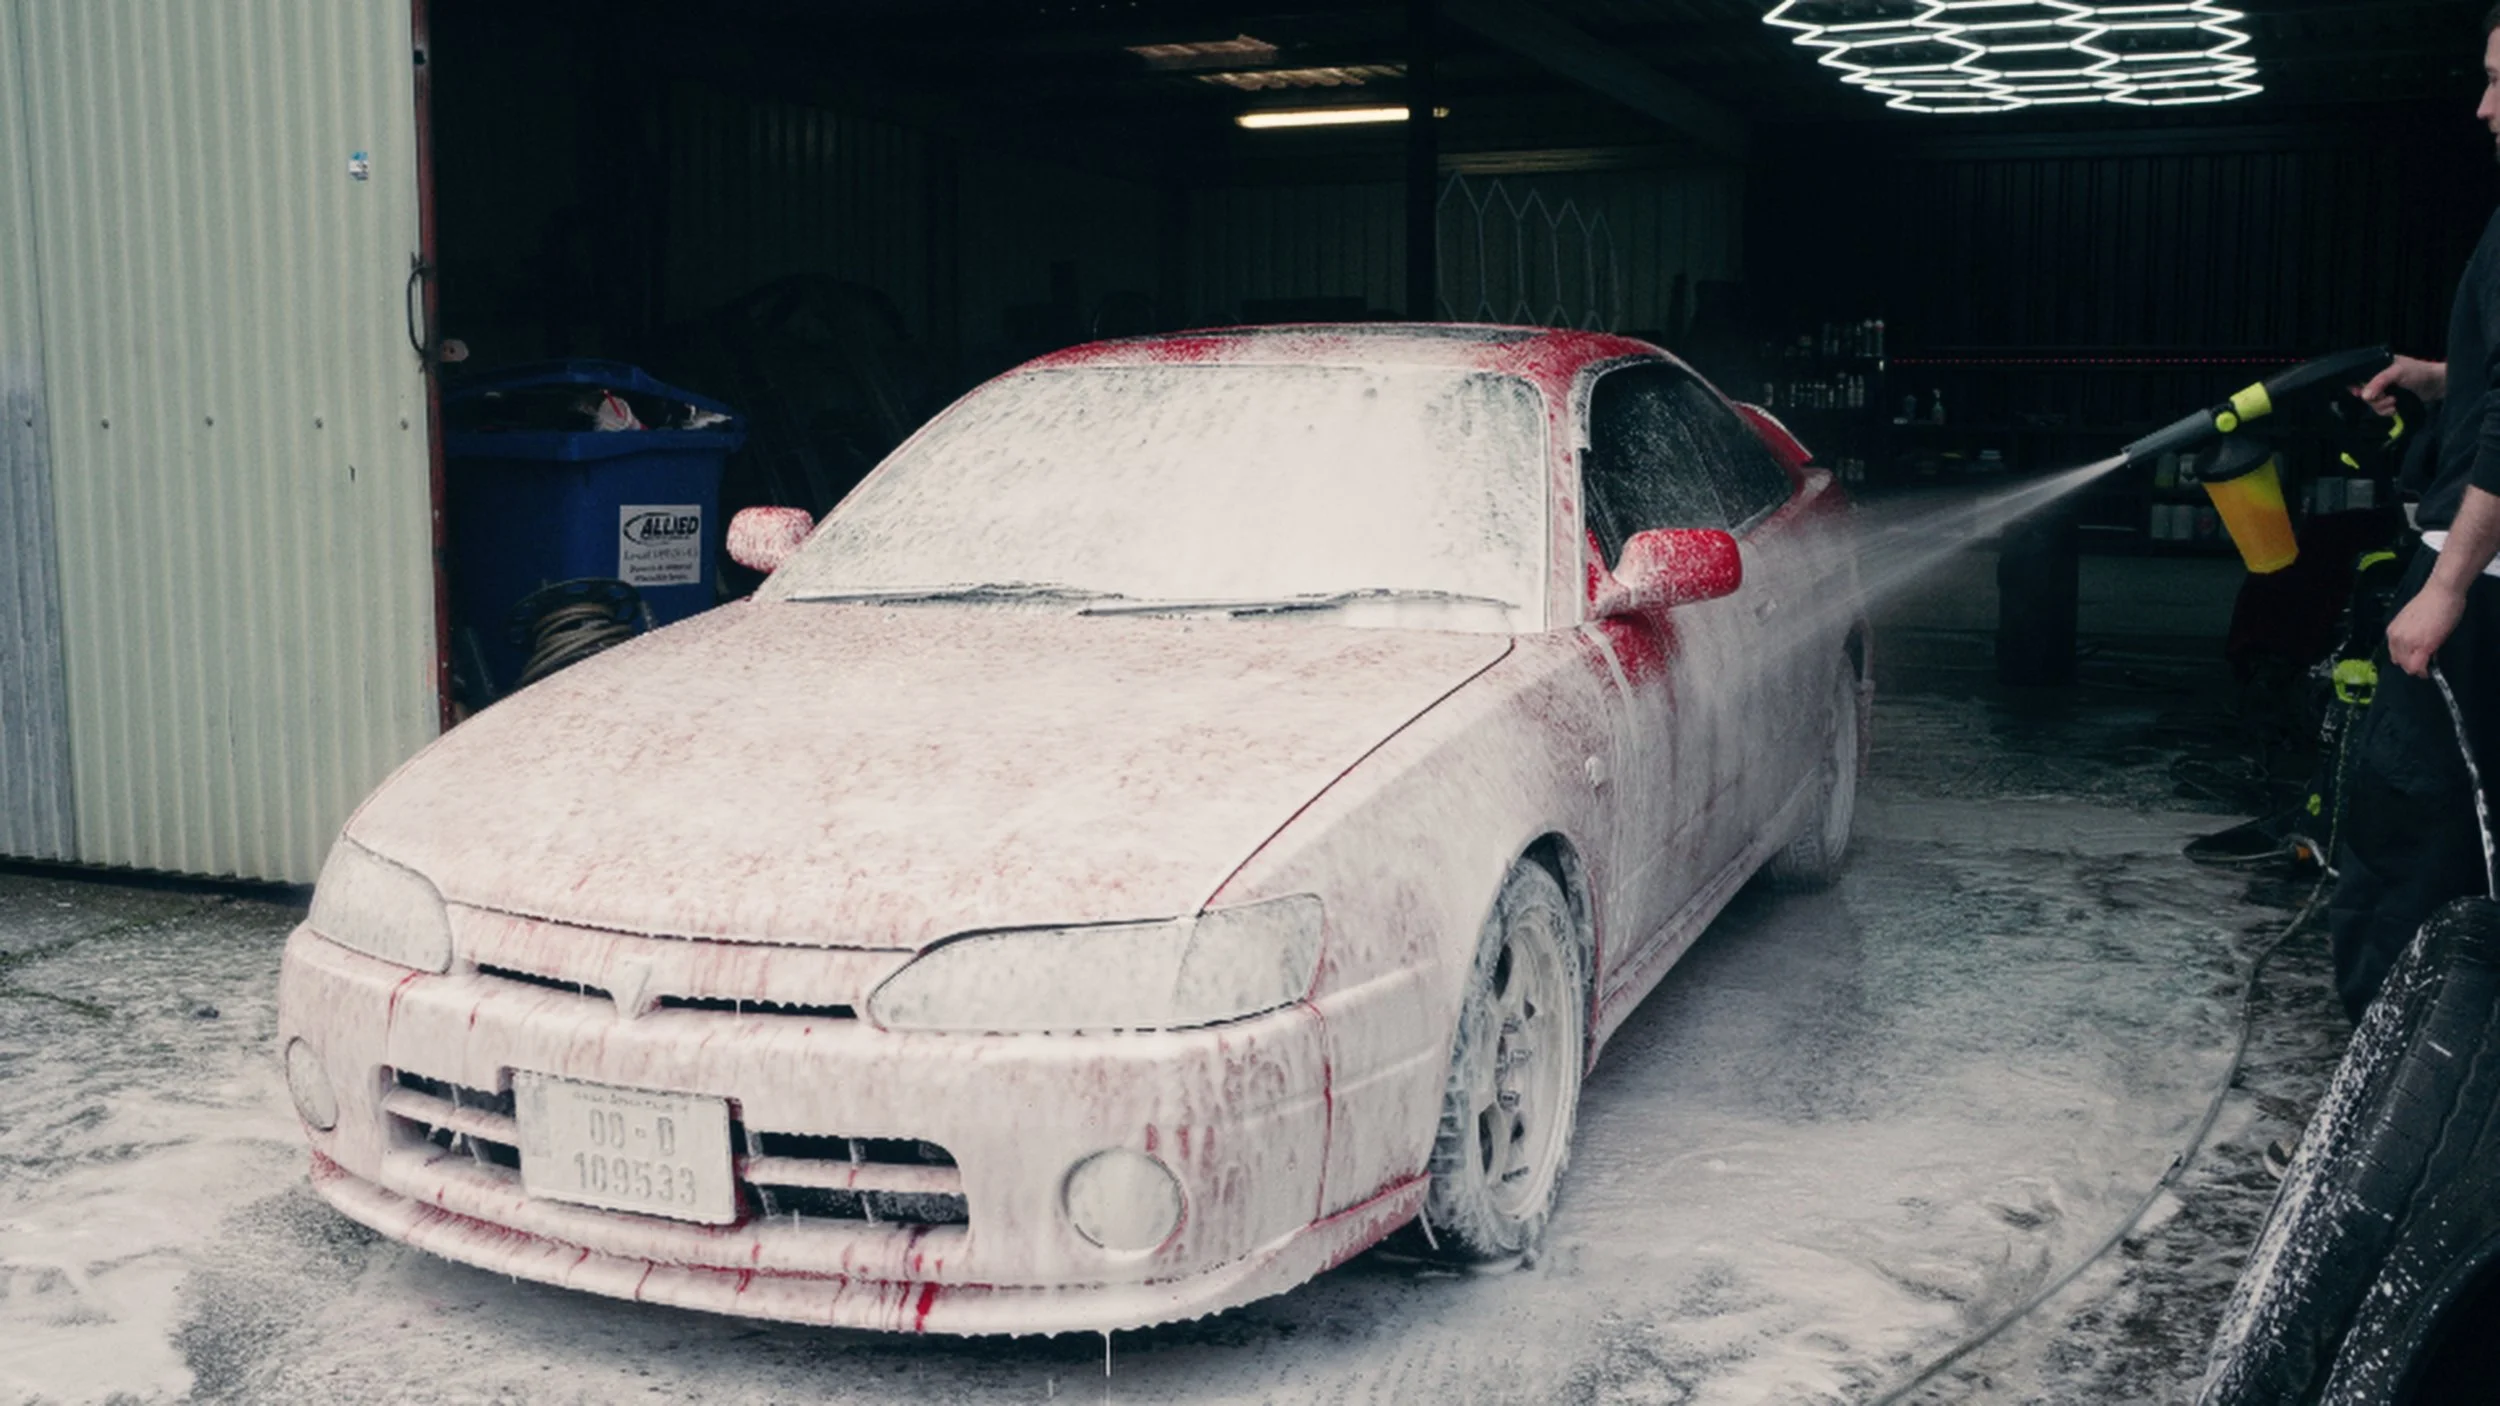
Like every job he takes on, the process starts long before a wash mitt touches the paint. For him, safe washing is the foundation of every proper detail. He begins with a thorough rinse, working from the top down. This loosens road film and lifts as much loose dirt as possible, setting the car up for a safe contact wash. Next, a thick layer of pre‑wash snow foam is applied, clinging to the red panels and settling into badges, trims, and body lines.
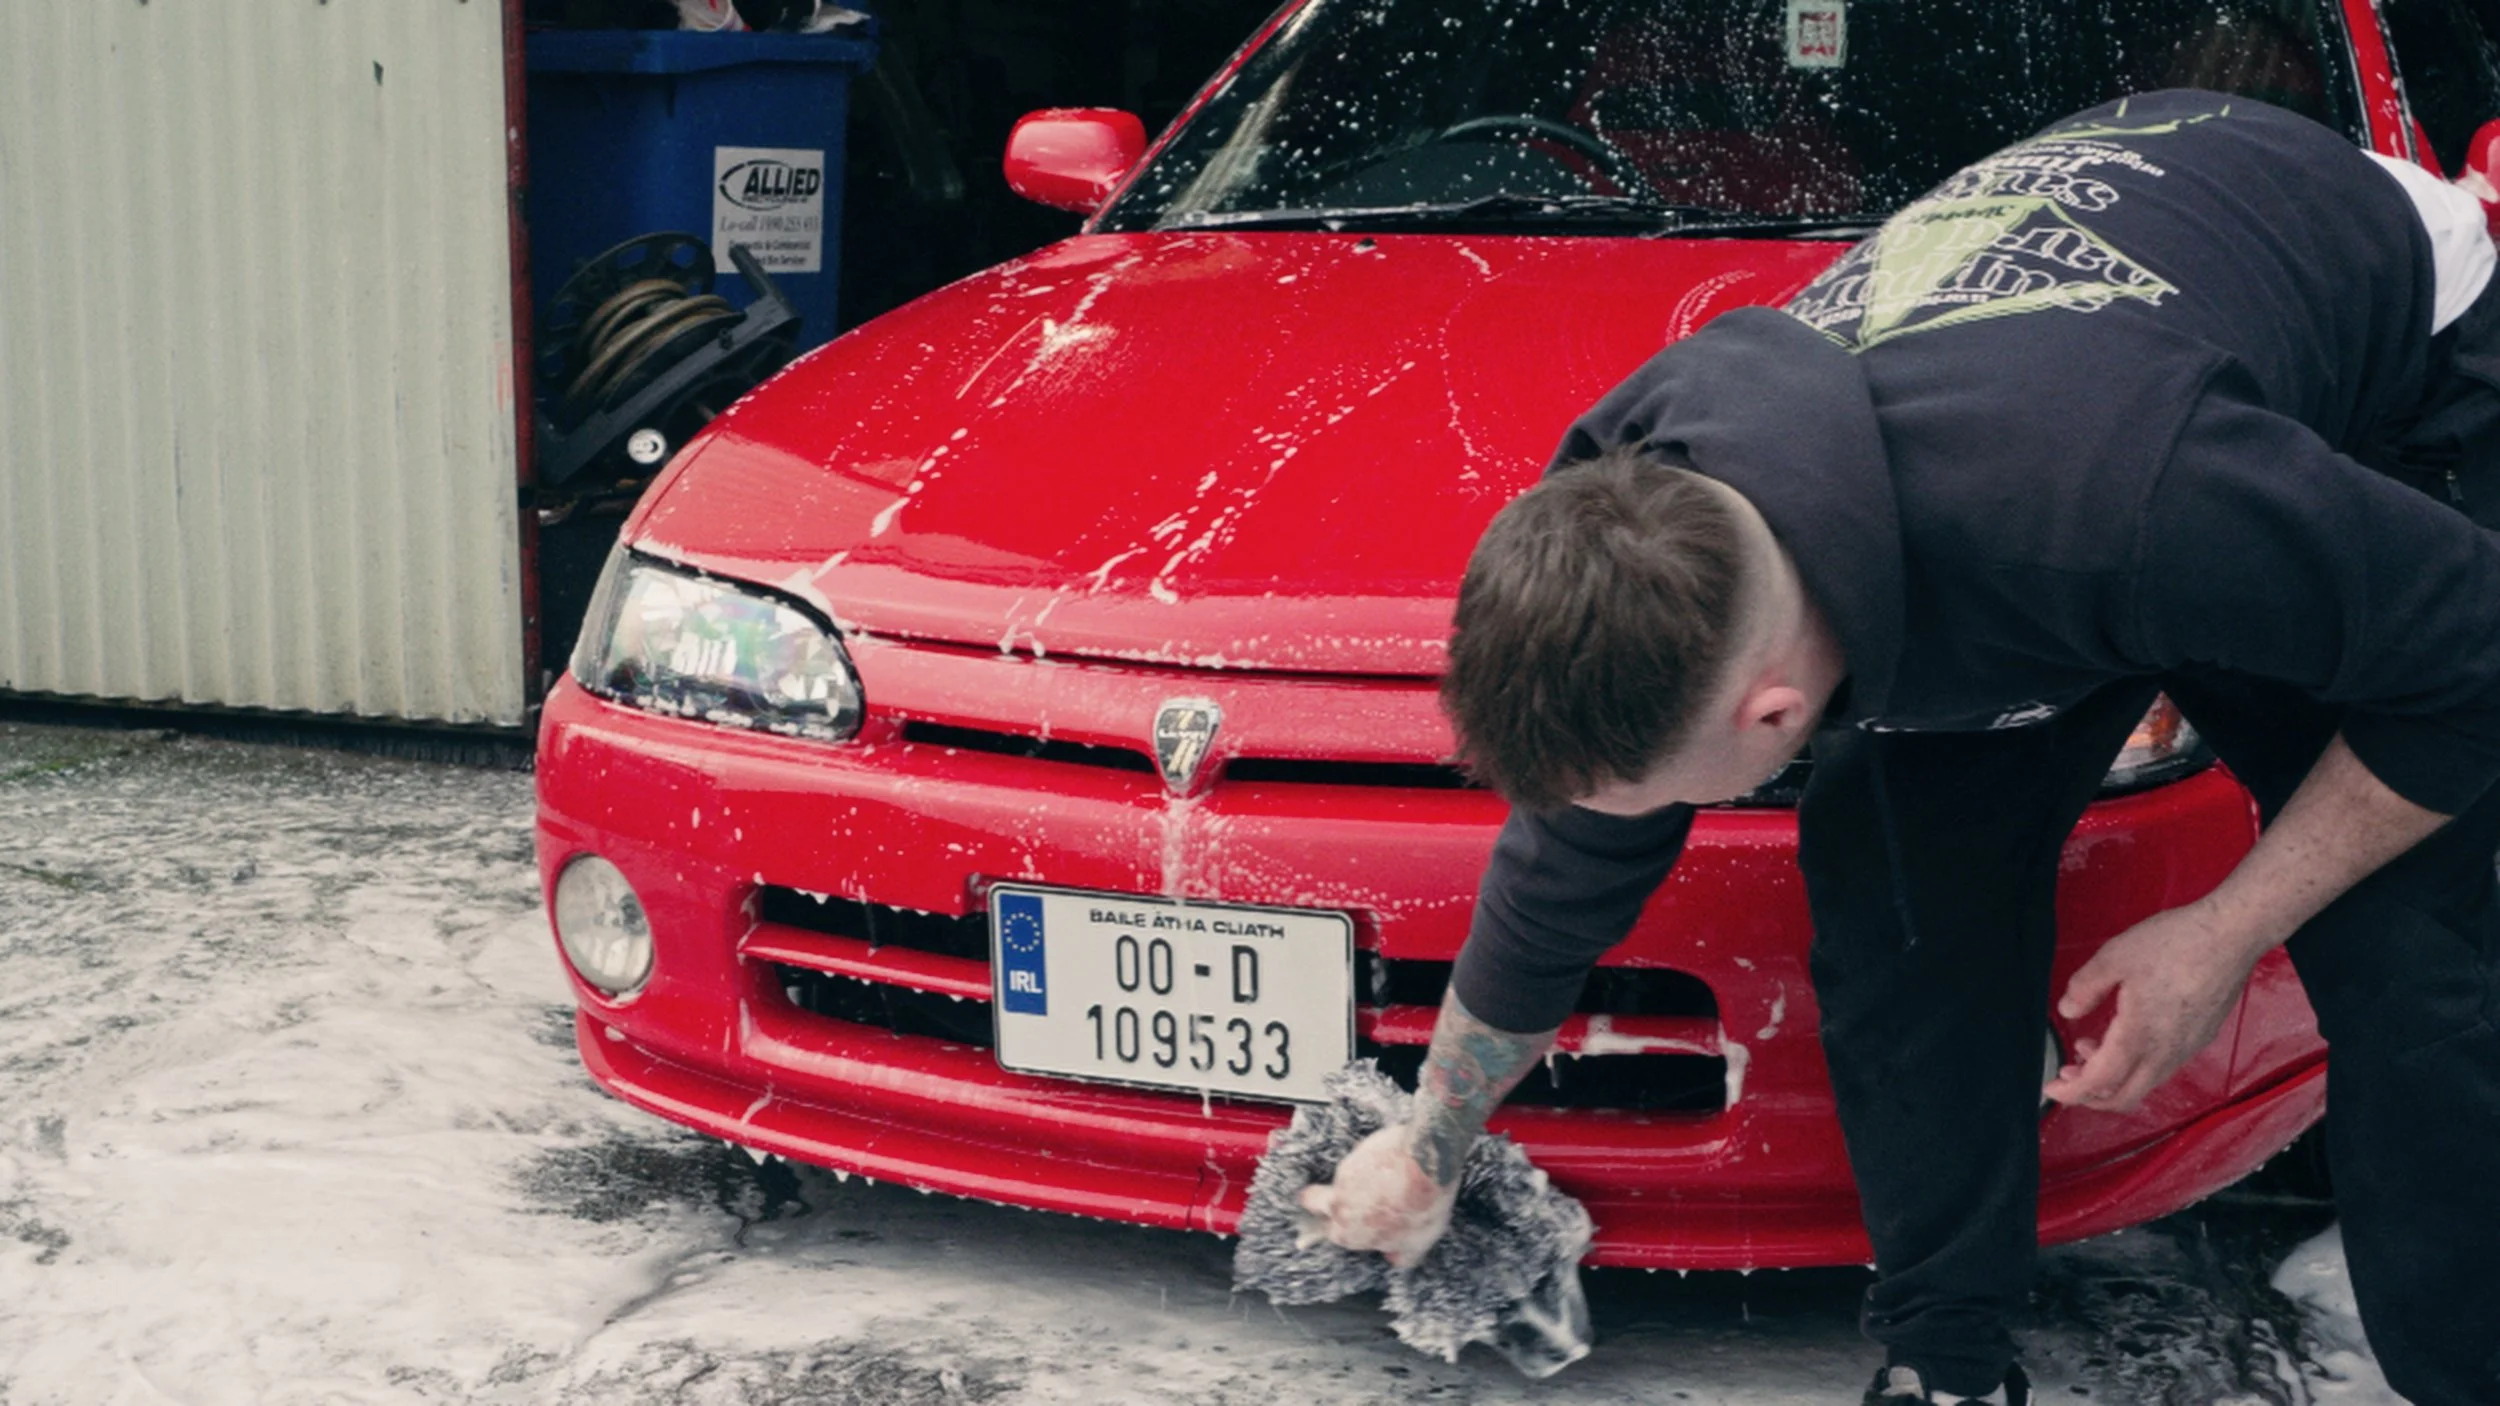
On a car of this age, Shane relies on the foam not just to clean, but to reduce the risk of introducing fresh marks into already delicate paint. Around badges, window rubbers, and the fuel cap, he uses a soft detailing brush to agitate the foam and reach tight areas. These are the small touches that define his work and highlight his attention to detail. Places most people overlook, but that separate a quick wash from a full blown detail. Once the foam has dwelled and done its job, the car is rinsed and moves into the contact wash phase.
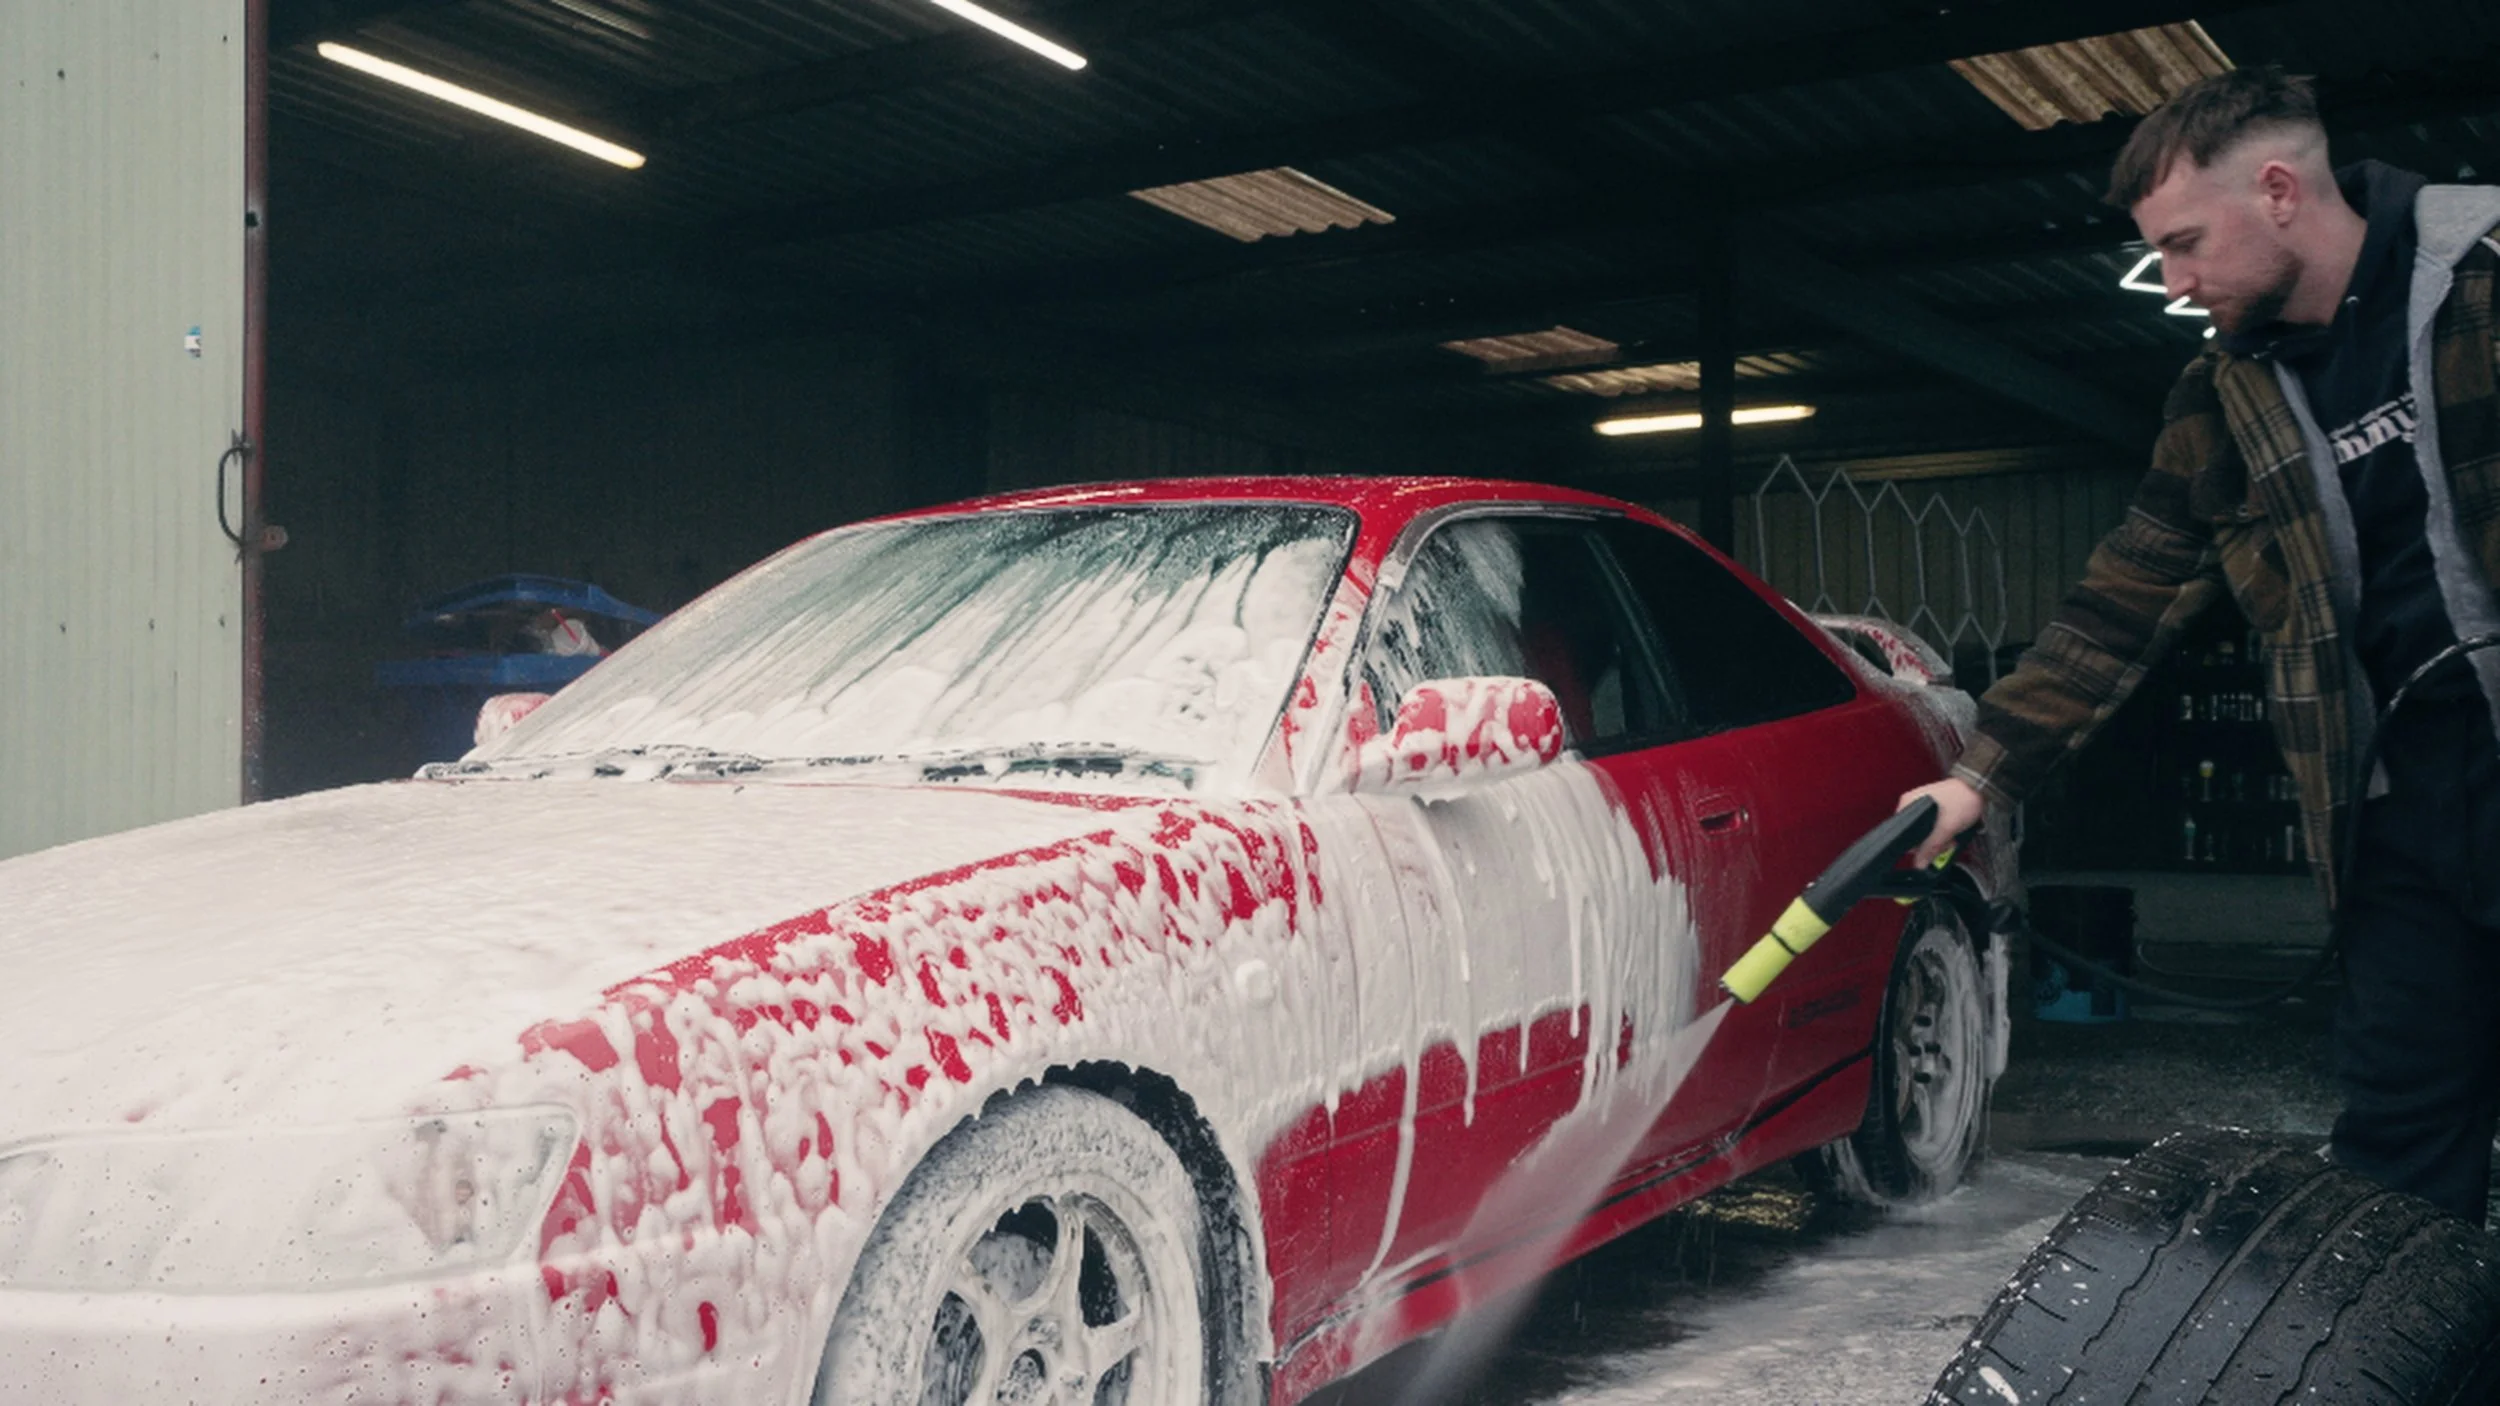
He sticks to the basics that work: a two‑bucket method, a clean mitt, and a controlled, consistent pace. Starting with the roof, bonnet, and boot, he rinses the mitt often, never dragging dirt from one panel to another. Its not quite as obvious with this car as some others, given how well this particular example has been looked after, but they're are a lot of micro swirl marks in the paint. Which, after speaking to Shane, you learn is a near impossible thing to avoid as time goes by. This part of the job is about discipline rather than speed.
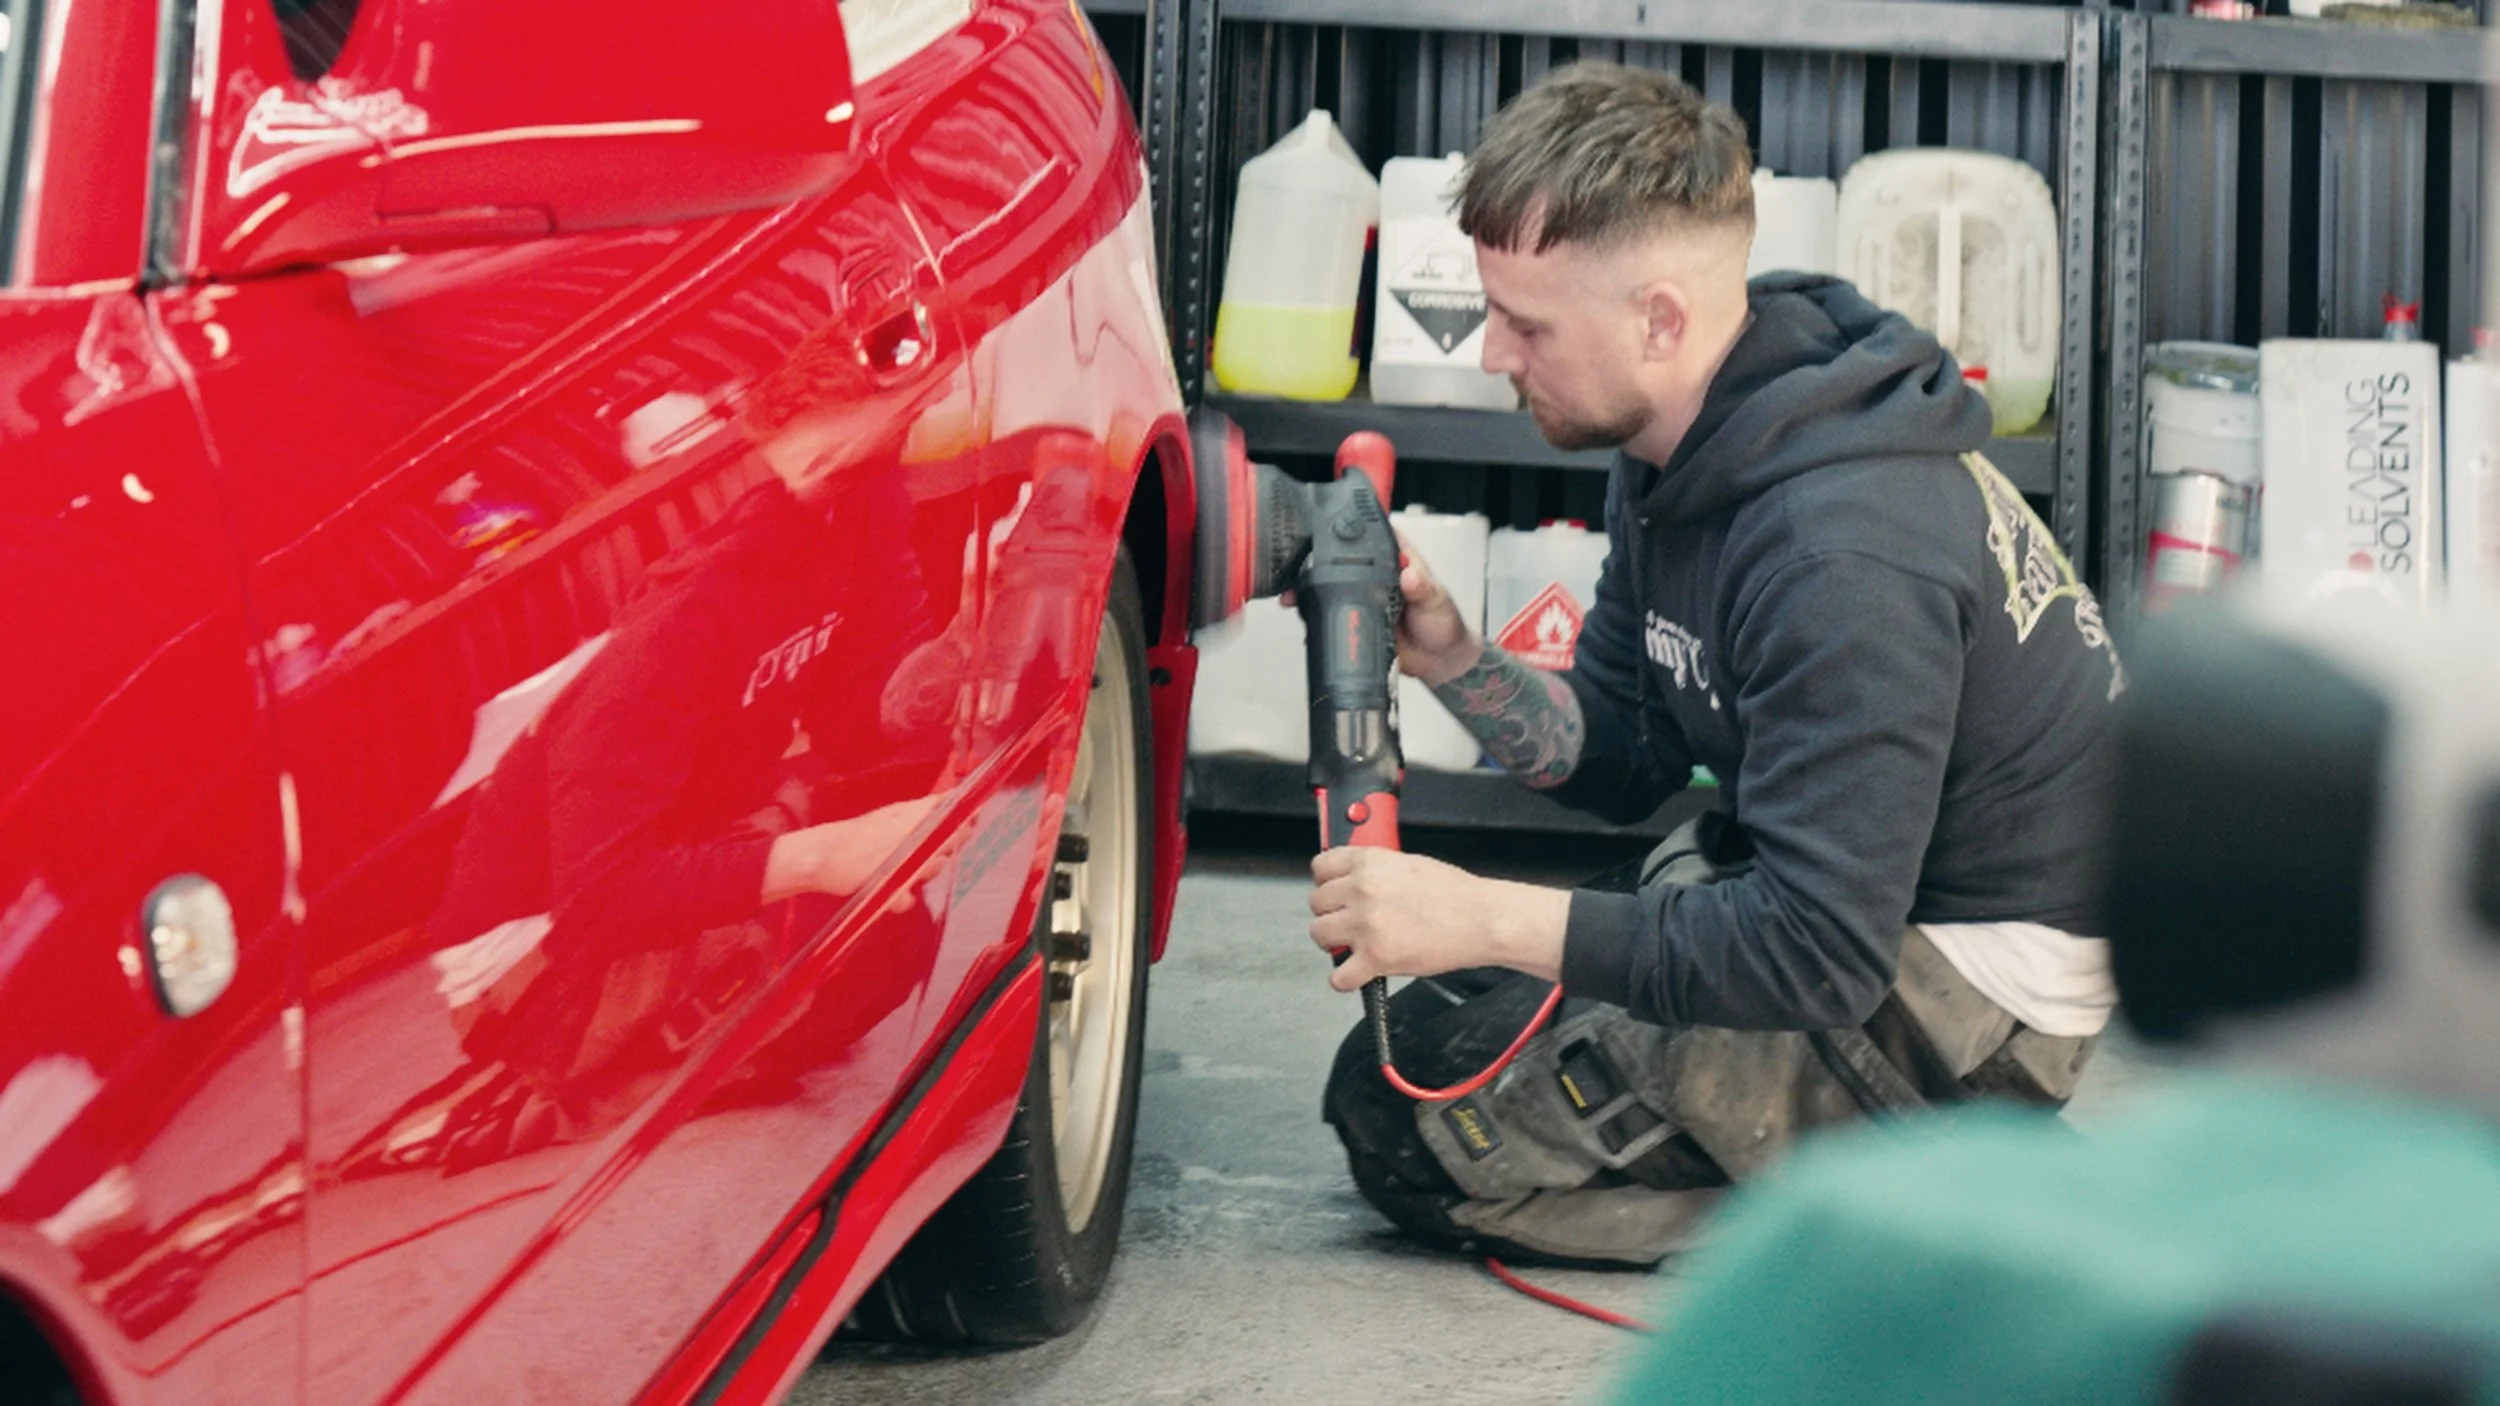
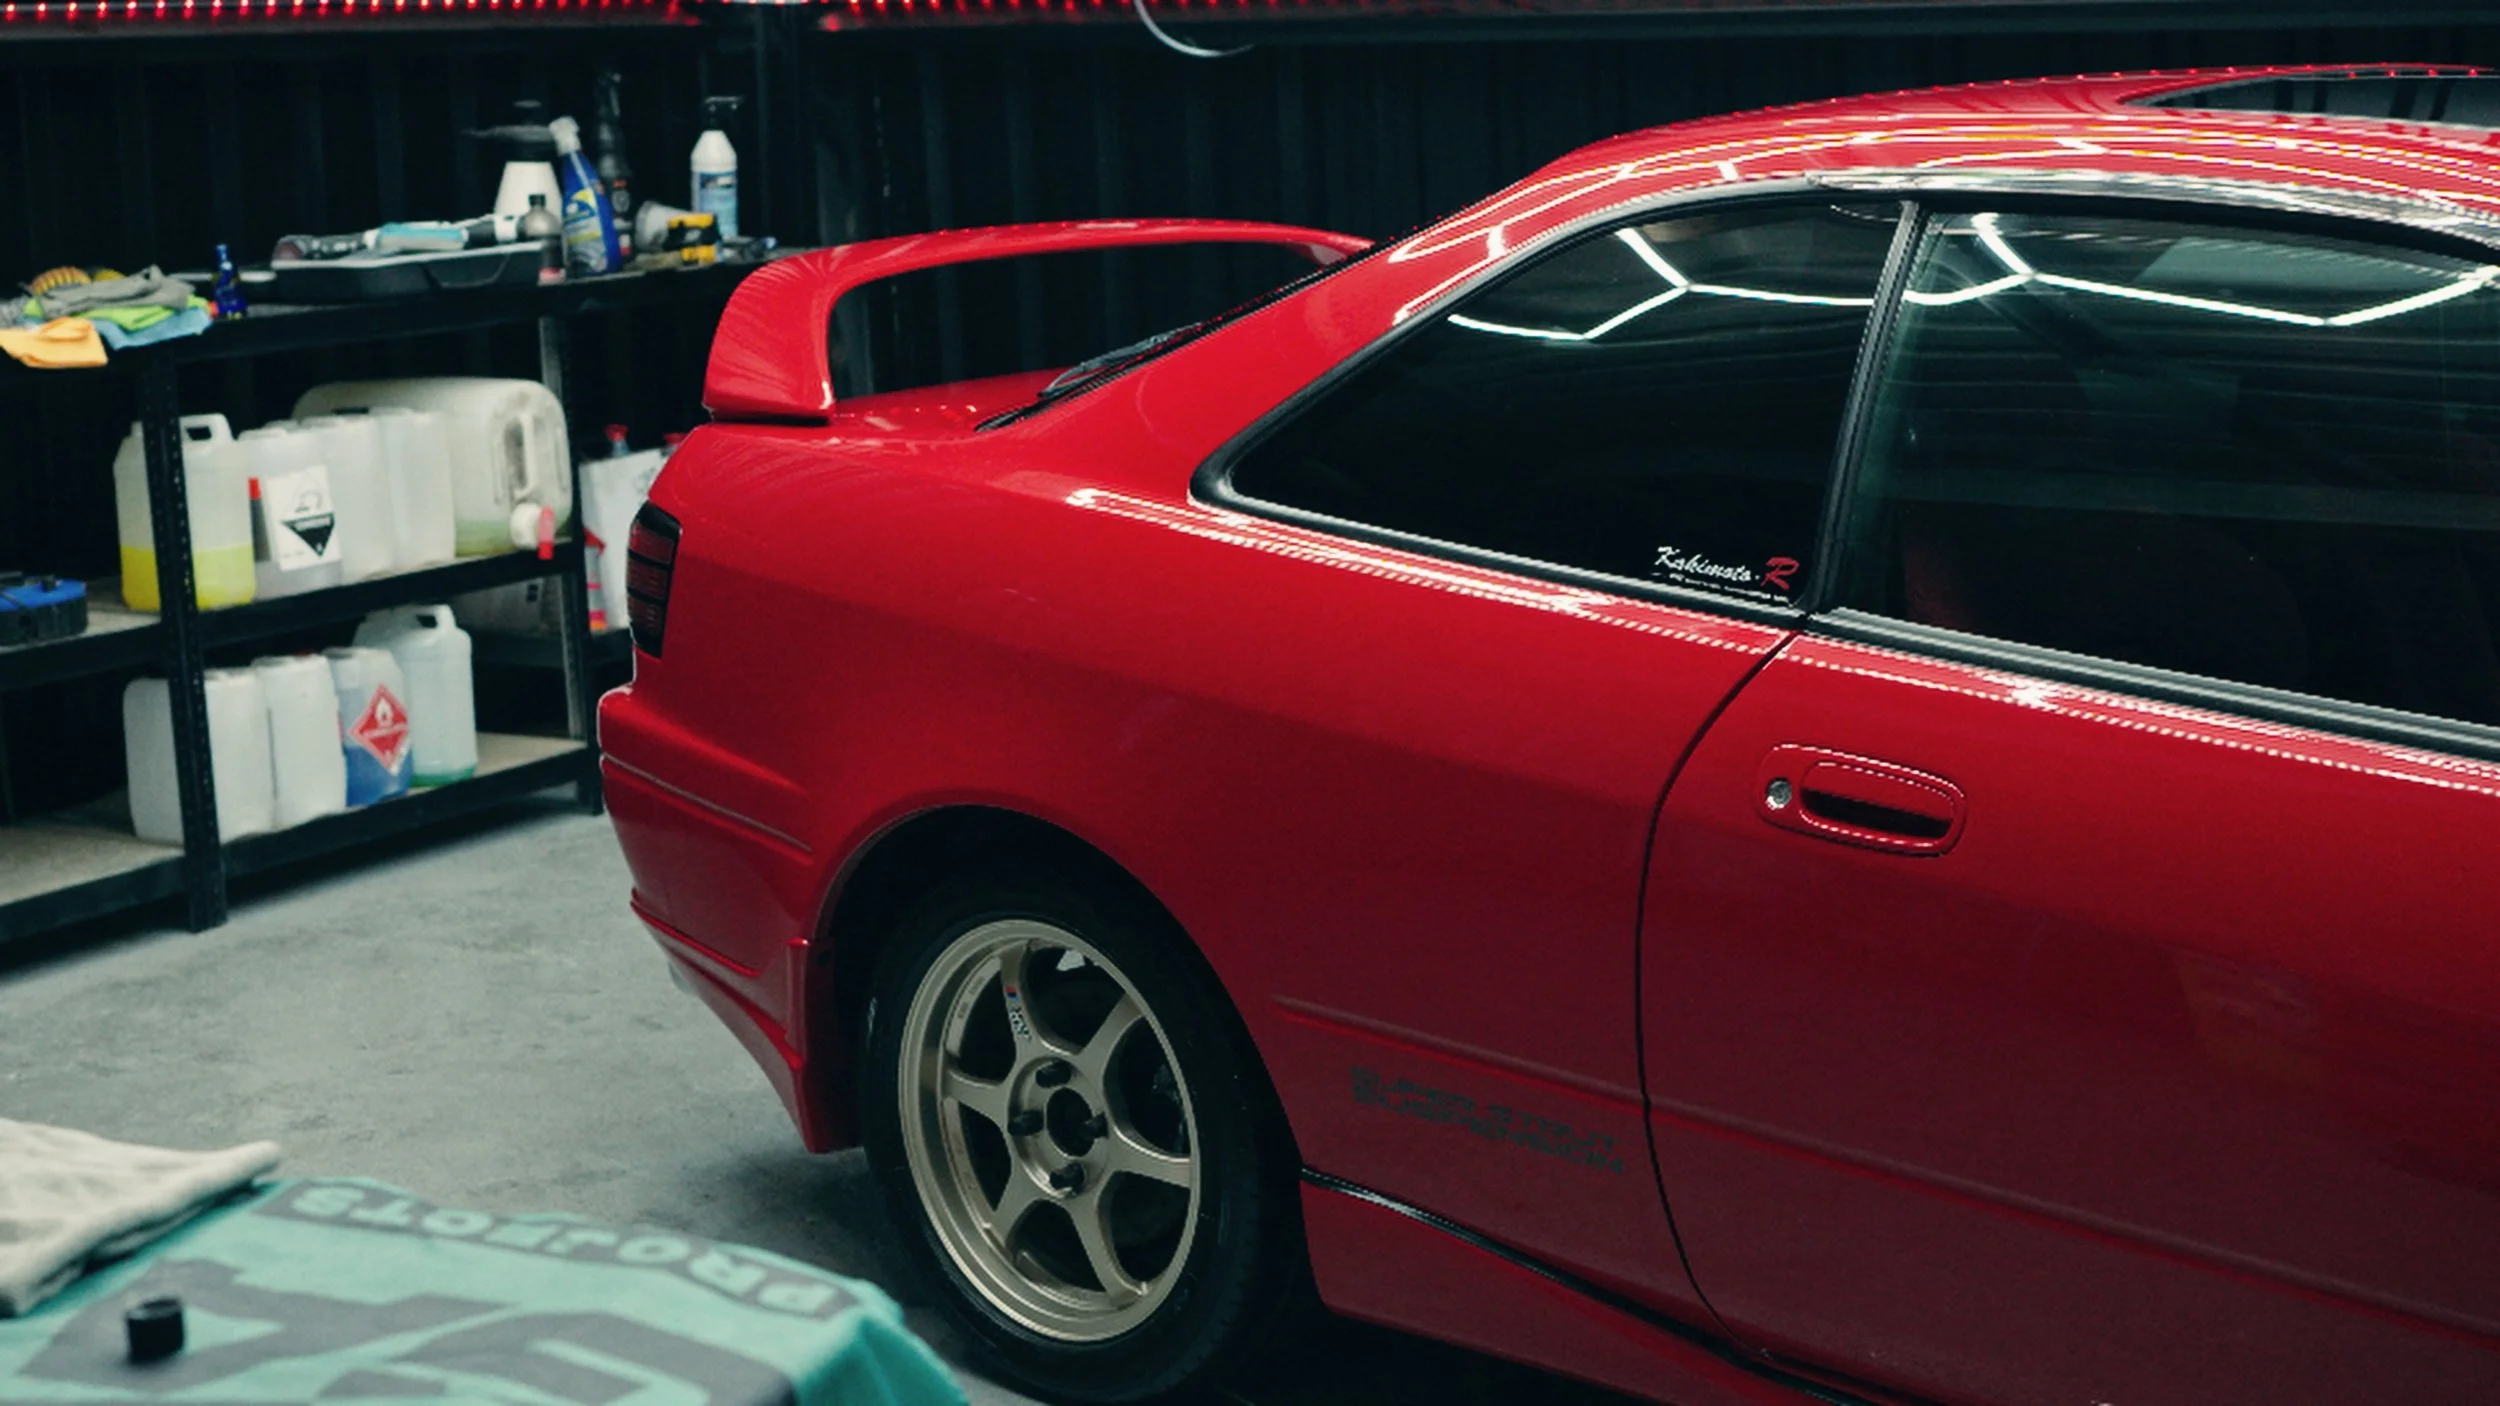
Every panel, every edge, every lower section gets equal attention, building a clean base for everything that follows. Shane has a separate routine for the wheels and arches, and the SSR Type‑Cs are treated with the same care as the bodywork. He uses a dedicated wheel cleaner, soft brushes for the faces and barrels, and separate wash media that never come near the paint. On older, original wheels like these, patience and the right products are the key to keeping the finish looking fresh. The wheel arches are flushed, tyres are scrubbed, and the undersides are cleaned with the same intent as the visible panels. It’s work many people will never notice directly, but it’s part of the standard every car is held to here.
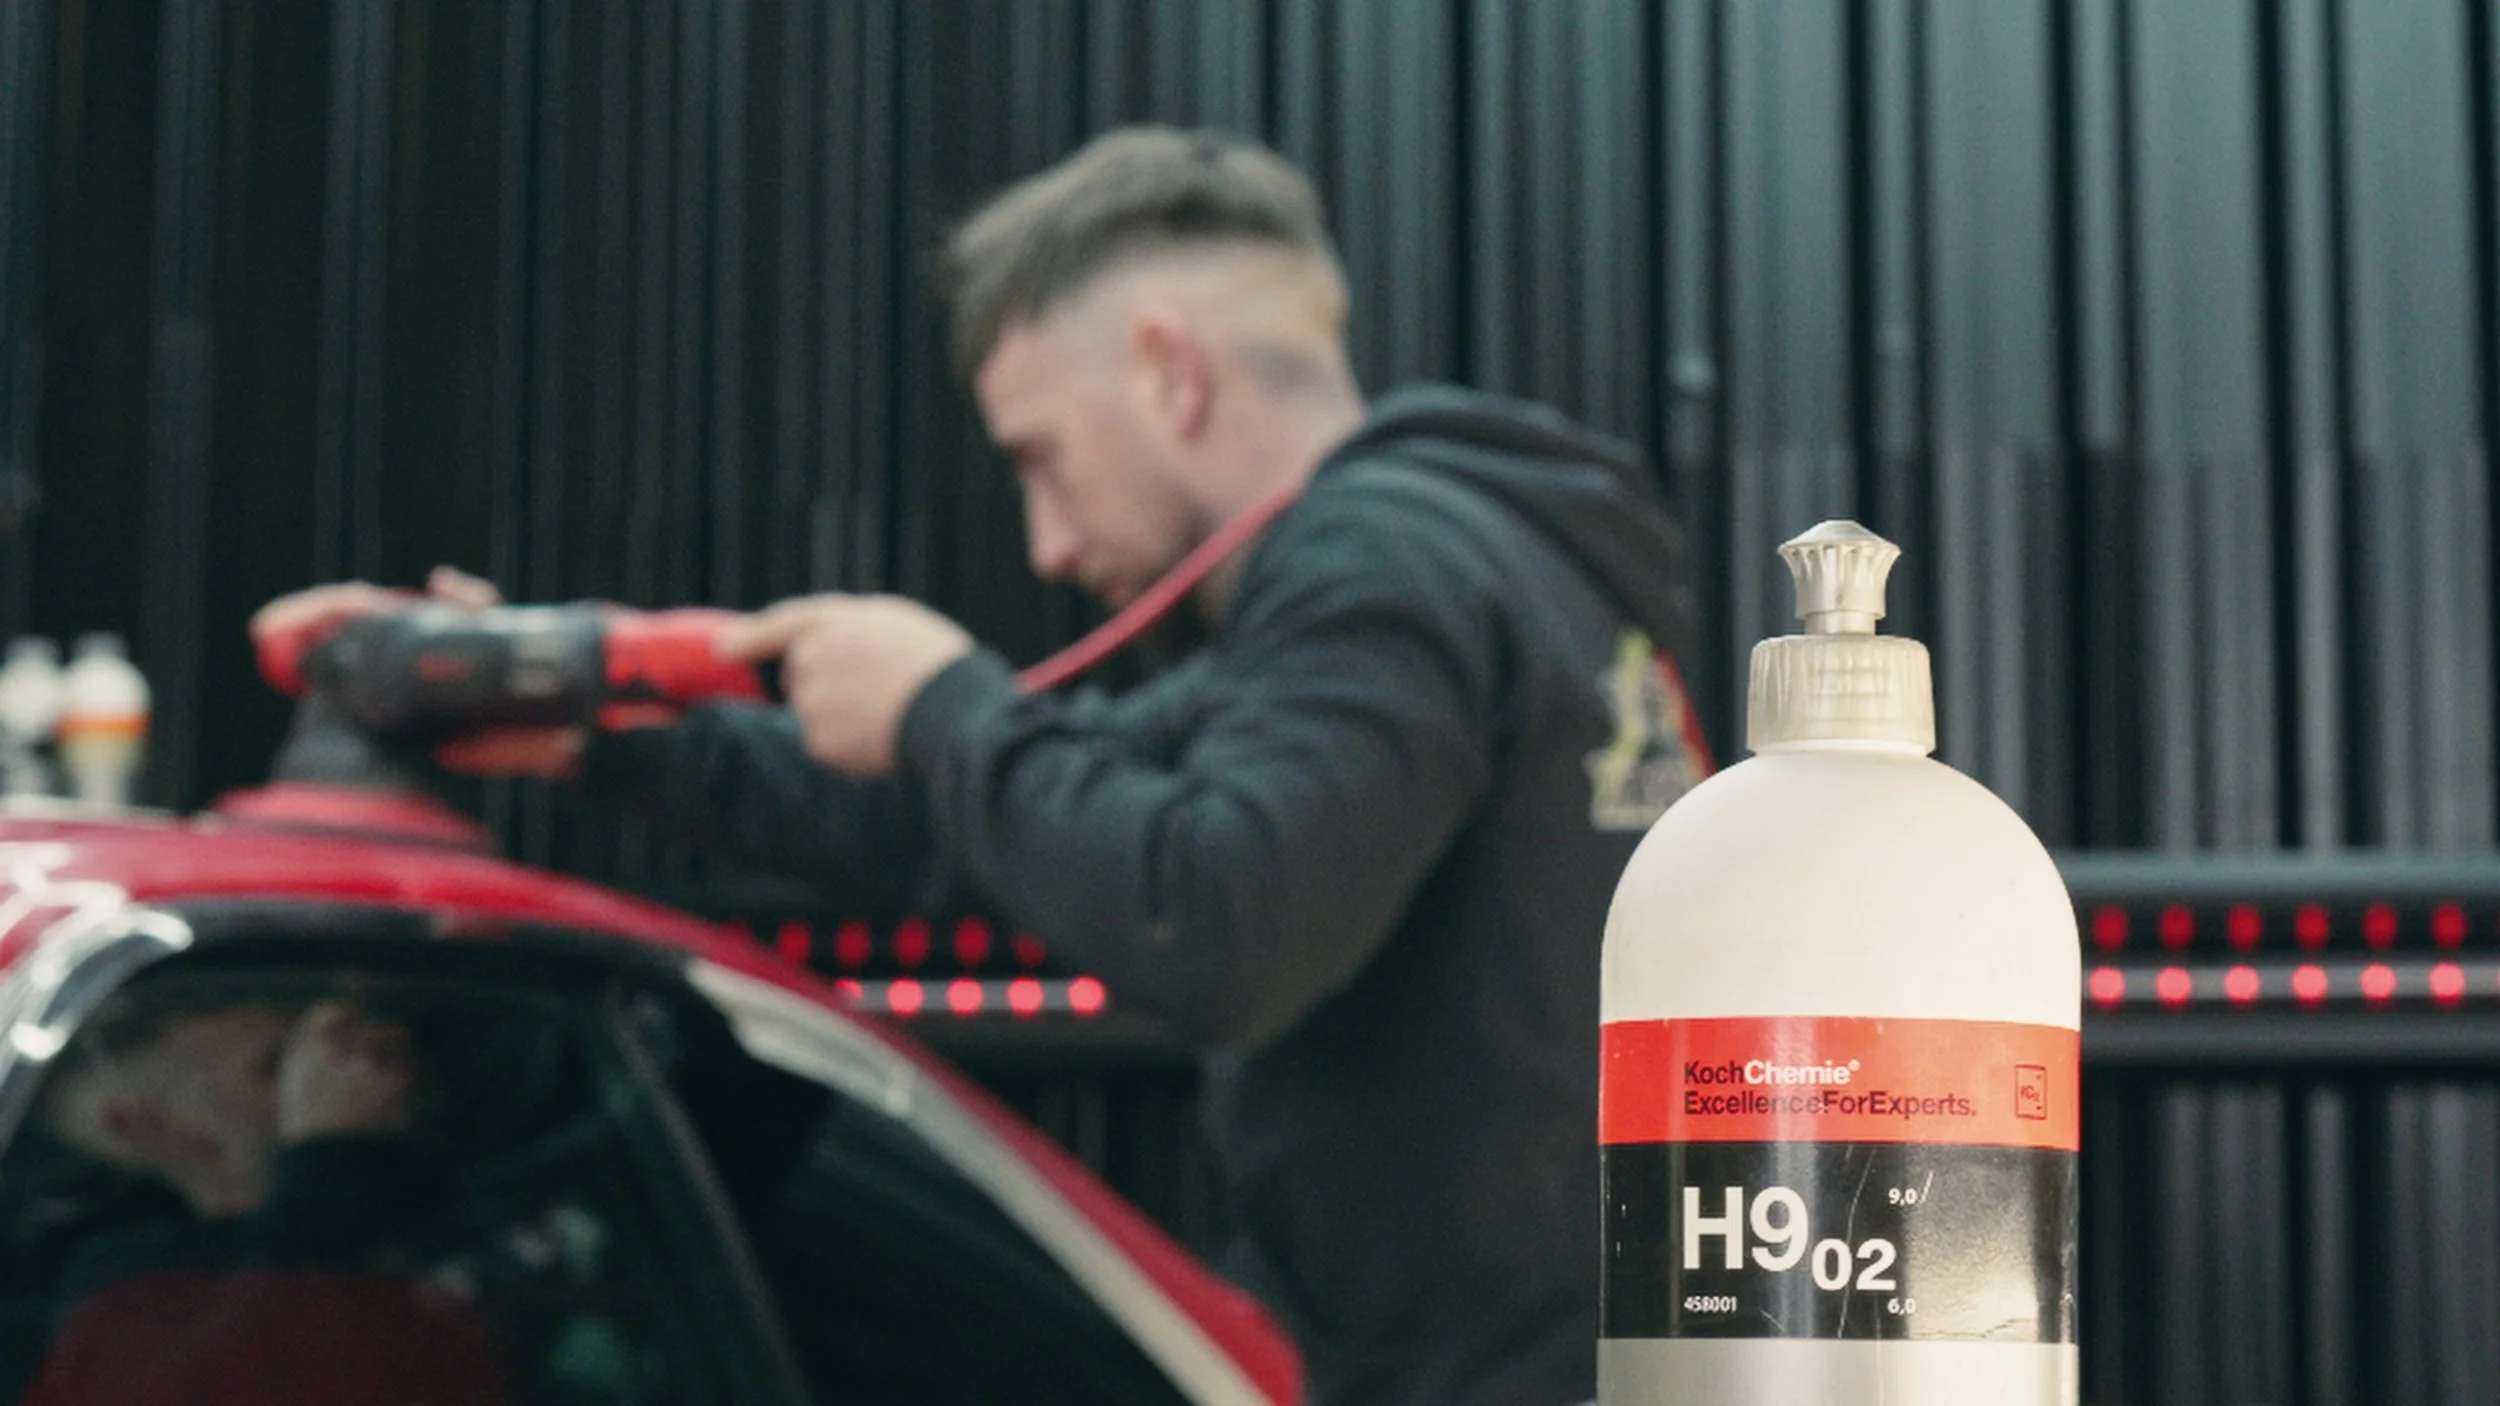
With the visible dirt removed, decontamination is now the word of the hour. This is where he starts to prepare the paint for meaningful correction. A chemical iron remover is applied to the bodywork. On red paint, it doesn’t always put on a visual show, but theres a reliance on smell, dwell time, and experience to know it’s doing its job. After letting it work, he rinses thoroughly, taking embedded brake dust and fallout with it. Only when the surface finally feels closer to glass under his fingertips does he move on.
This step isn’t optional or rushed. It’s a non‑negotiable part of ensuring that the polishing stages do what they’re supposed to do.
With the car dry and under proper lighting, the paint can now be seen for what it really is. Light swirl marks cover the panels, with deeper, random scratches scattered through the high‑touch areas. Years of washing, weather, and day‑to‑day use have softened the once‑sharp reflections into a dull blur. Shane doesn’t guess his way through this stage. Panel by panel, he assesses what each area needs, deciding where a single‑stage polish will suffice and where a heavier cut is required. It’s a quiet part of the process, but it’s where experience matters most. A good result starts with the right plan, not just the right products.
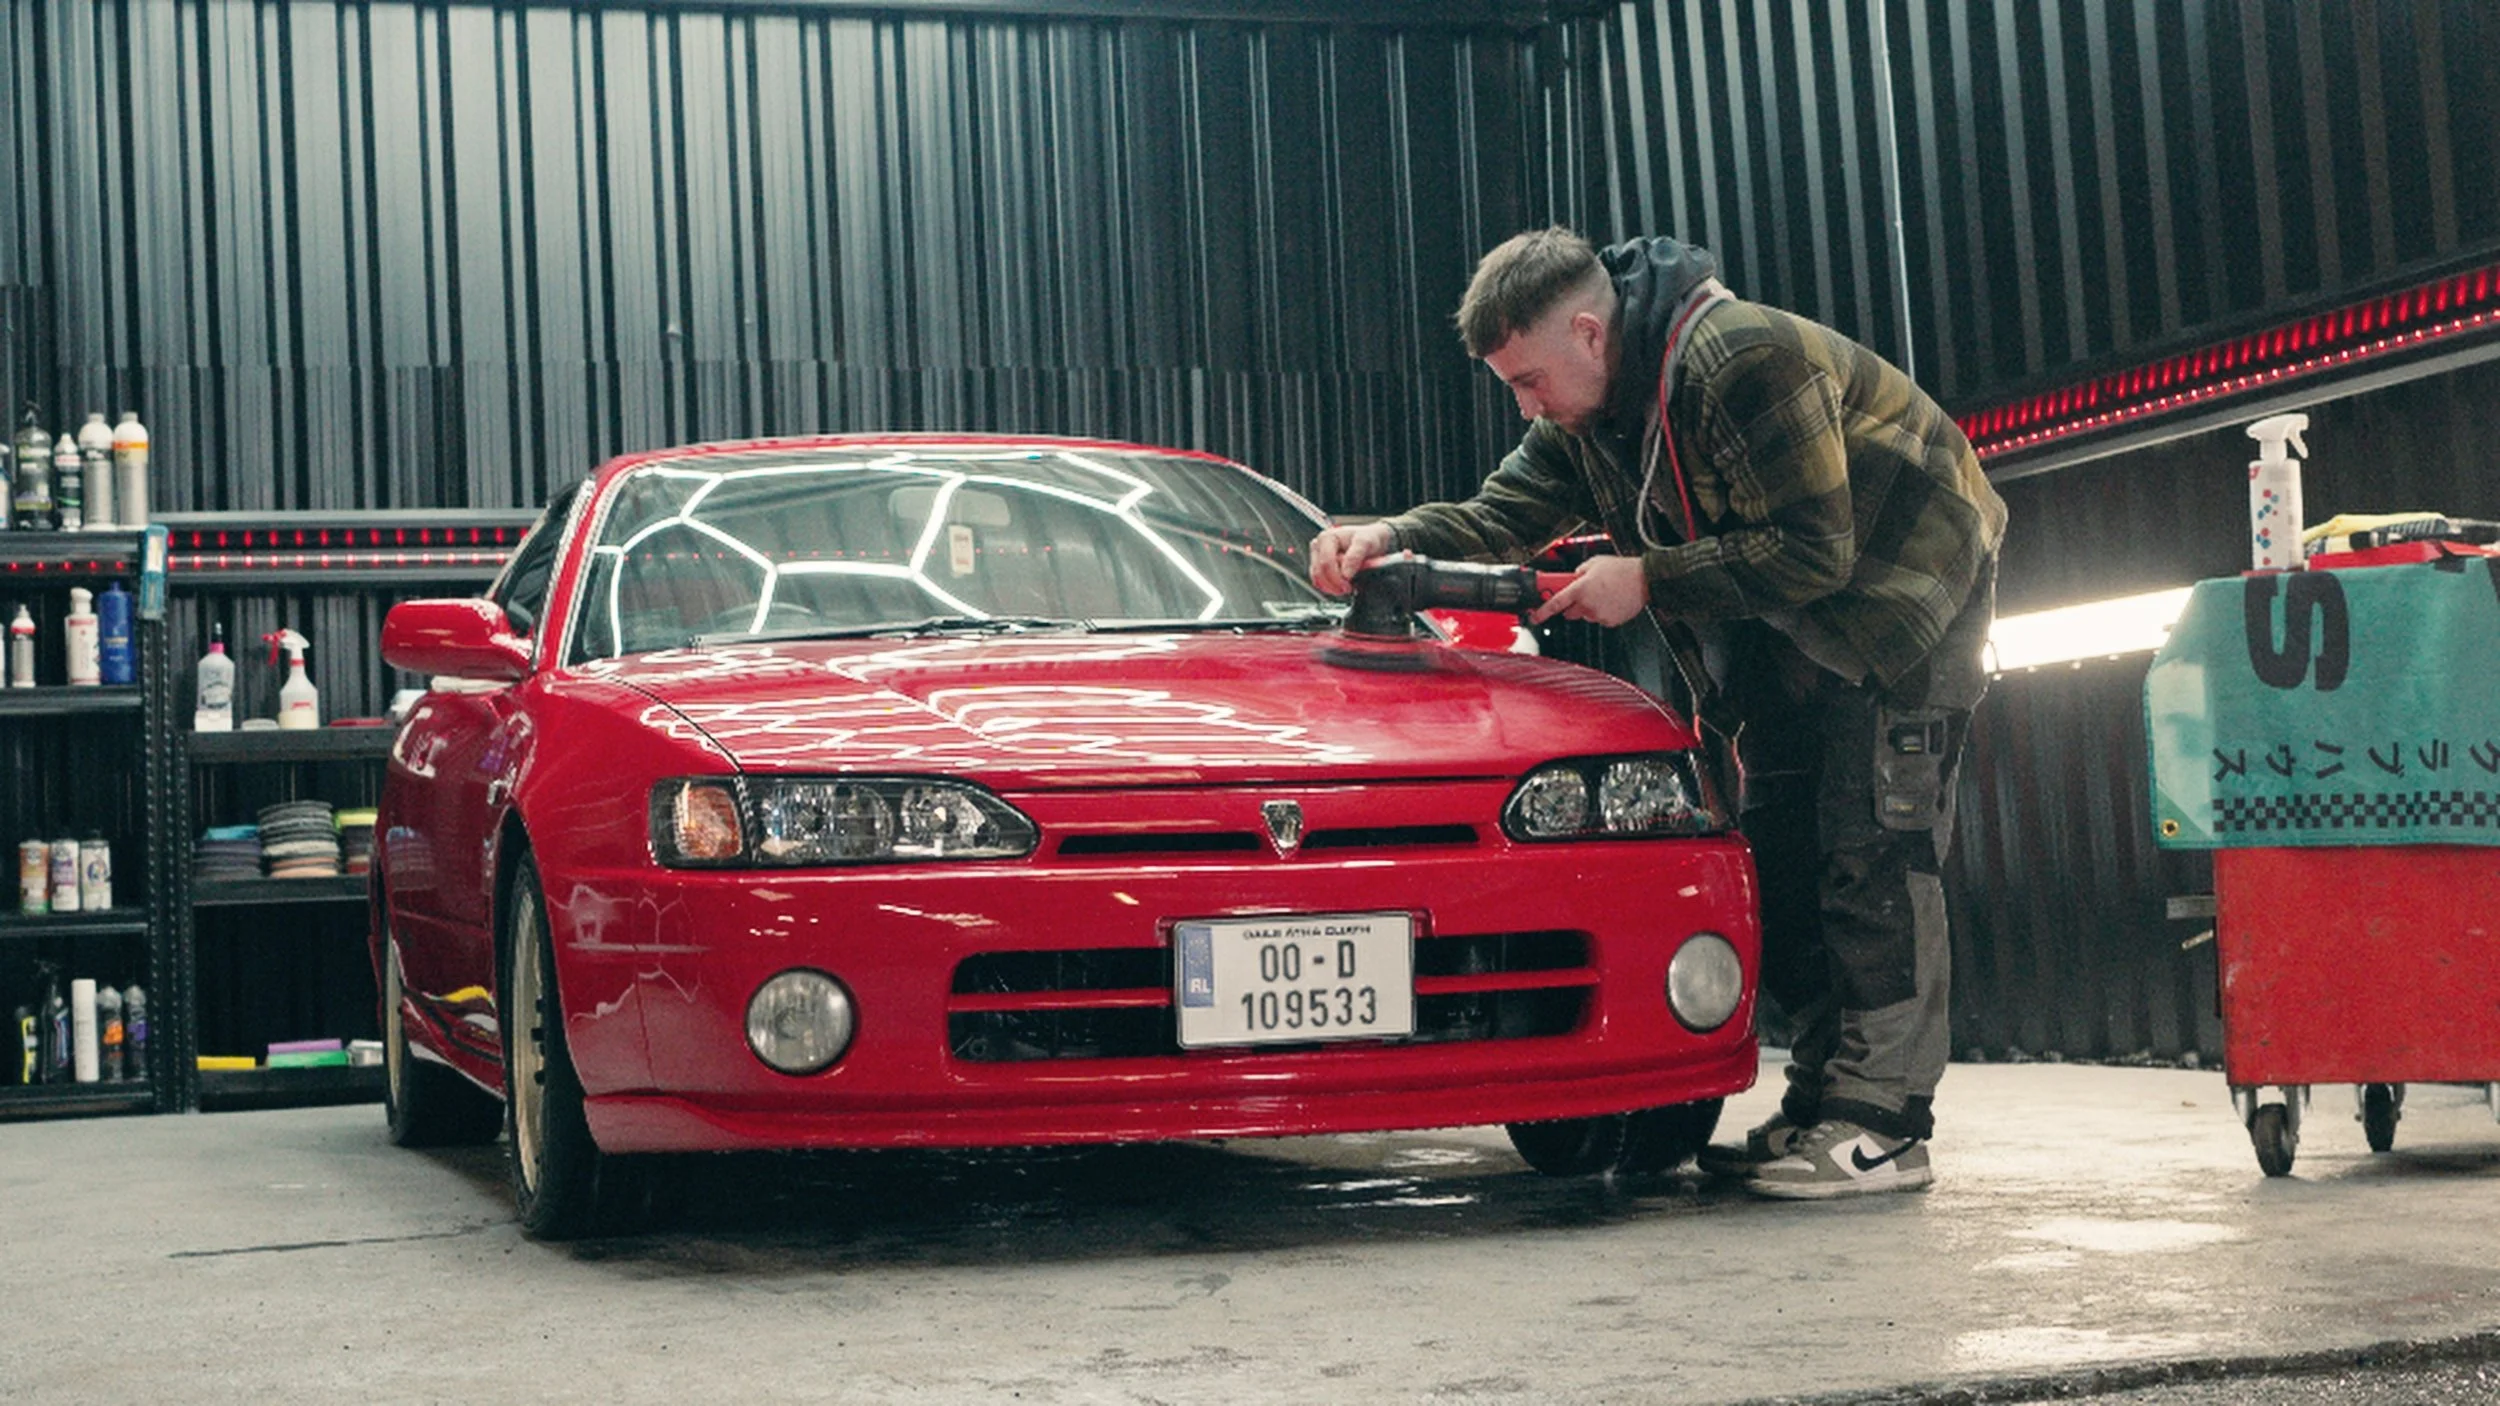
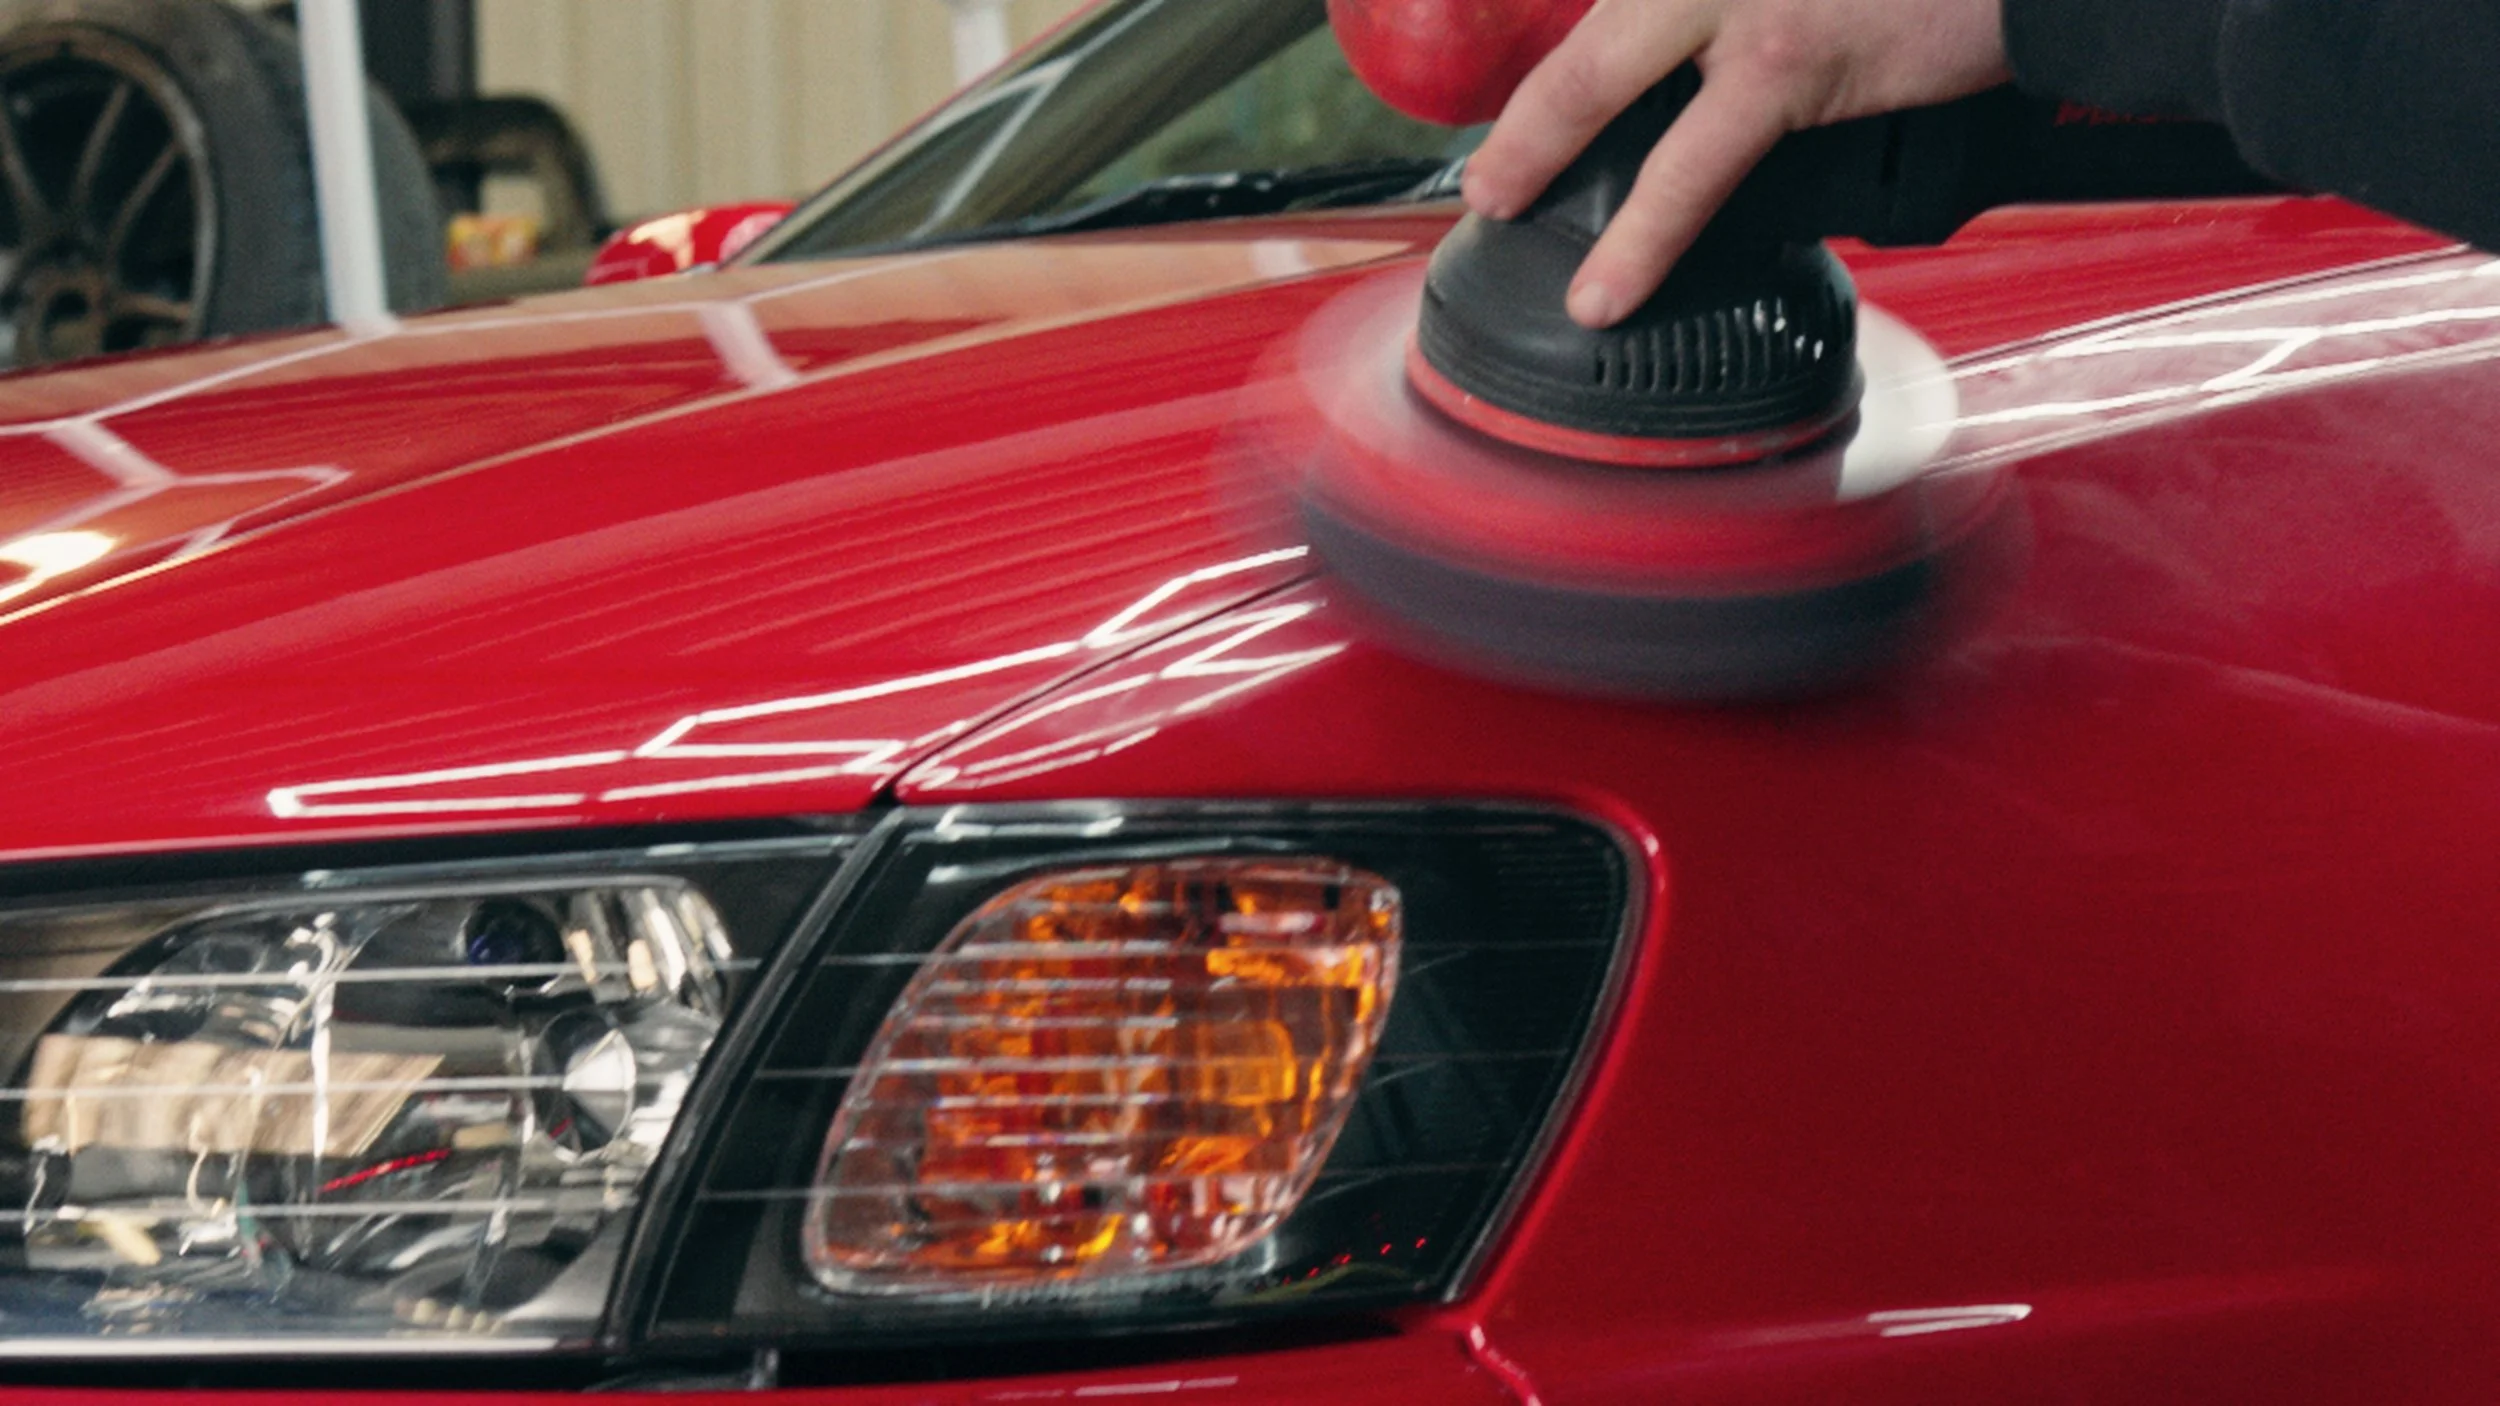
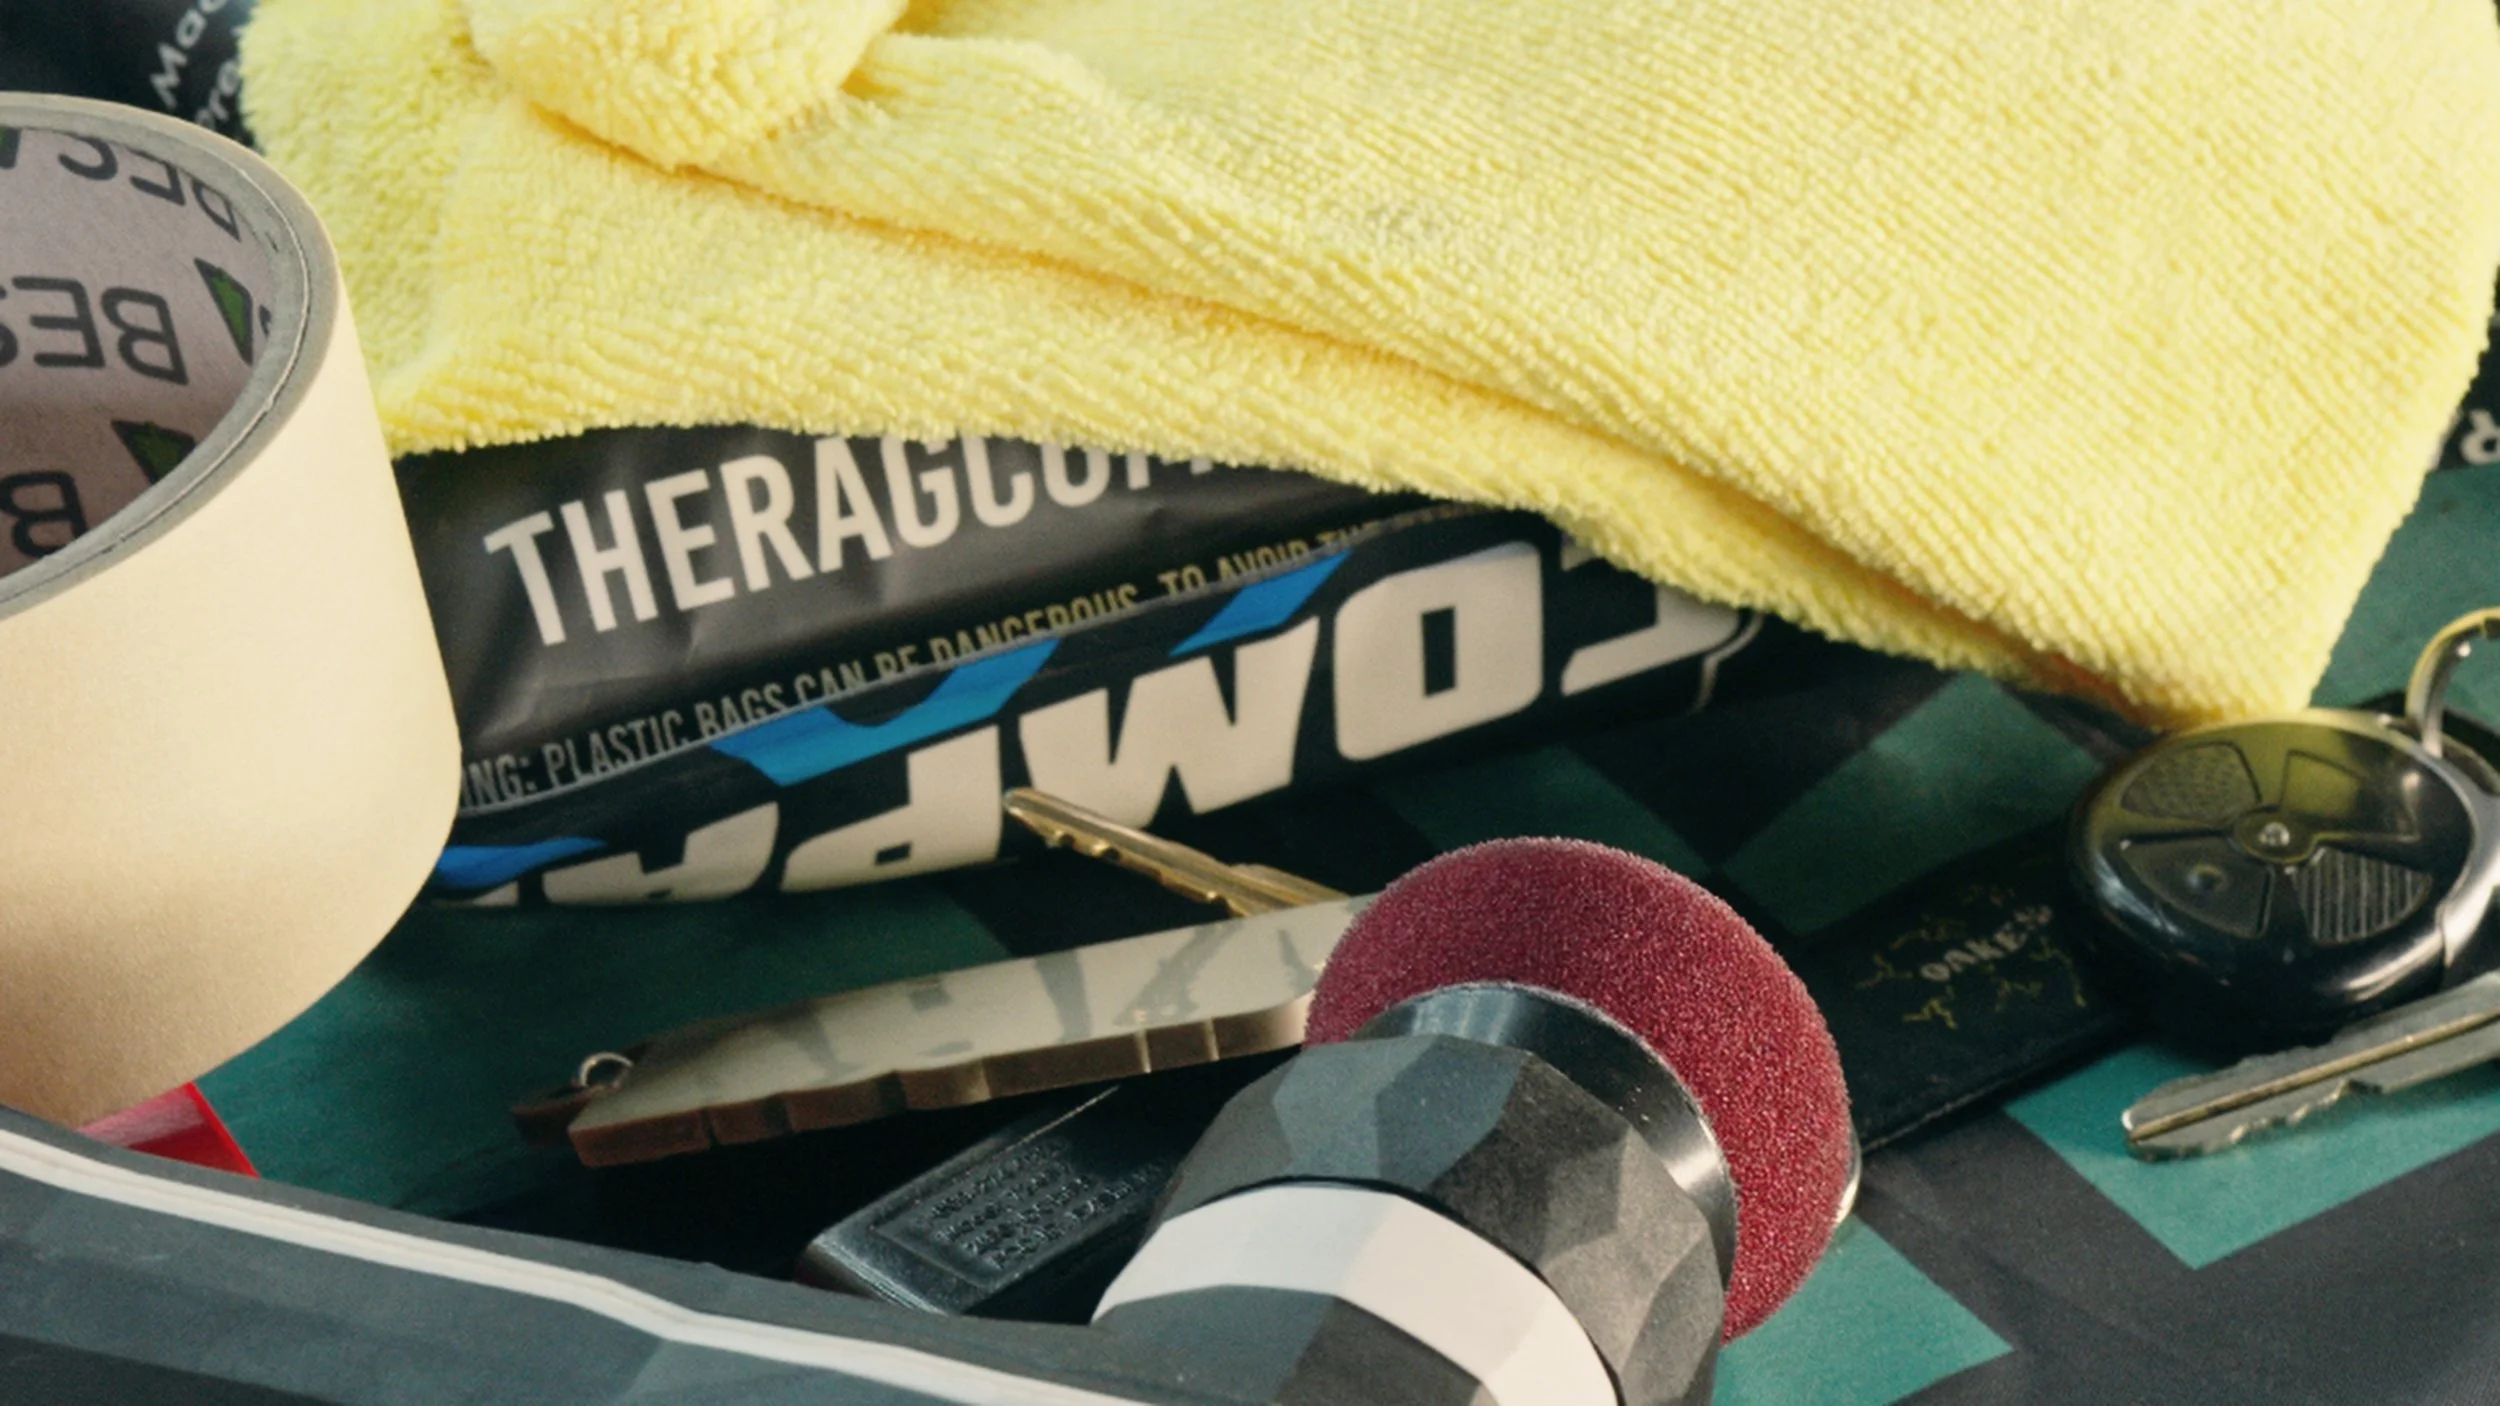
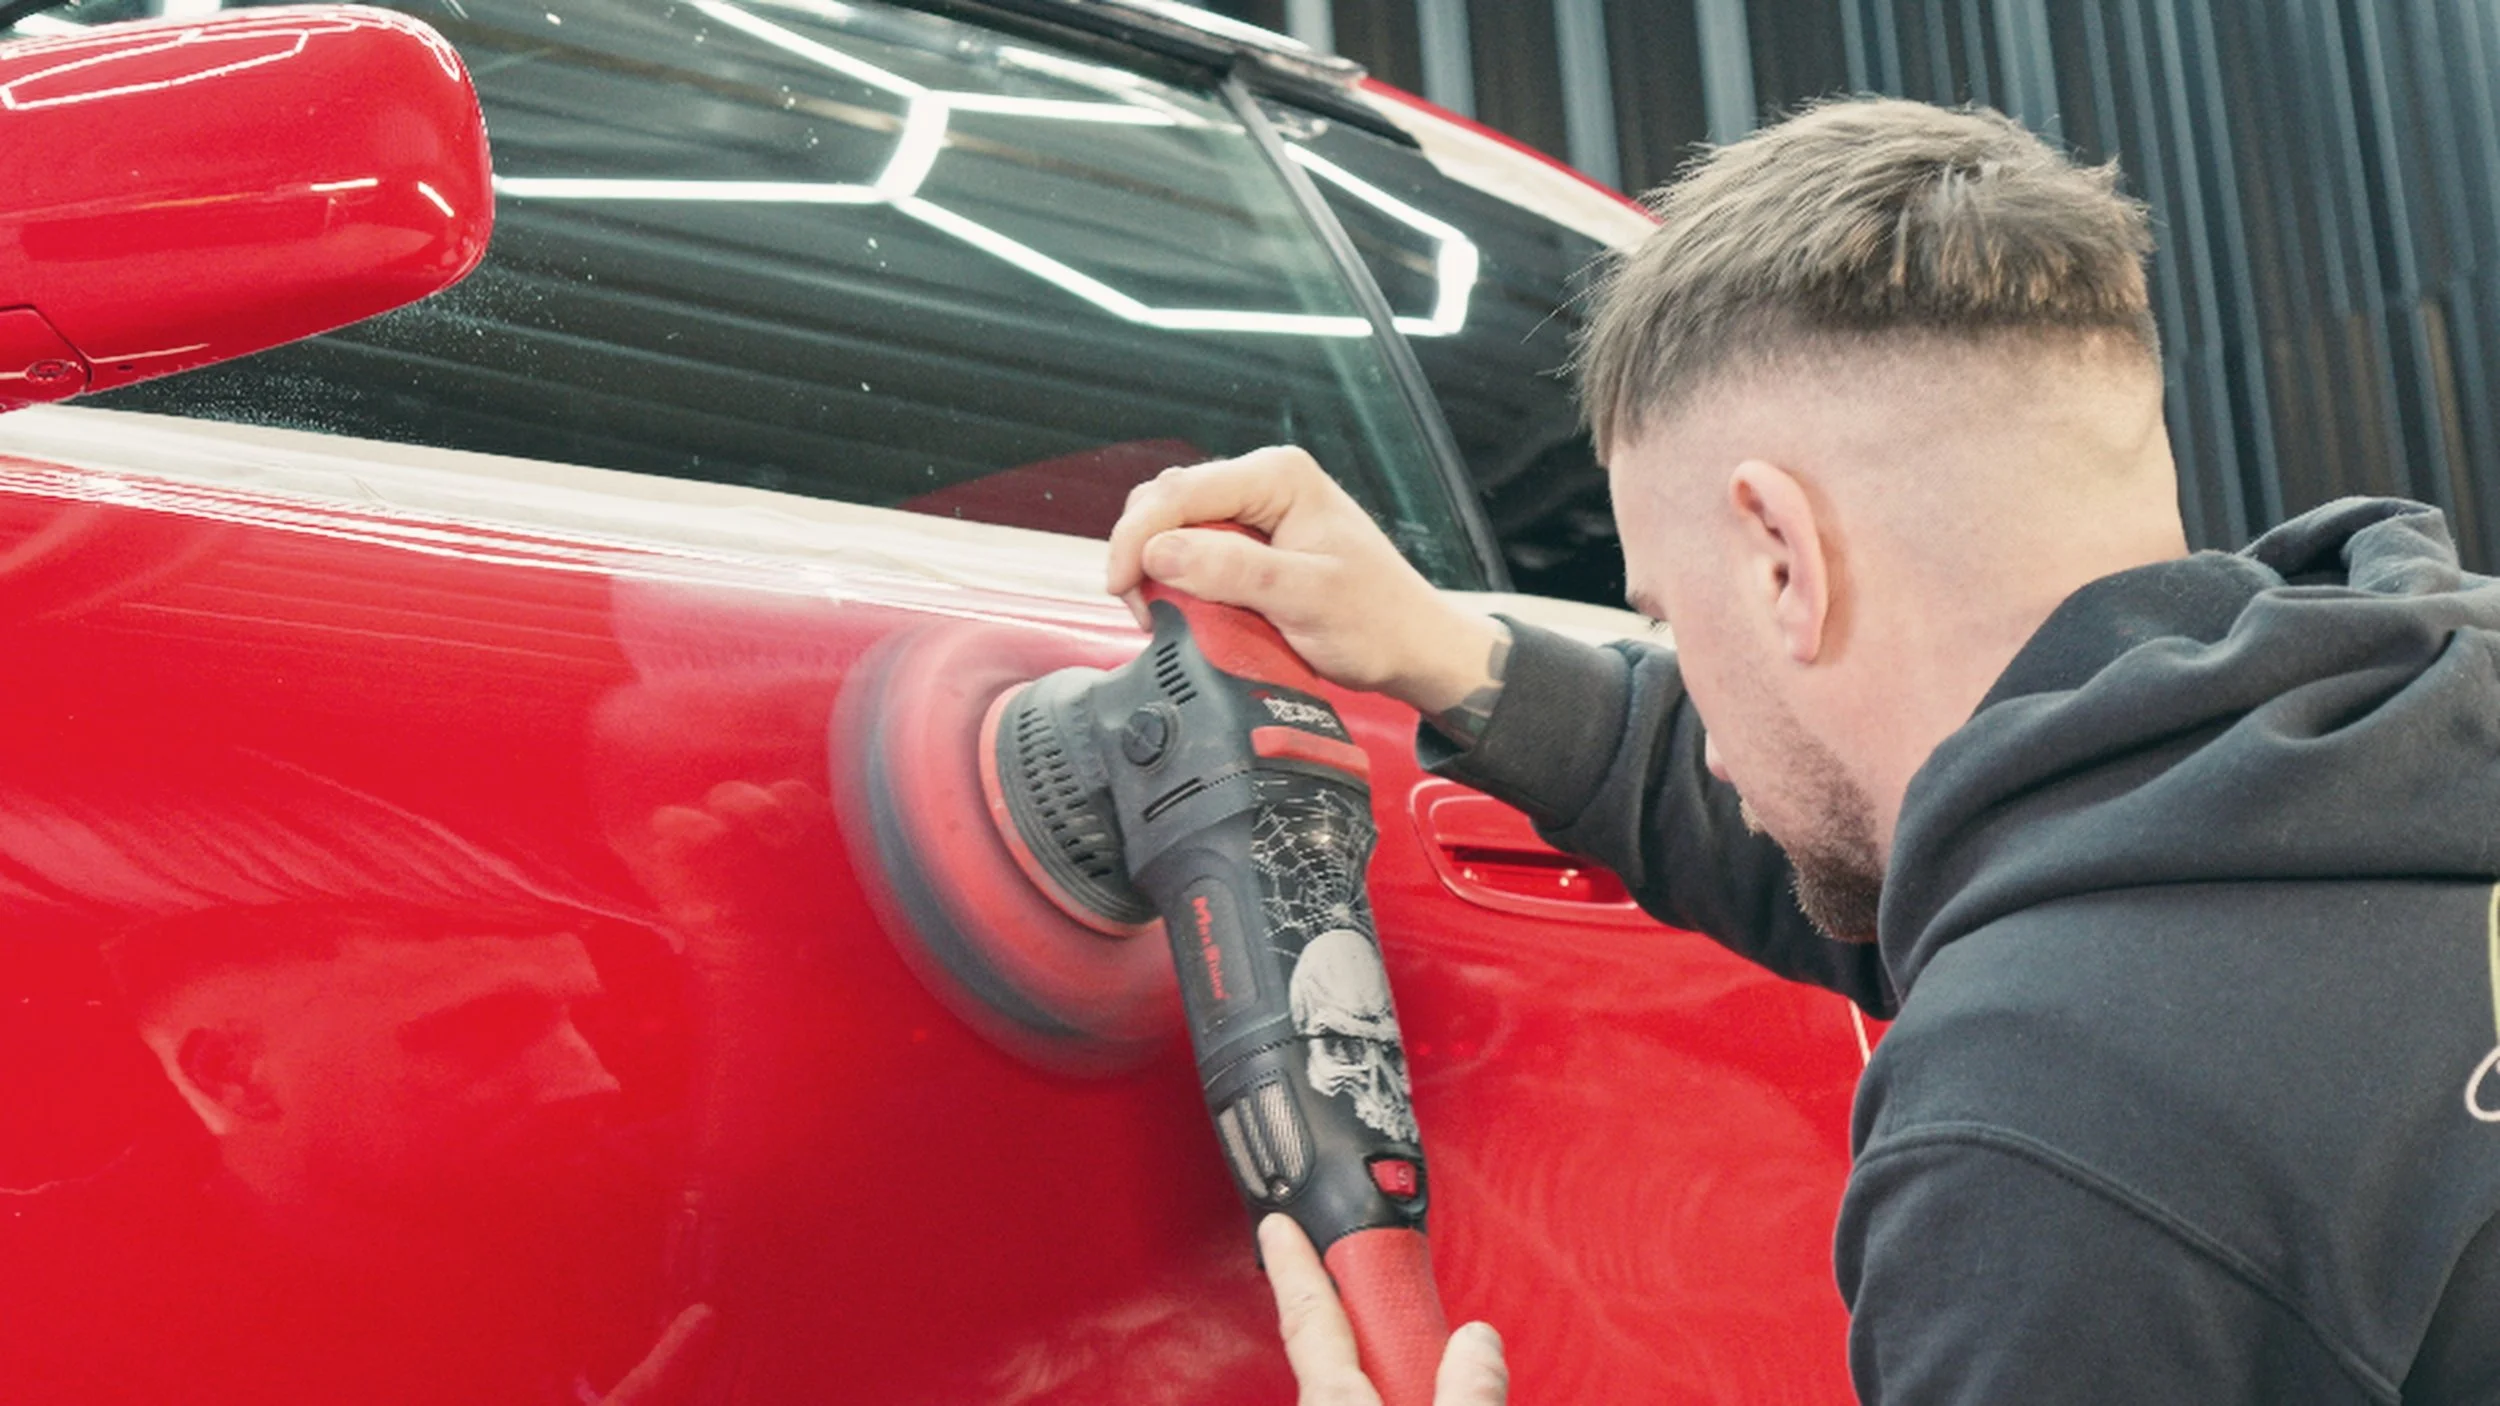
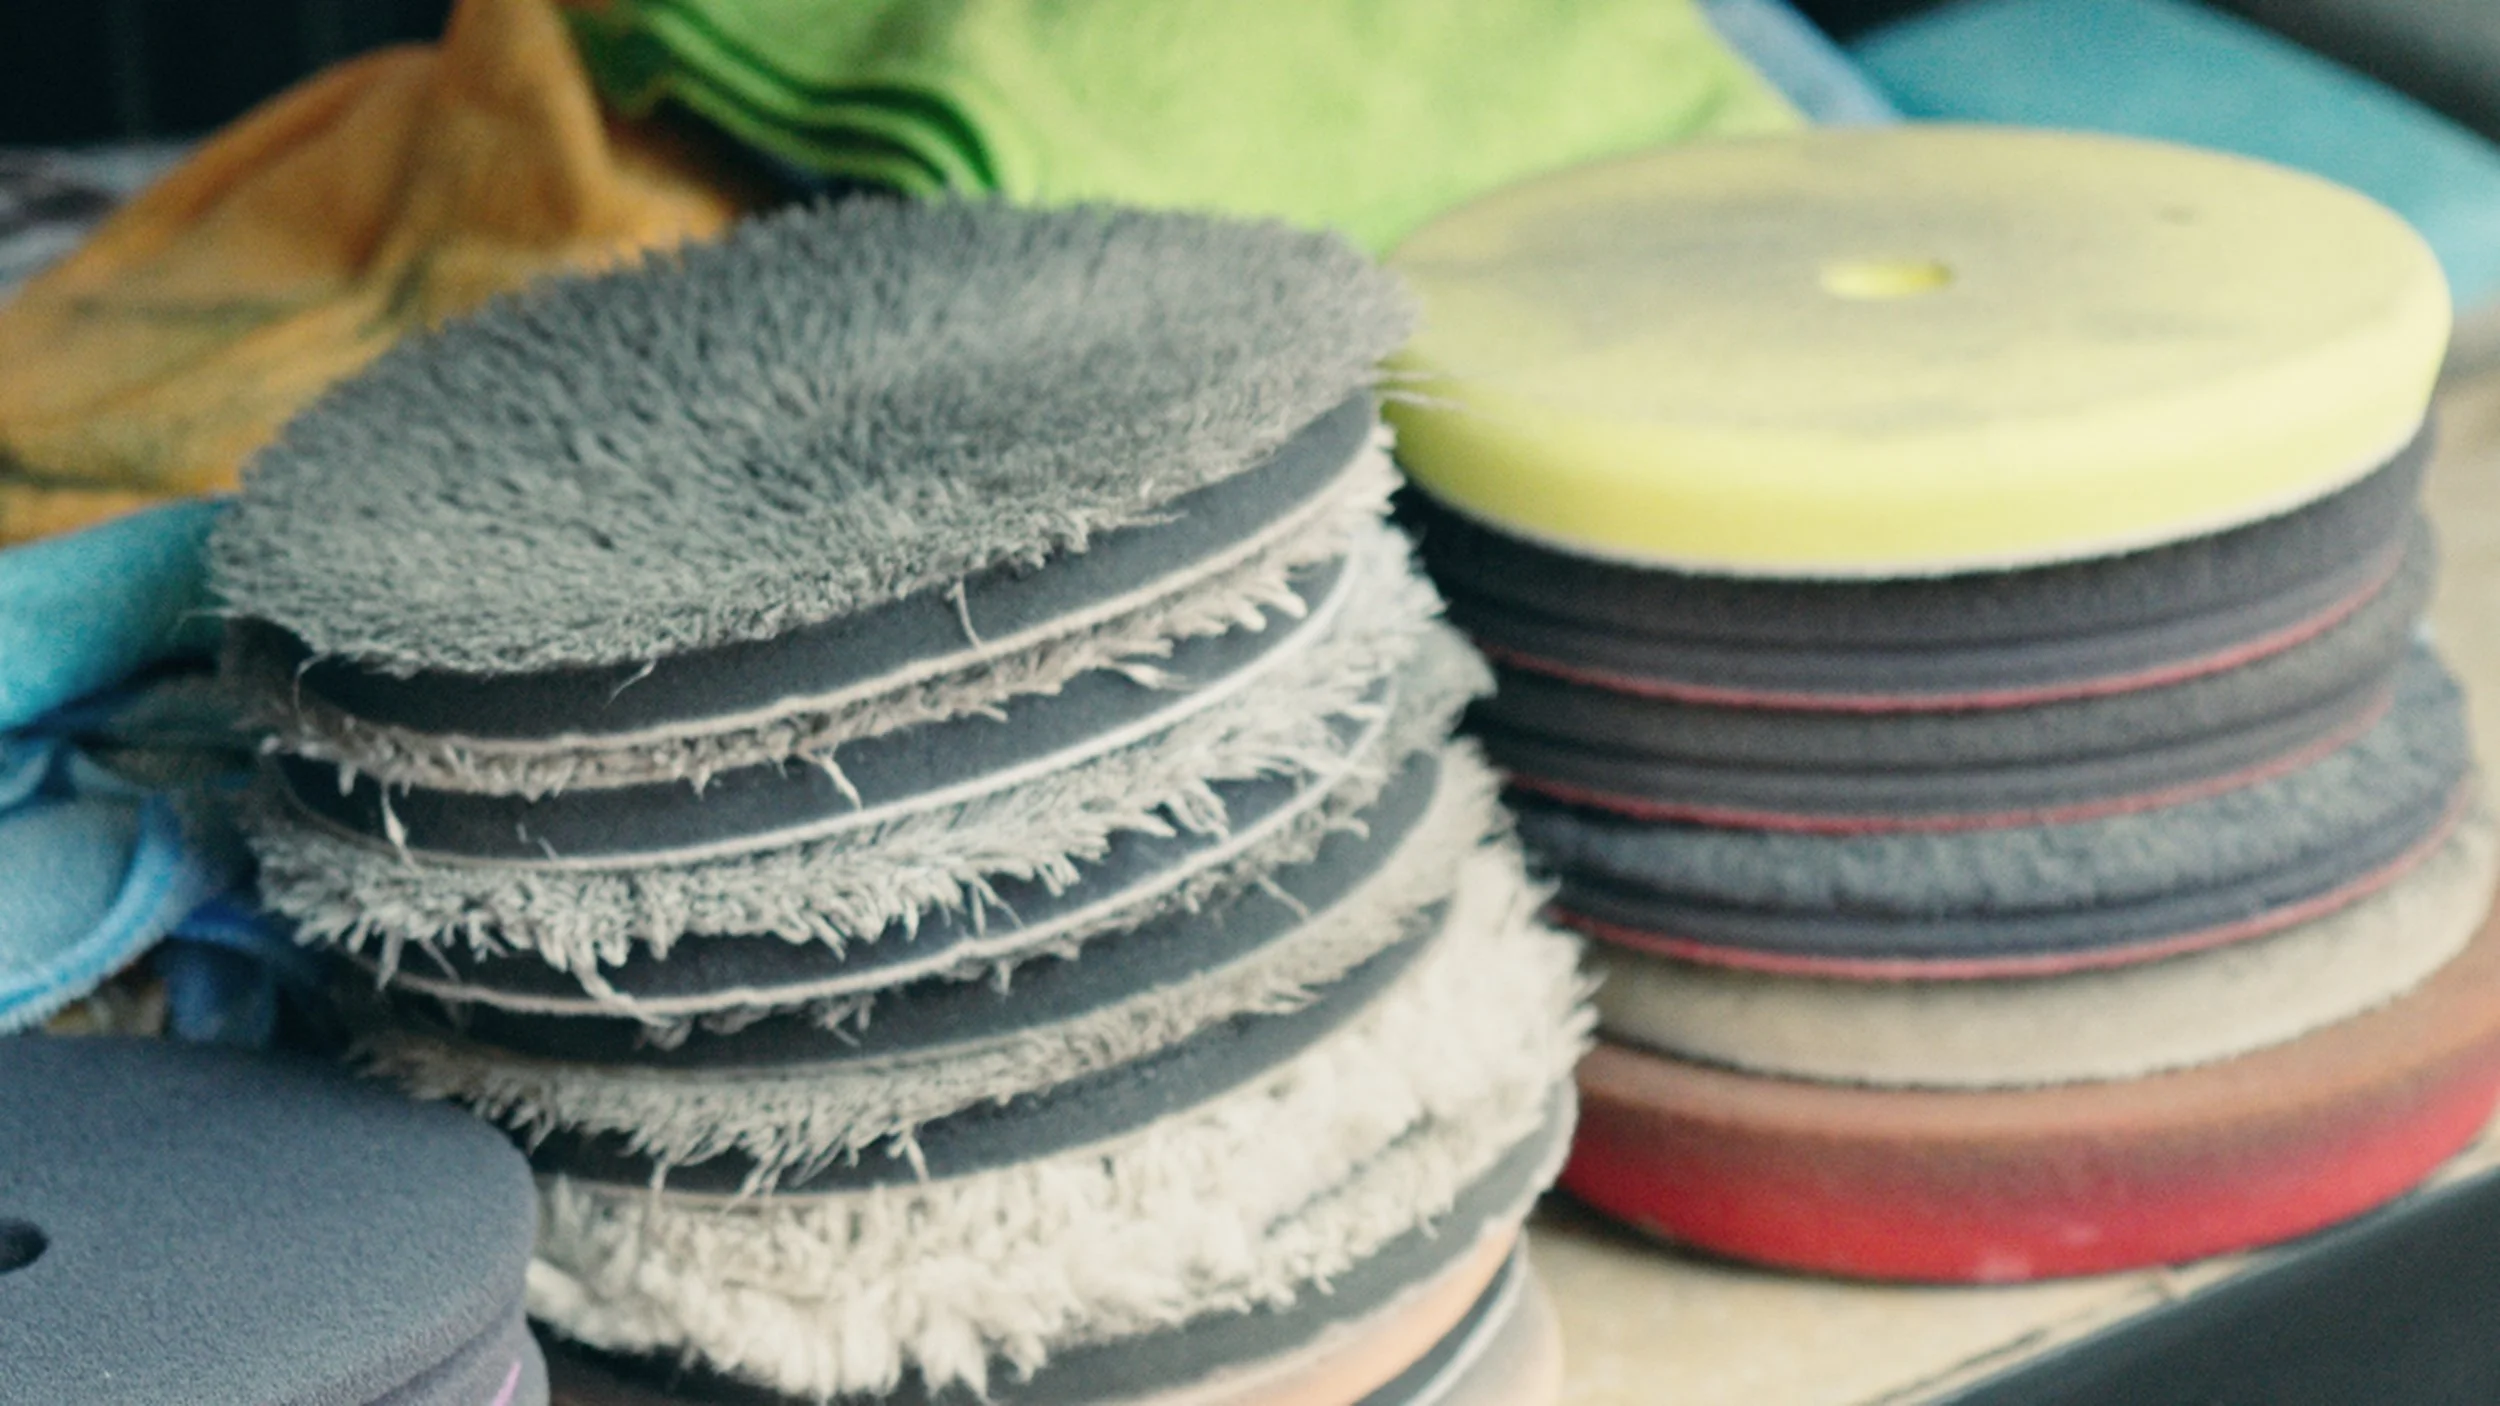
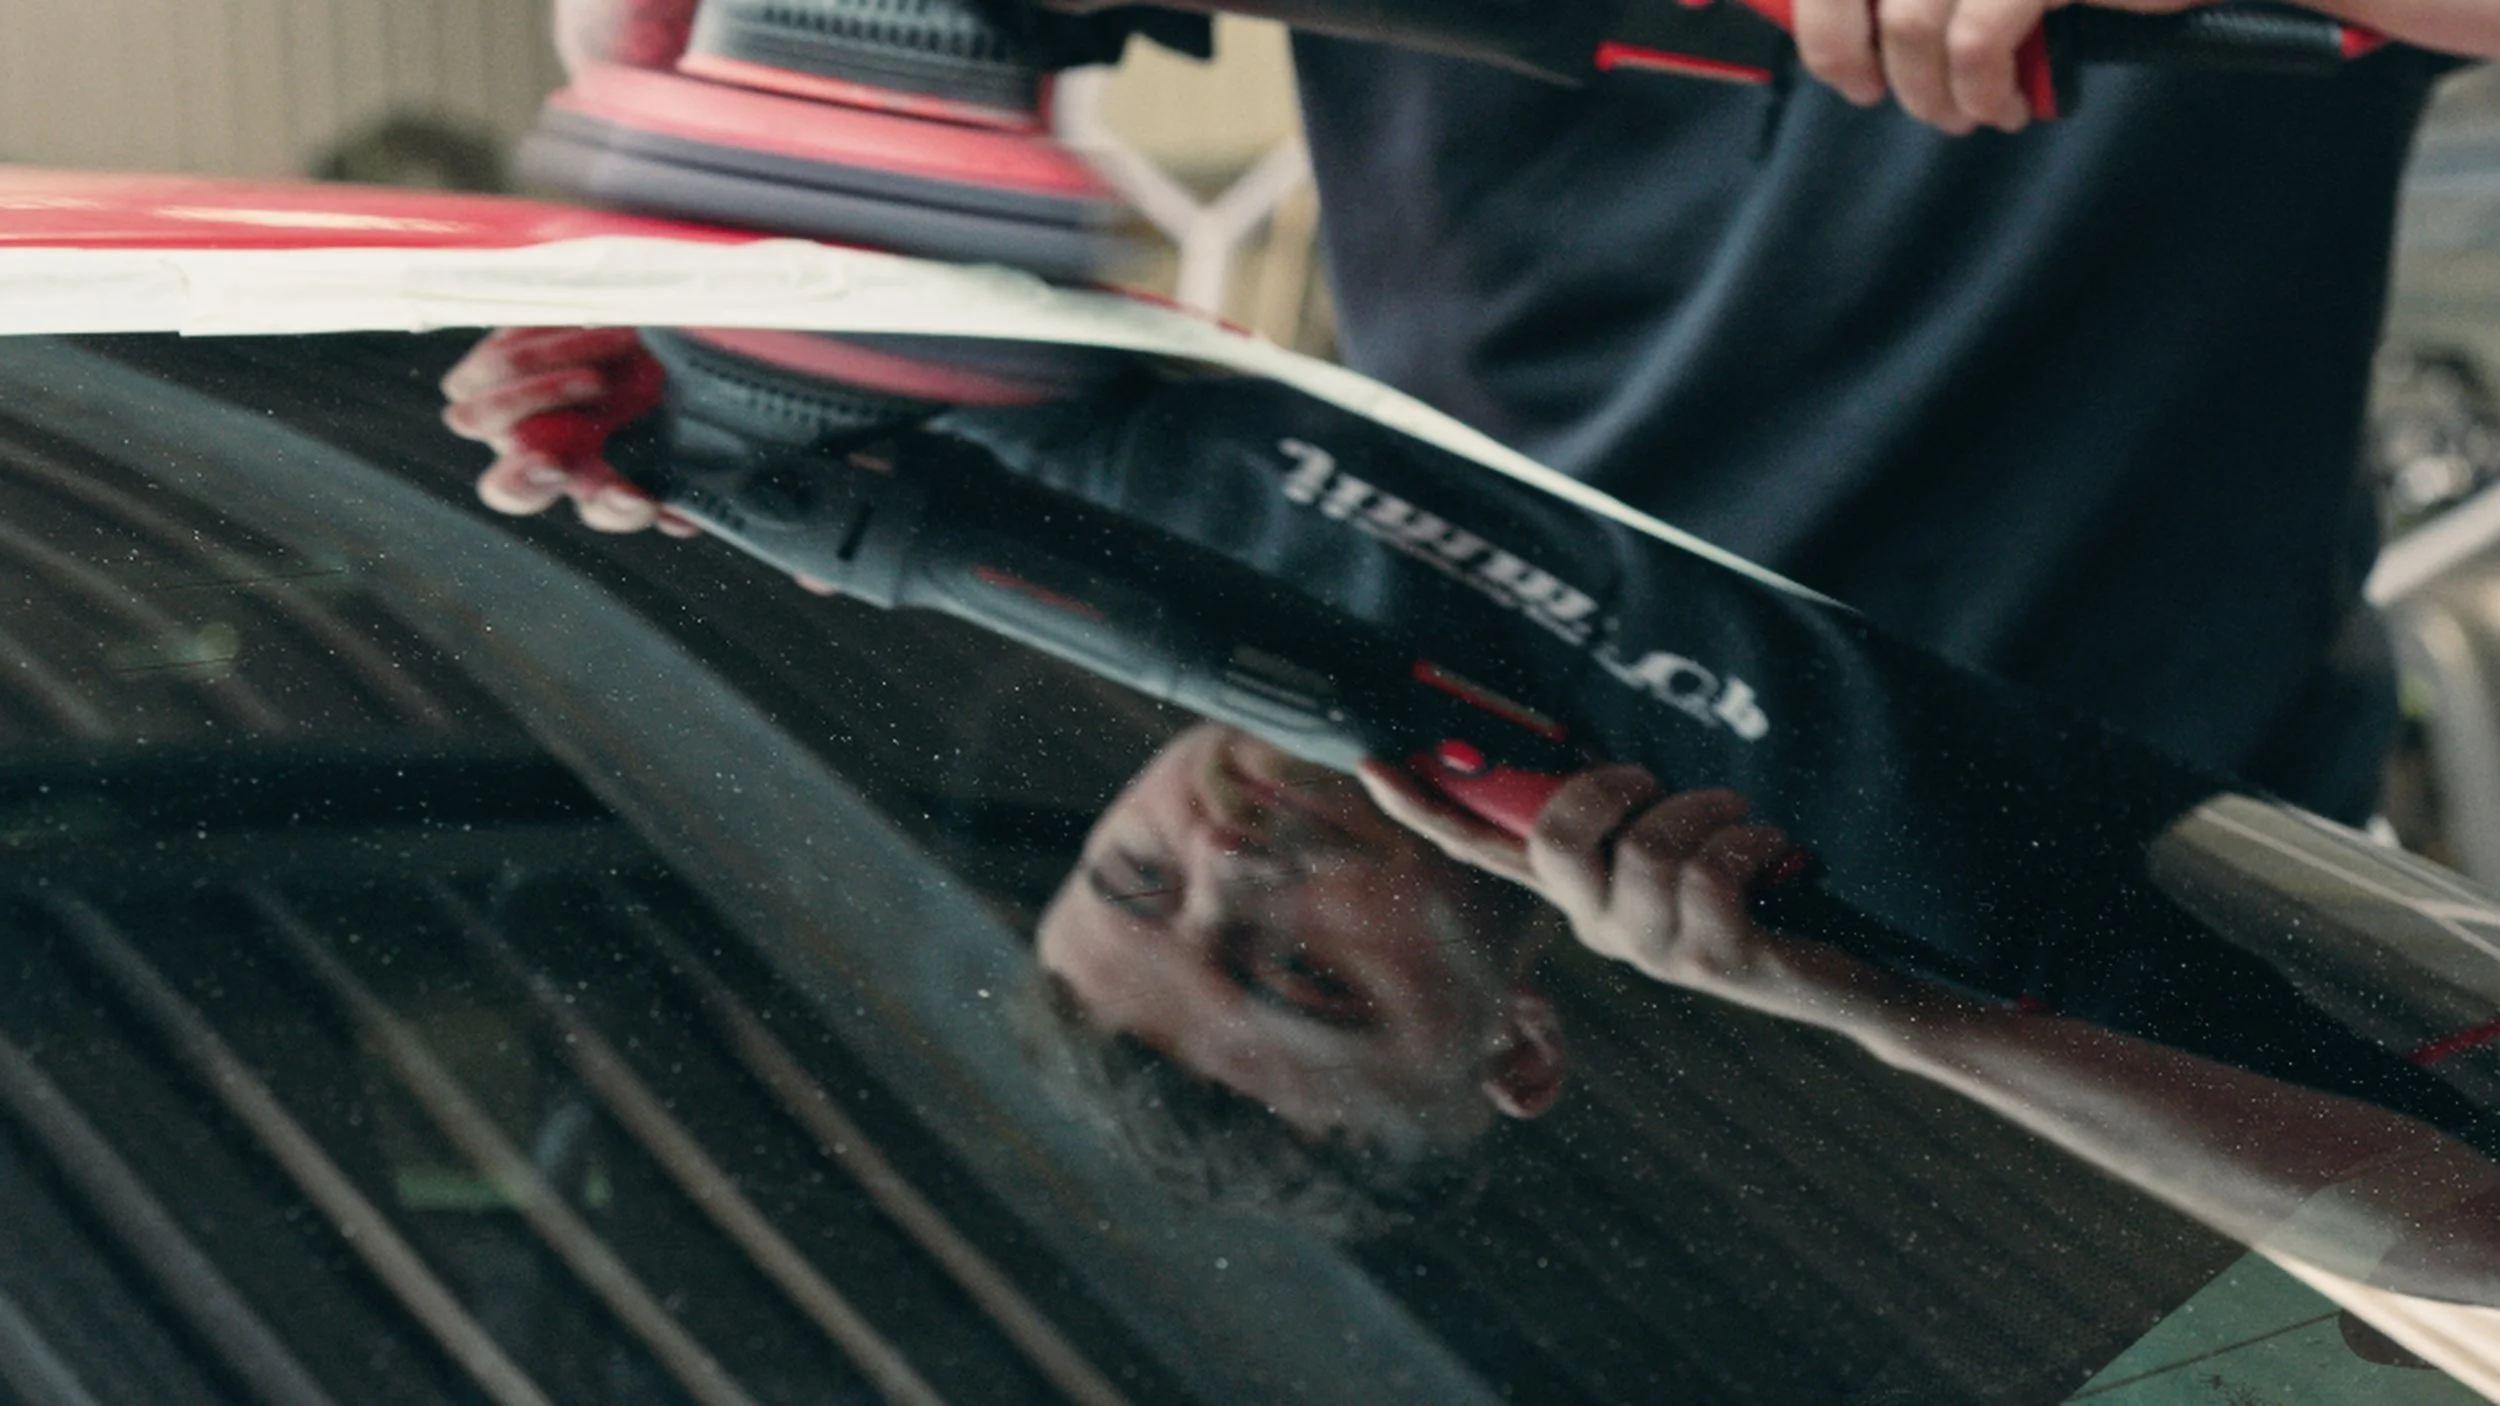
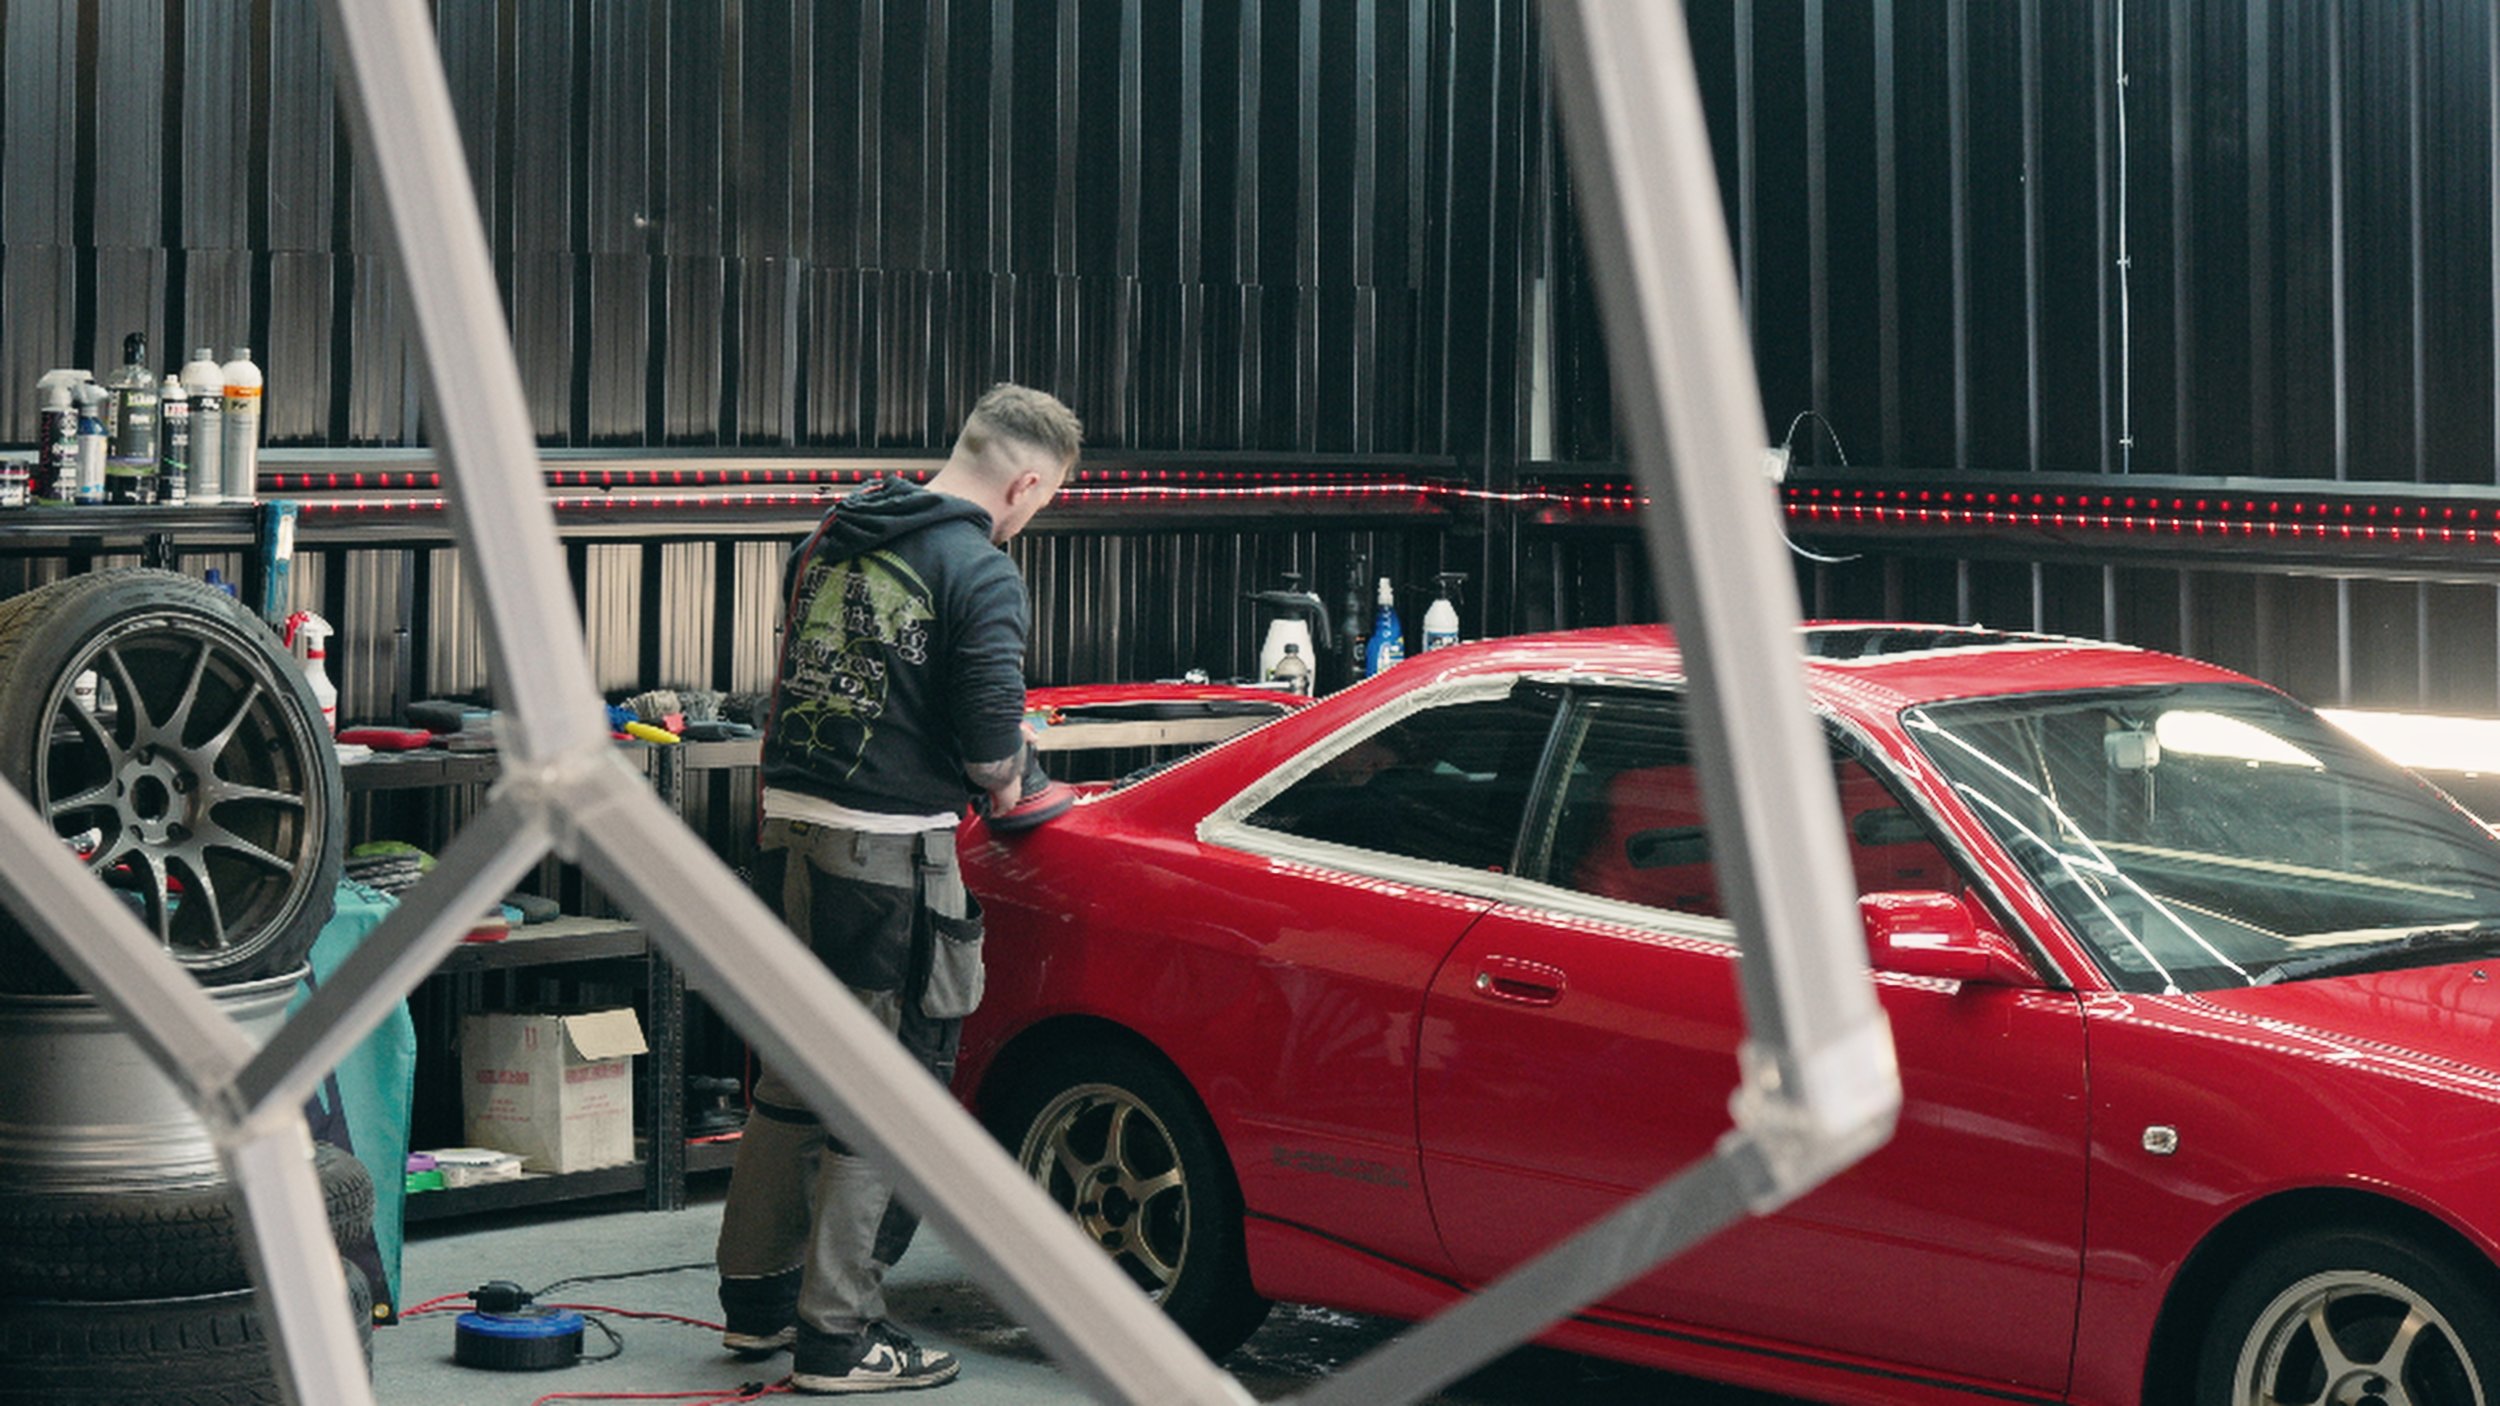
The first stage of machine polishing is where any damage begins to be reversed. A medium-cut compound is selected and a matching pad combination that suits the paint on this particular car, and begins with the bonnet. The machine moves at a controlled speed, whirring away with consistent pressure and carefully overlapped passes. Even after the first set, the difference is clear. The haze begins to disappear, and the overhead lights are reflected more cleanly in the surface. Shane repeats this process around the car: bonnet, wings, doors, quarters, and bootlid. He stays clear of edges and raised areas, always mindful of lacquer thickness and the long‑term health of the paint.
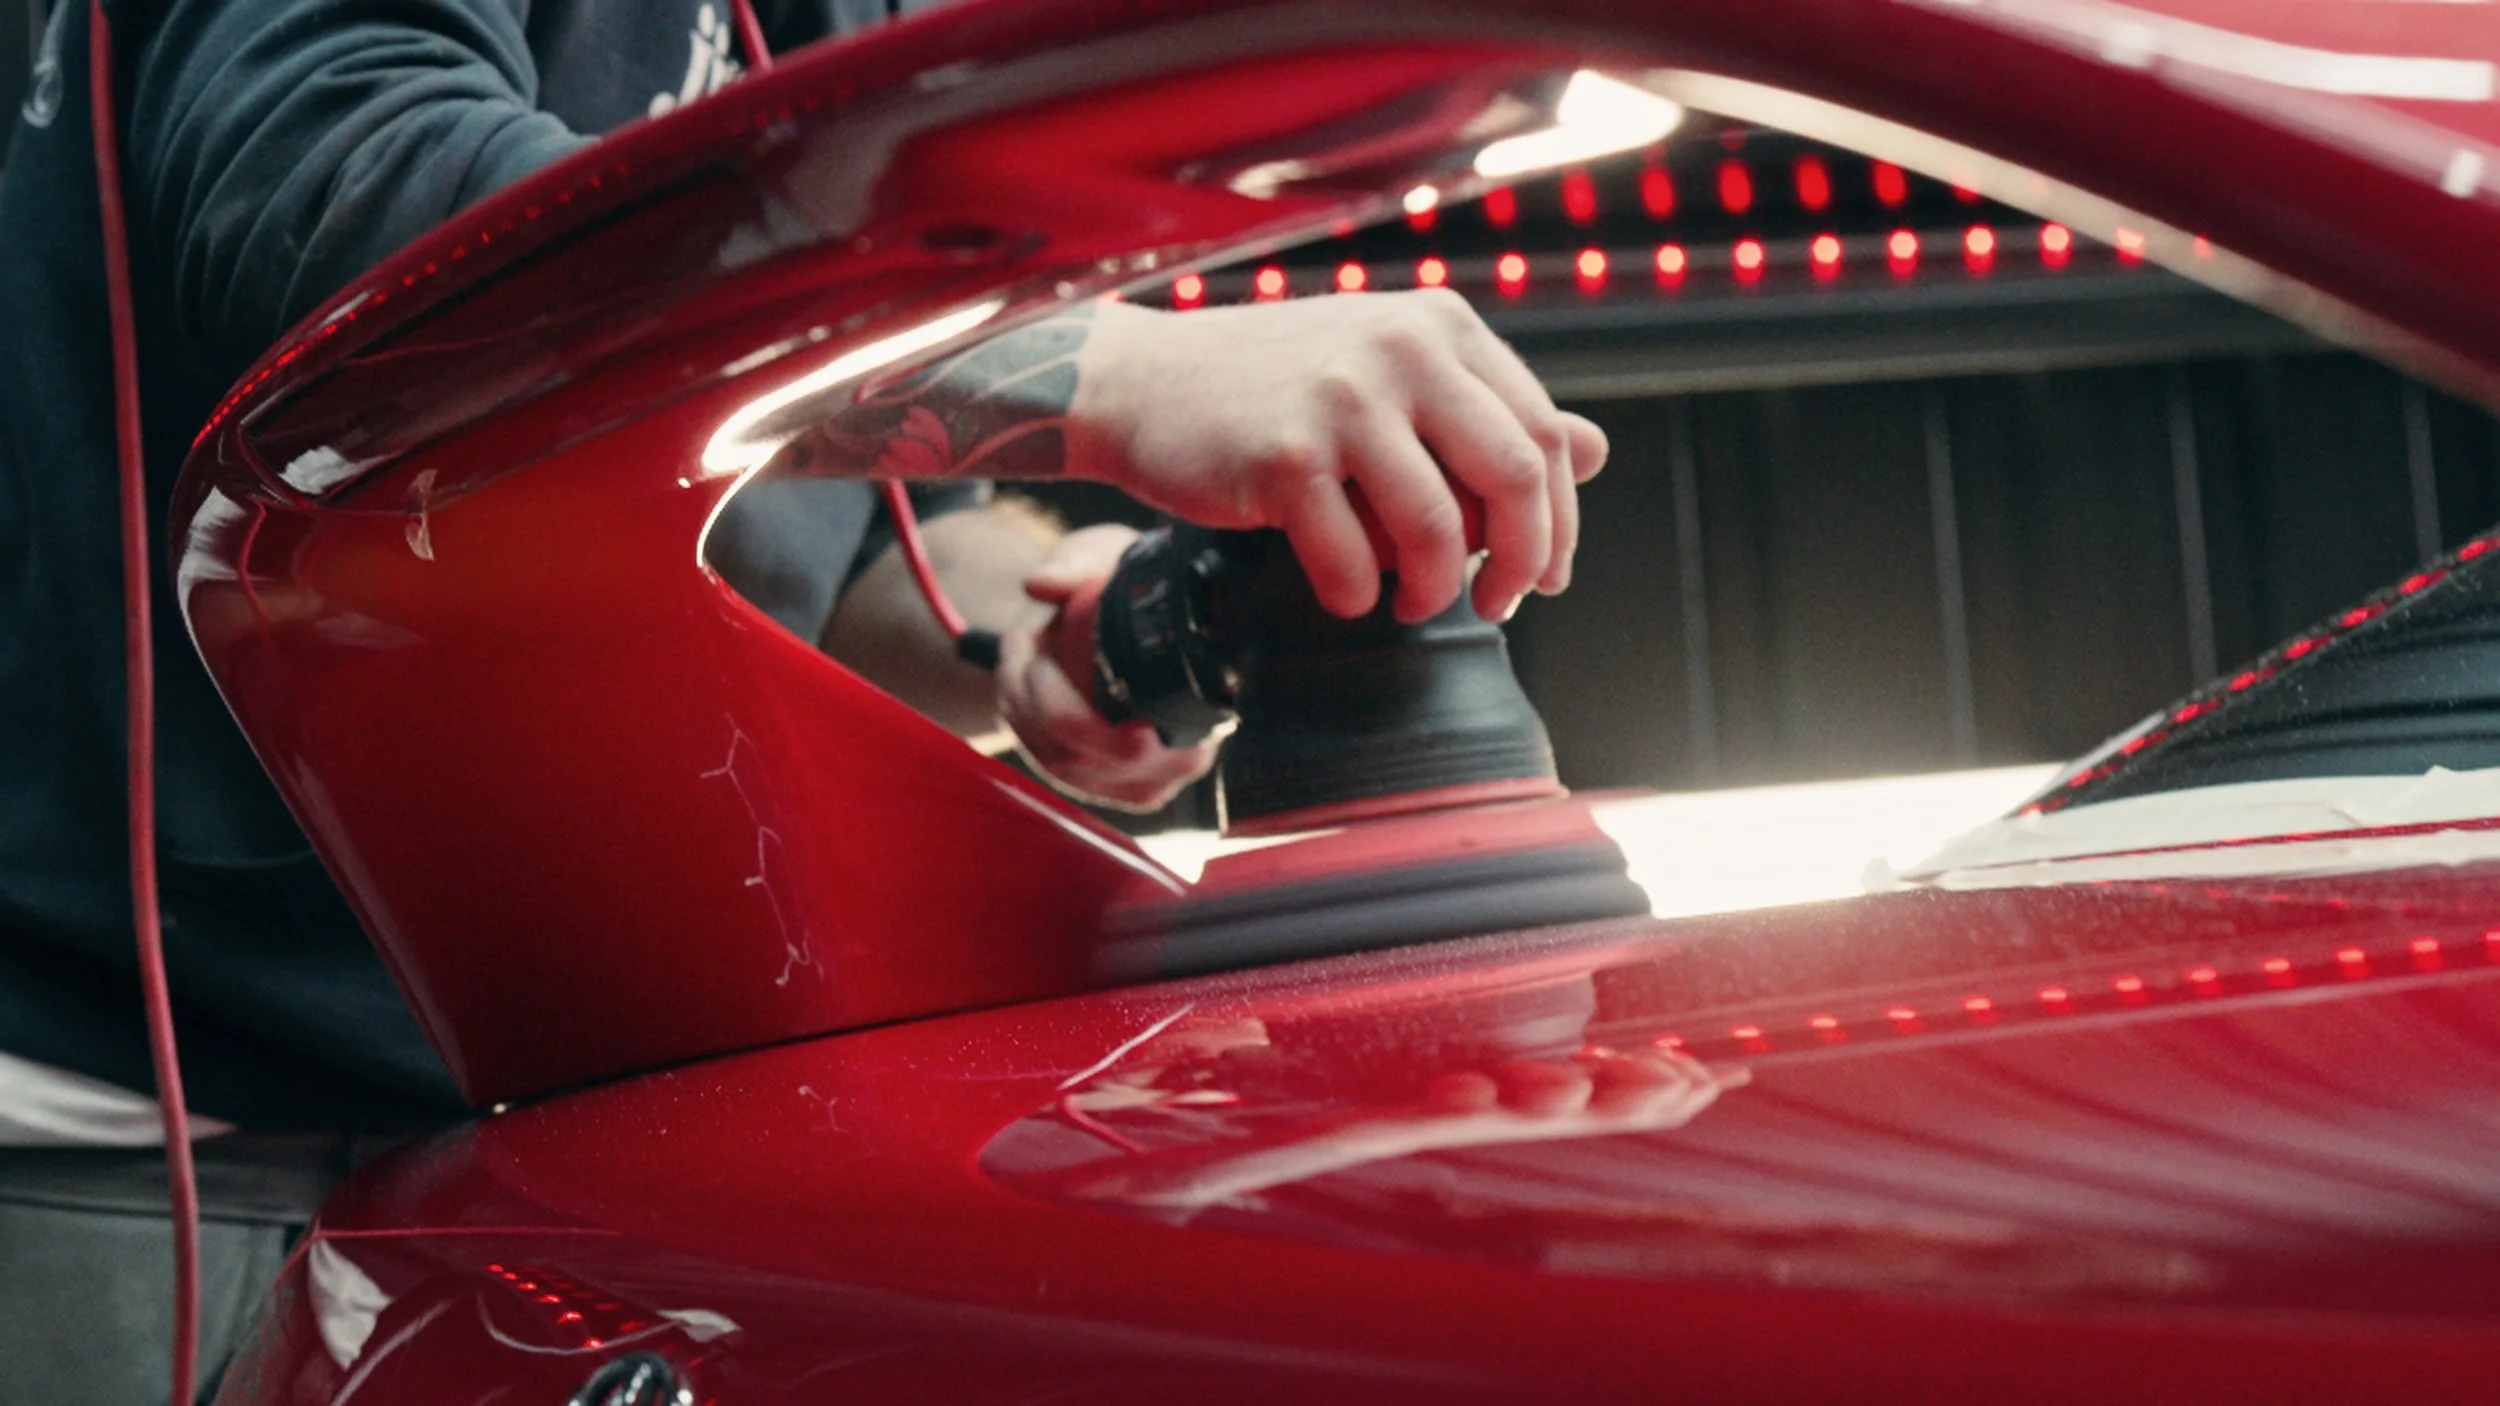
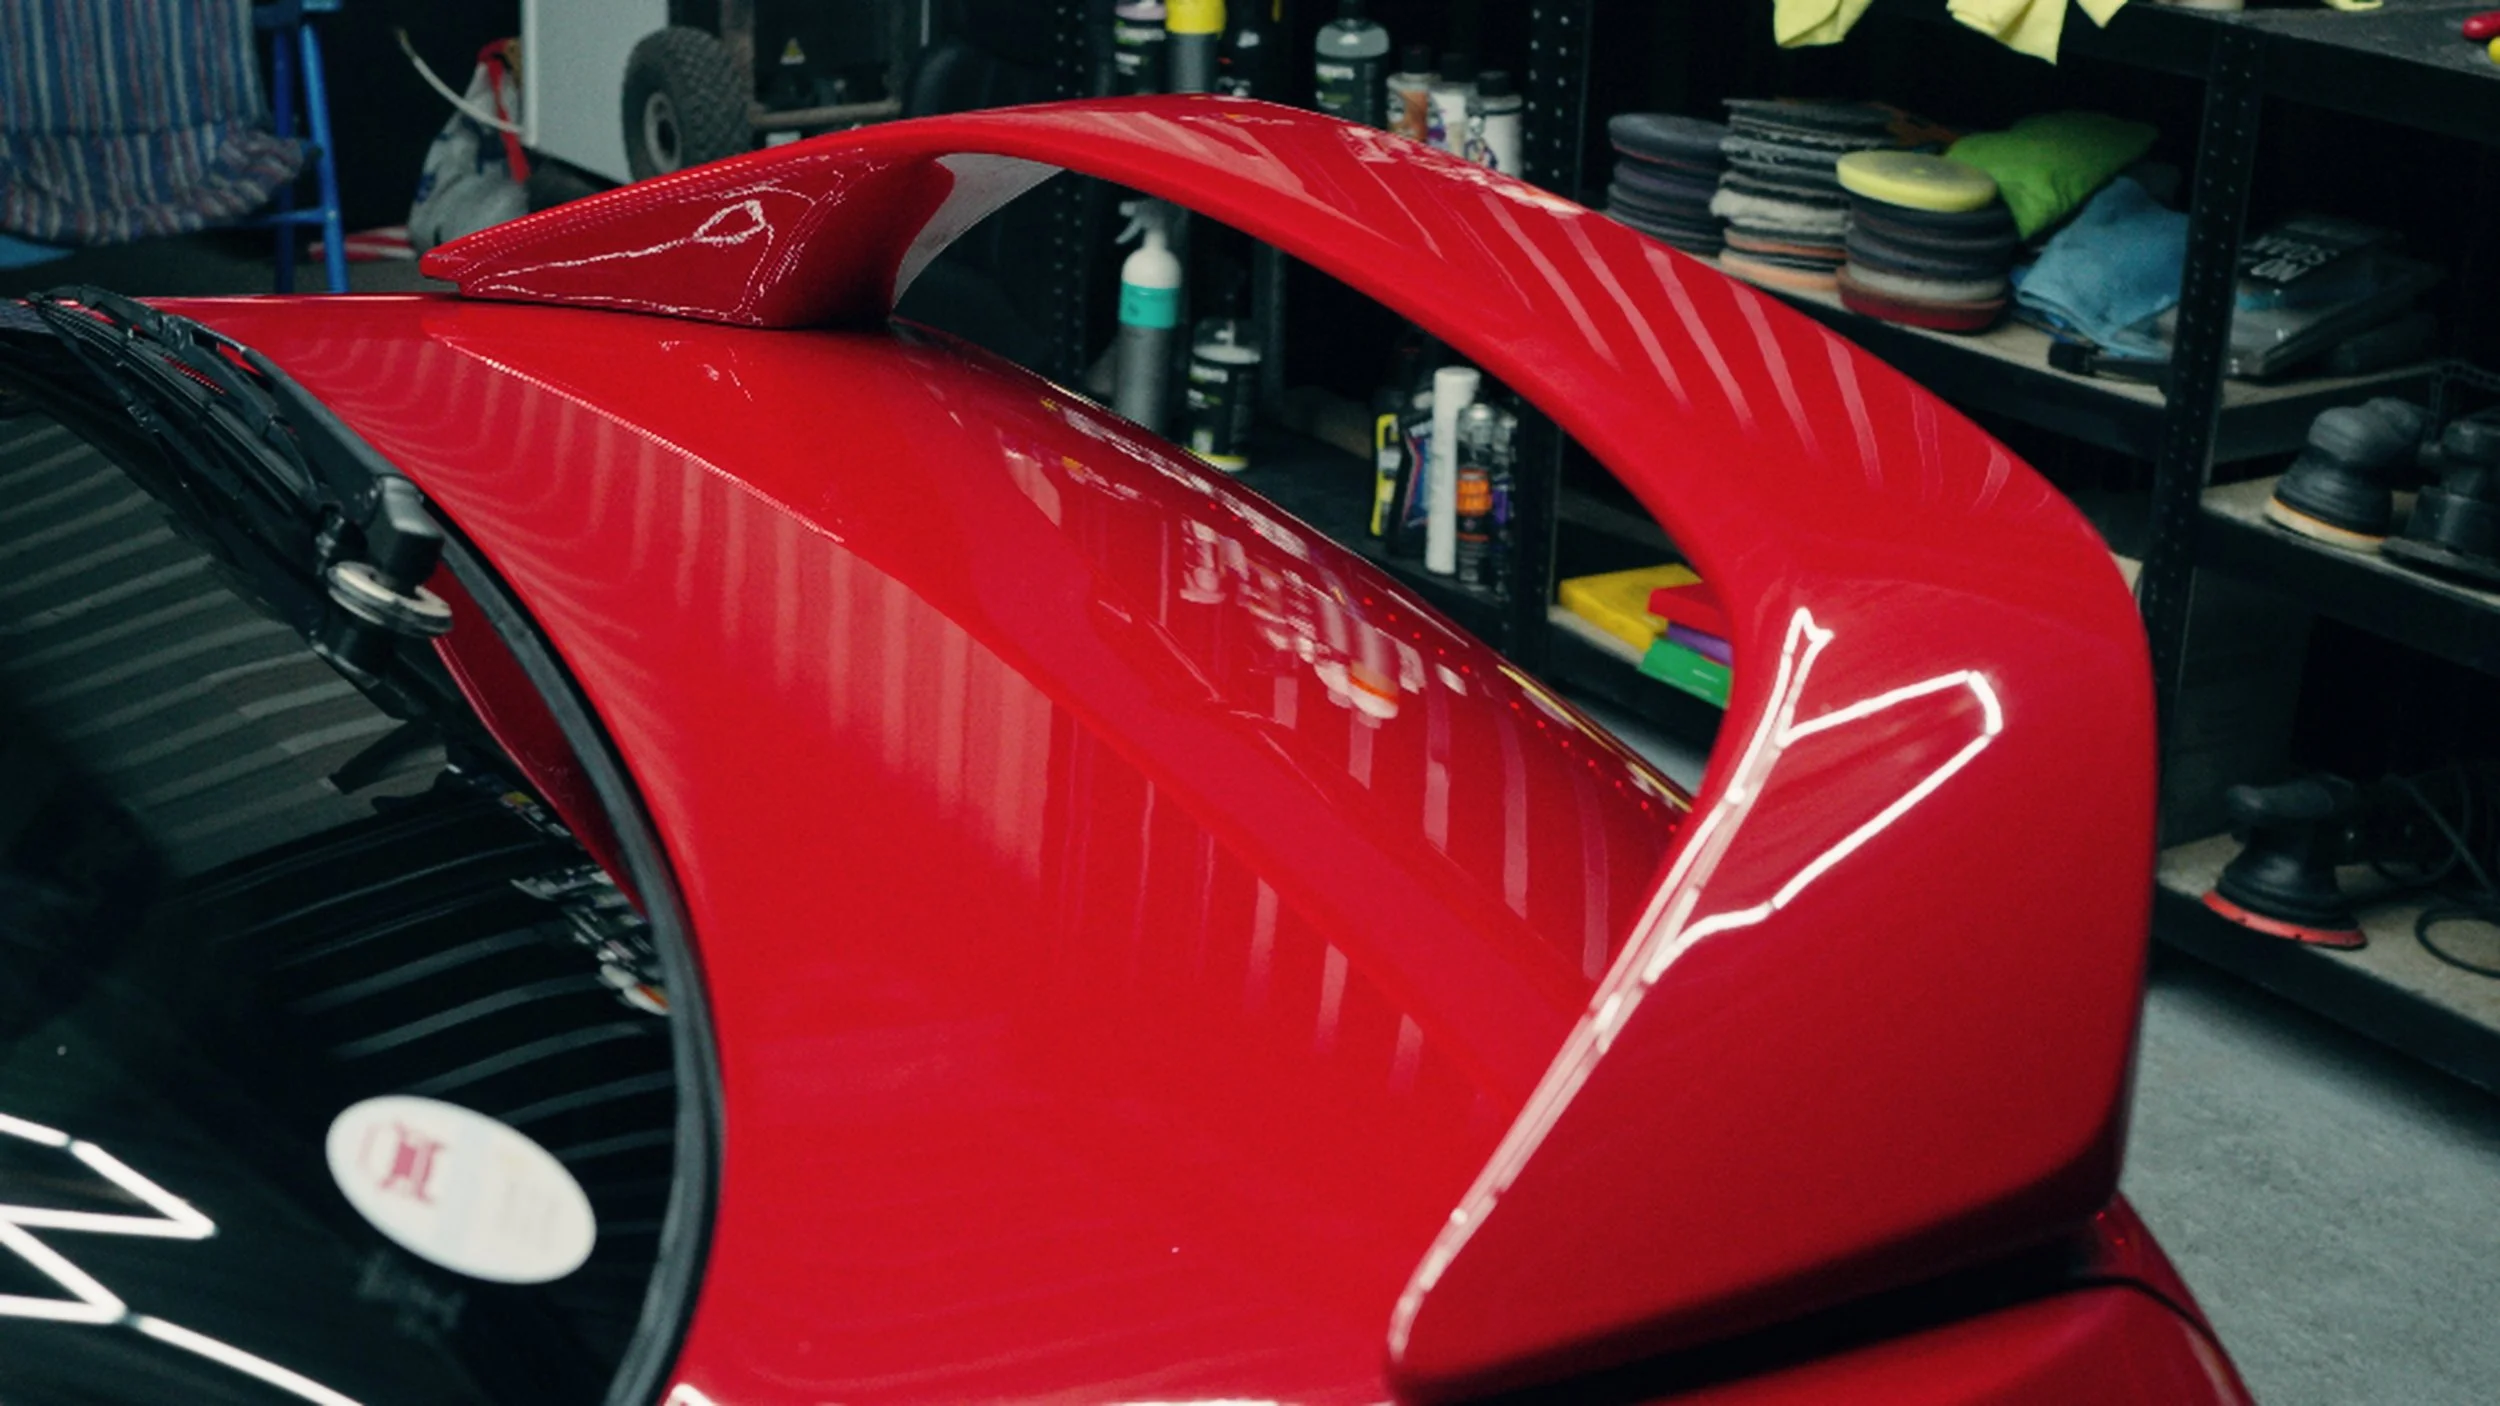
Once the cutting stage has done its job, Shane switches to refinement. He changes to a softer pad and a finishing polish, slowing his pace and focusing on clarity rather than defect removal. This is where the paint starts to look like something special again. The red deepens noticeably, taking on a richer, more liquid appearance. Reflections become sharper and more accurate. For all of us in attendance on the day, this is one of the most rewarding parts of the process. It’s where the hours of preparation and cutting finally show up in the way the car presents itself under the lights.
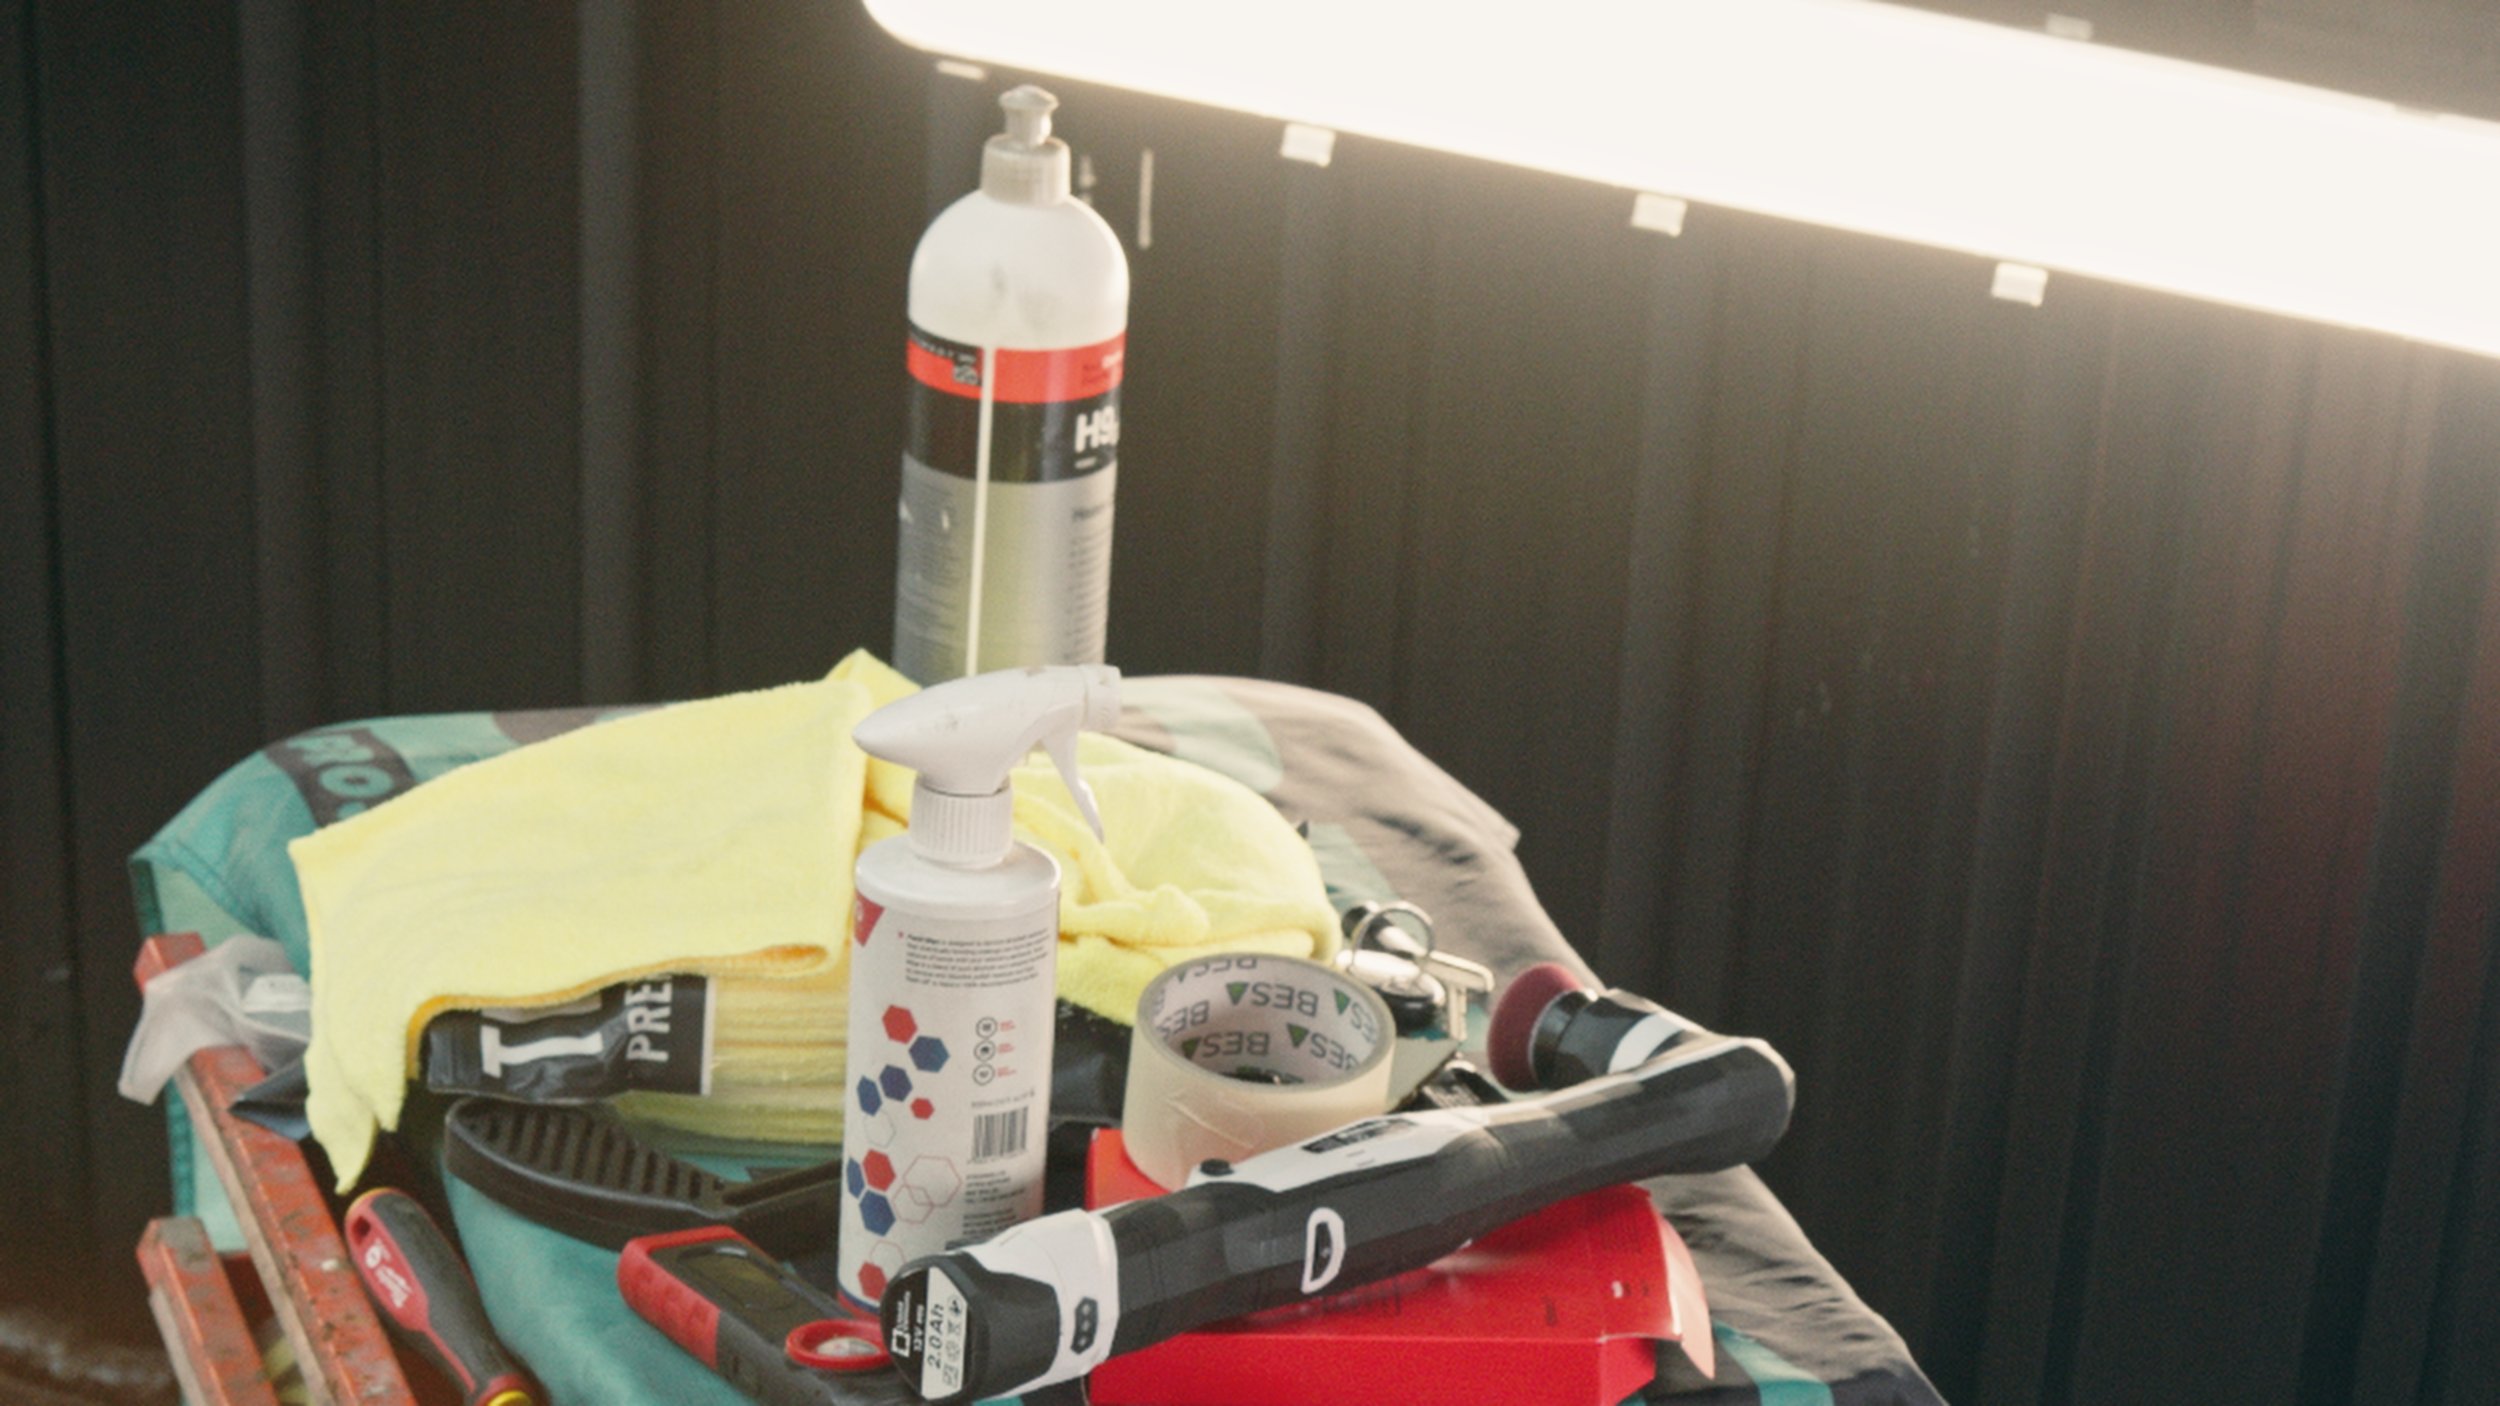
Before any protection is considered, every panel is wiped down with a dedicated panel wipe. This removes residual polishing oils and dust that could interfere with a ceramic coating. It’s a small step in terms of time, but a crucial one for durability and honest results. Now, the Levin is stripped back to what it really is: clean and corrected paint with nothing hiding underneath. This is the standard starting point for any coating, not the exception.
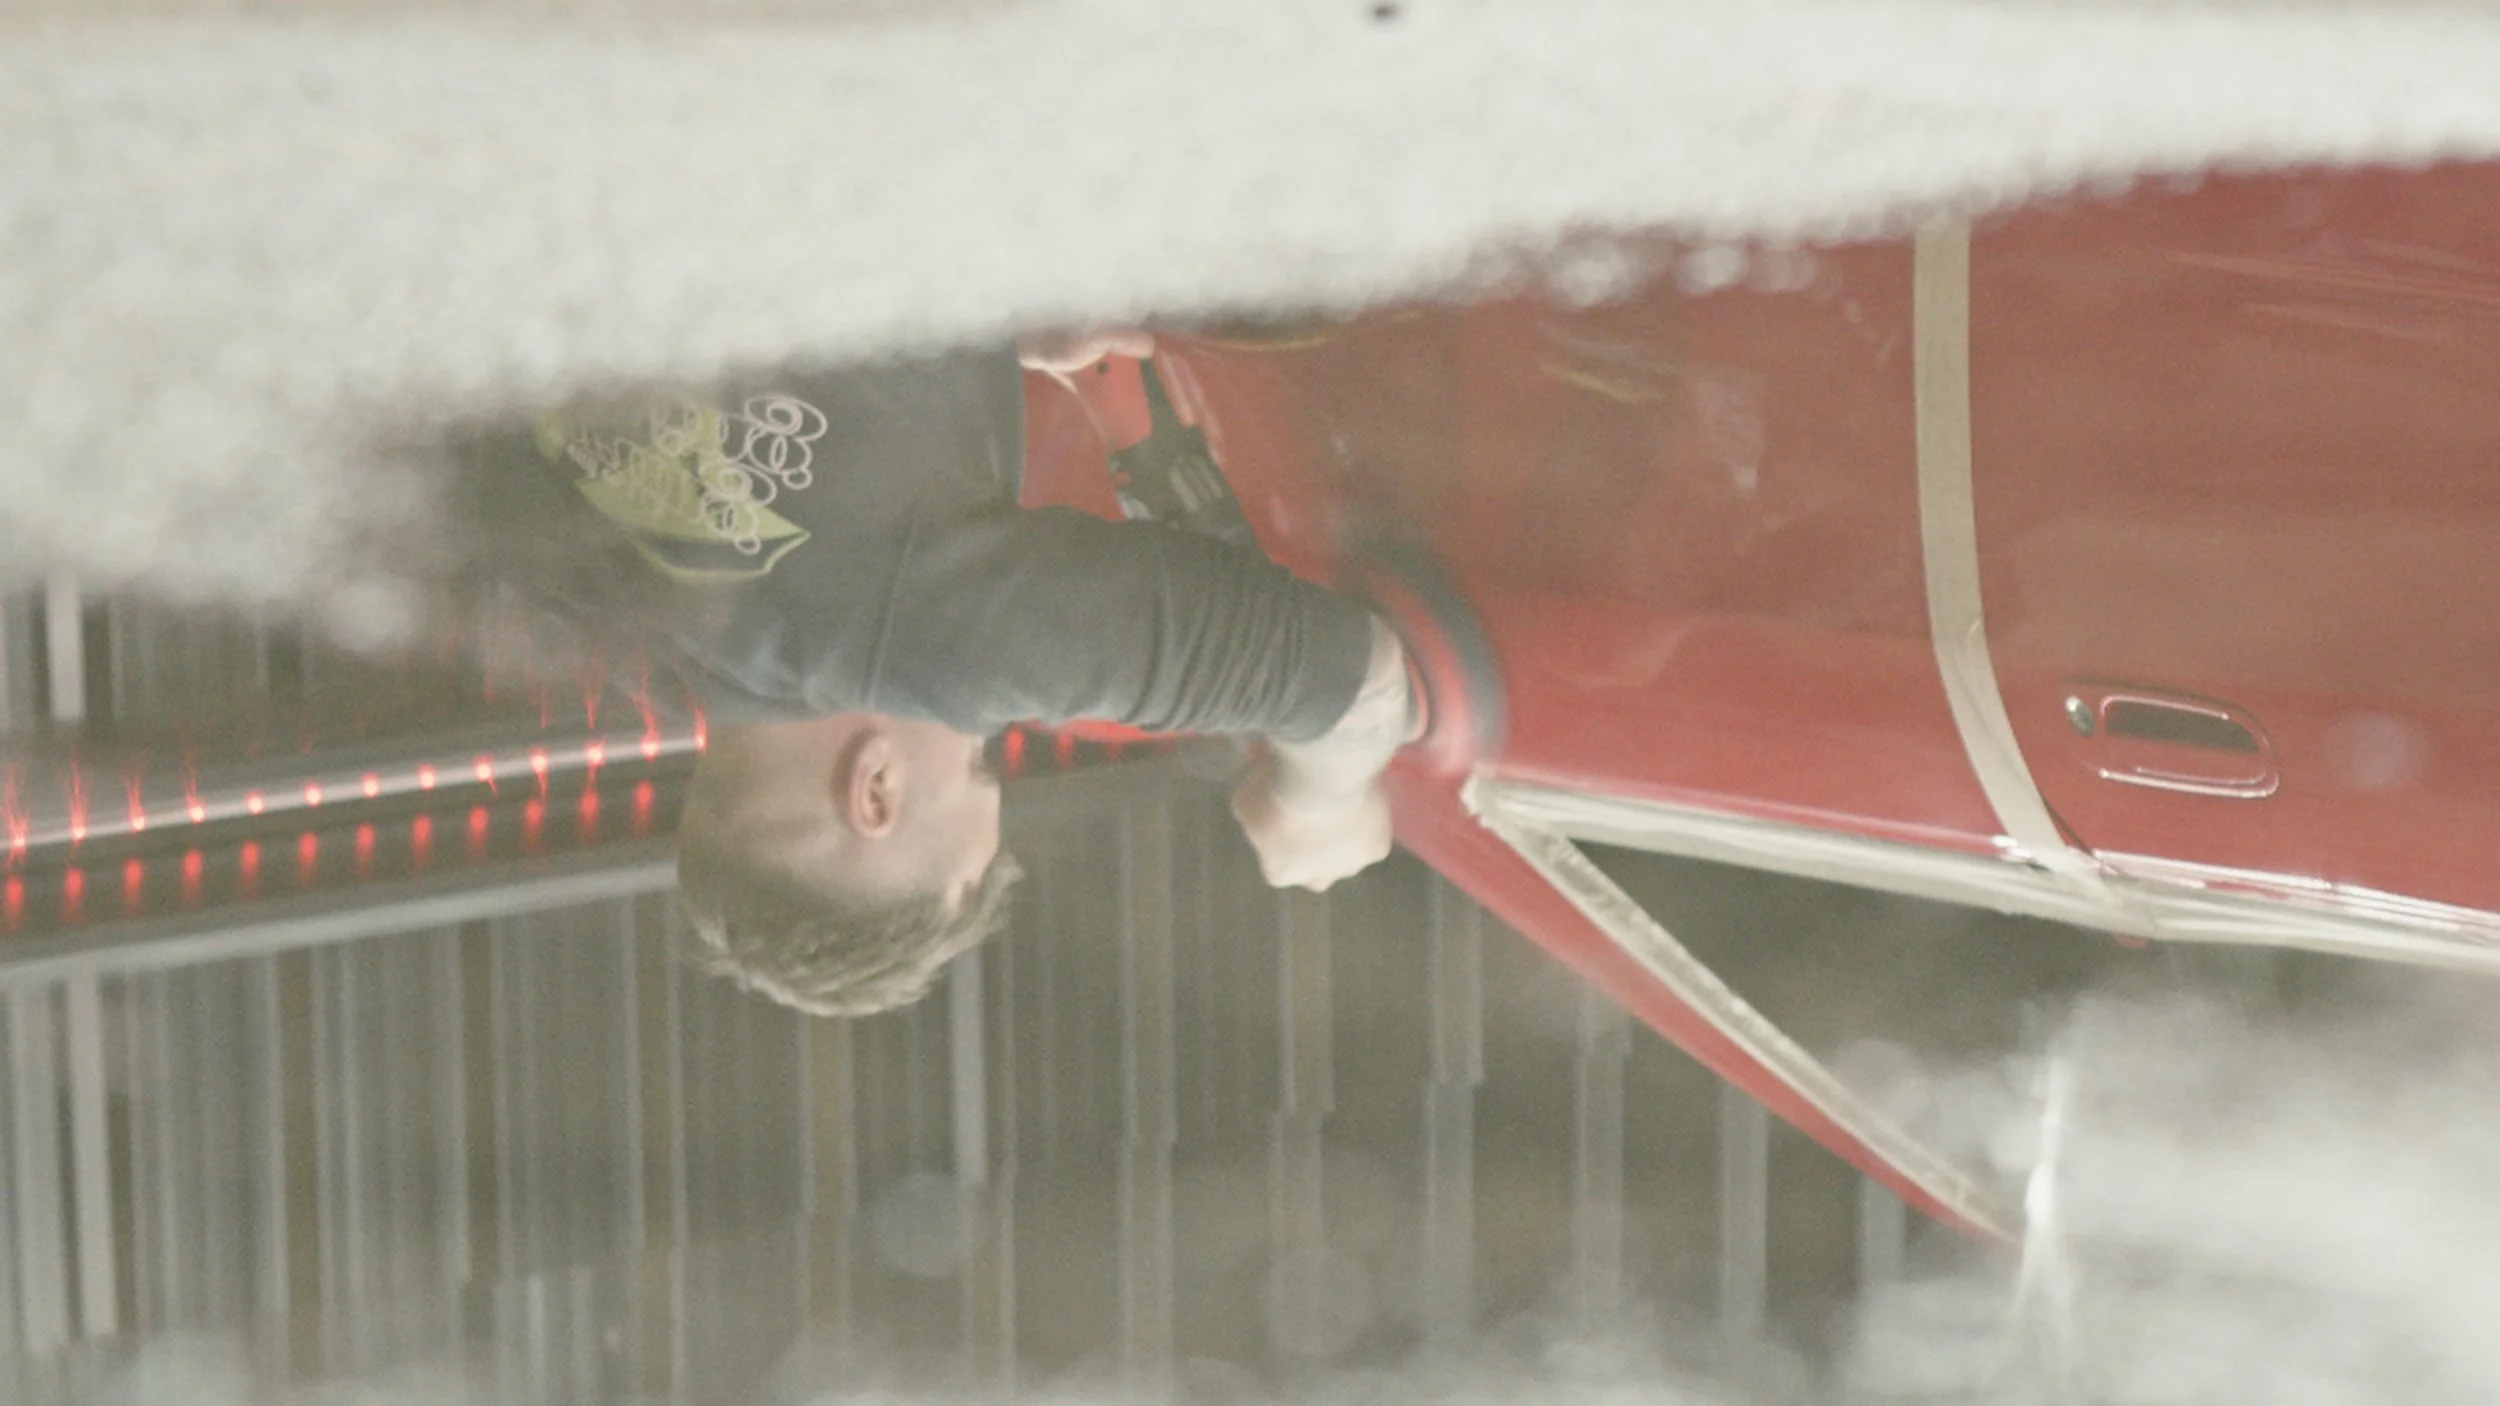
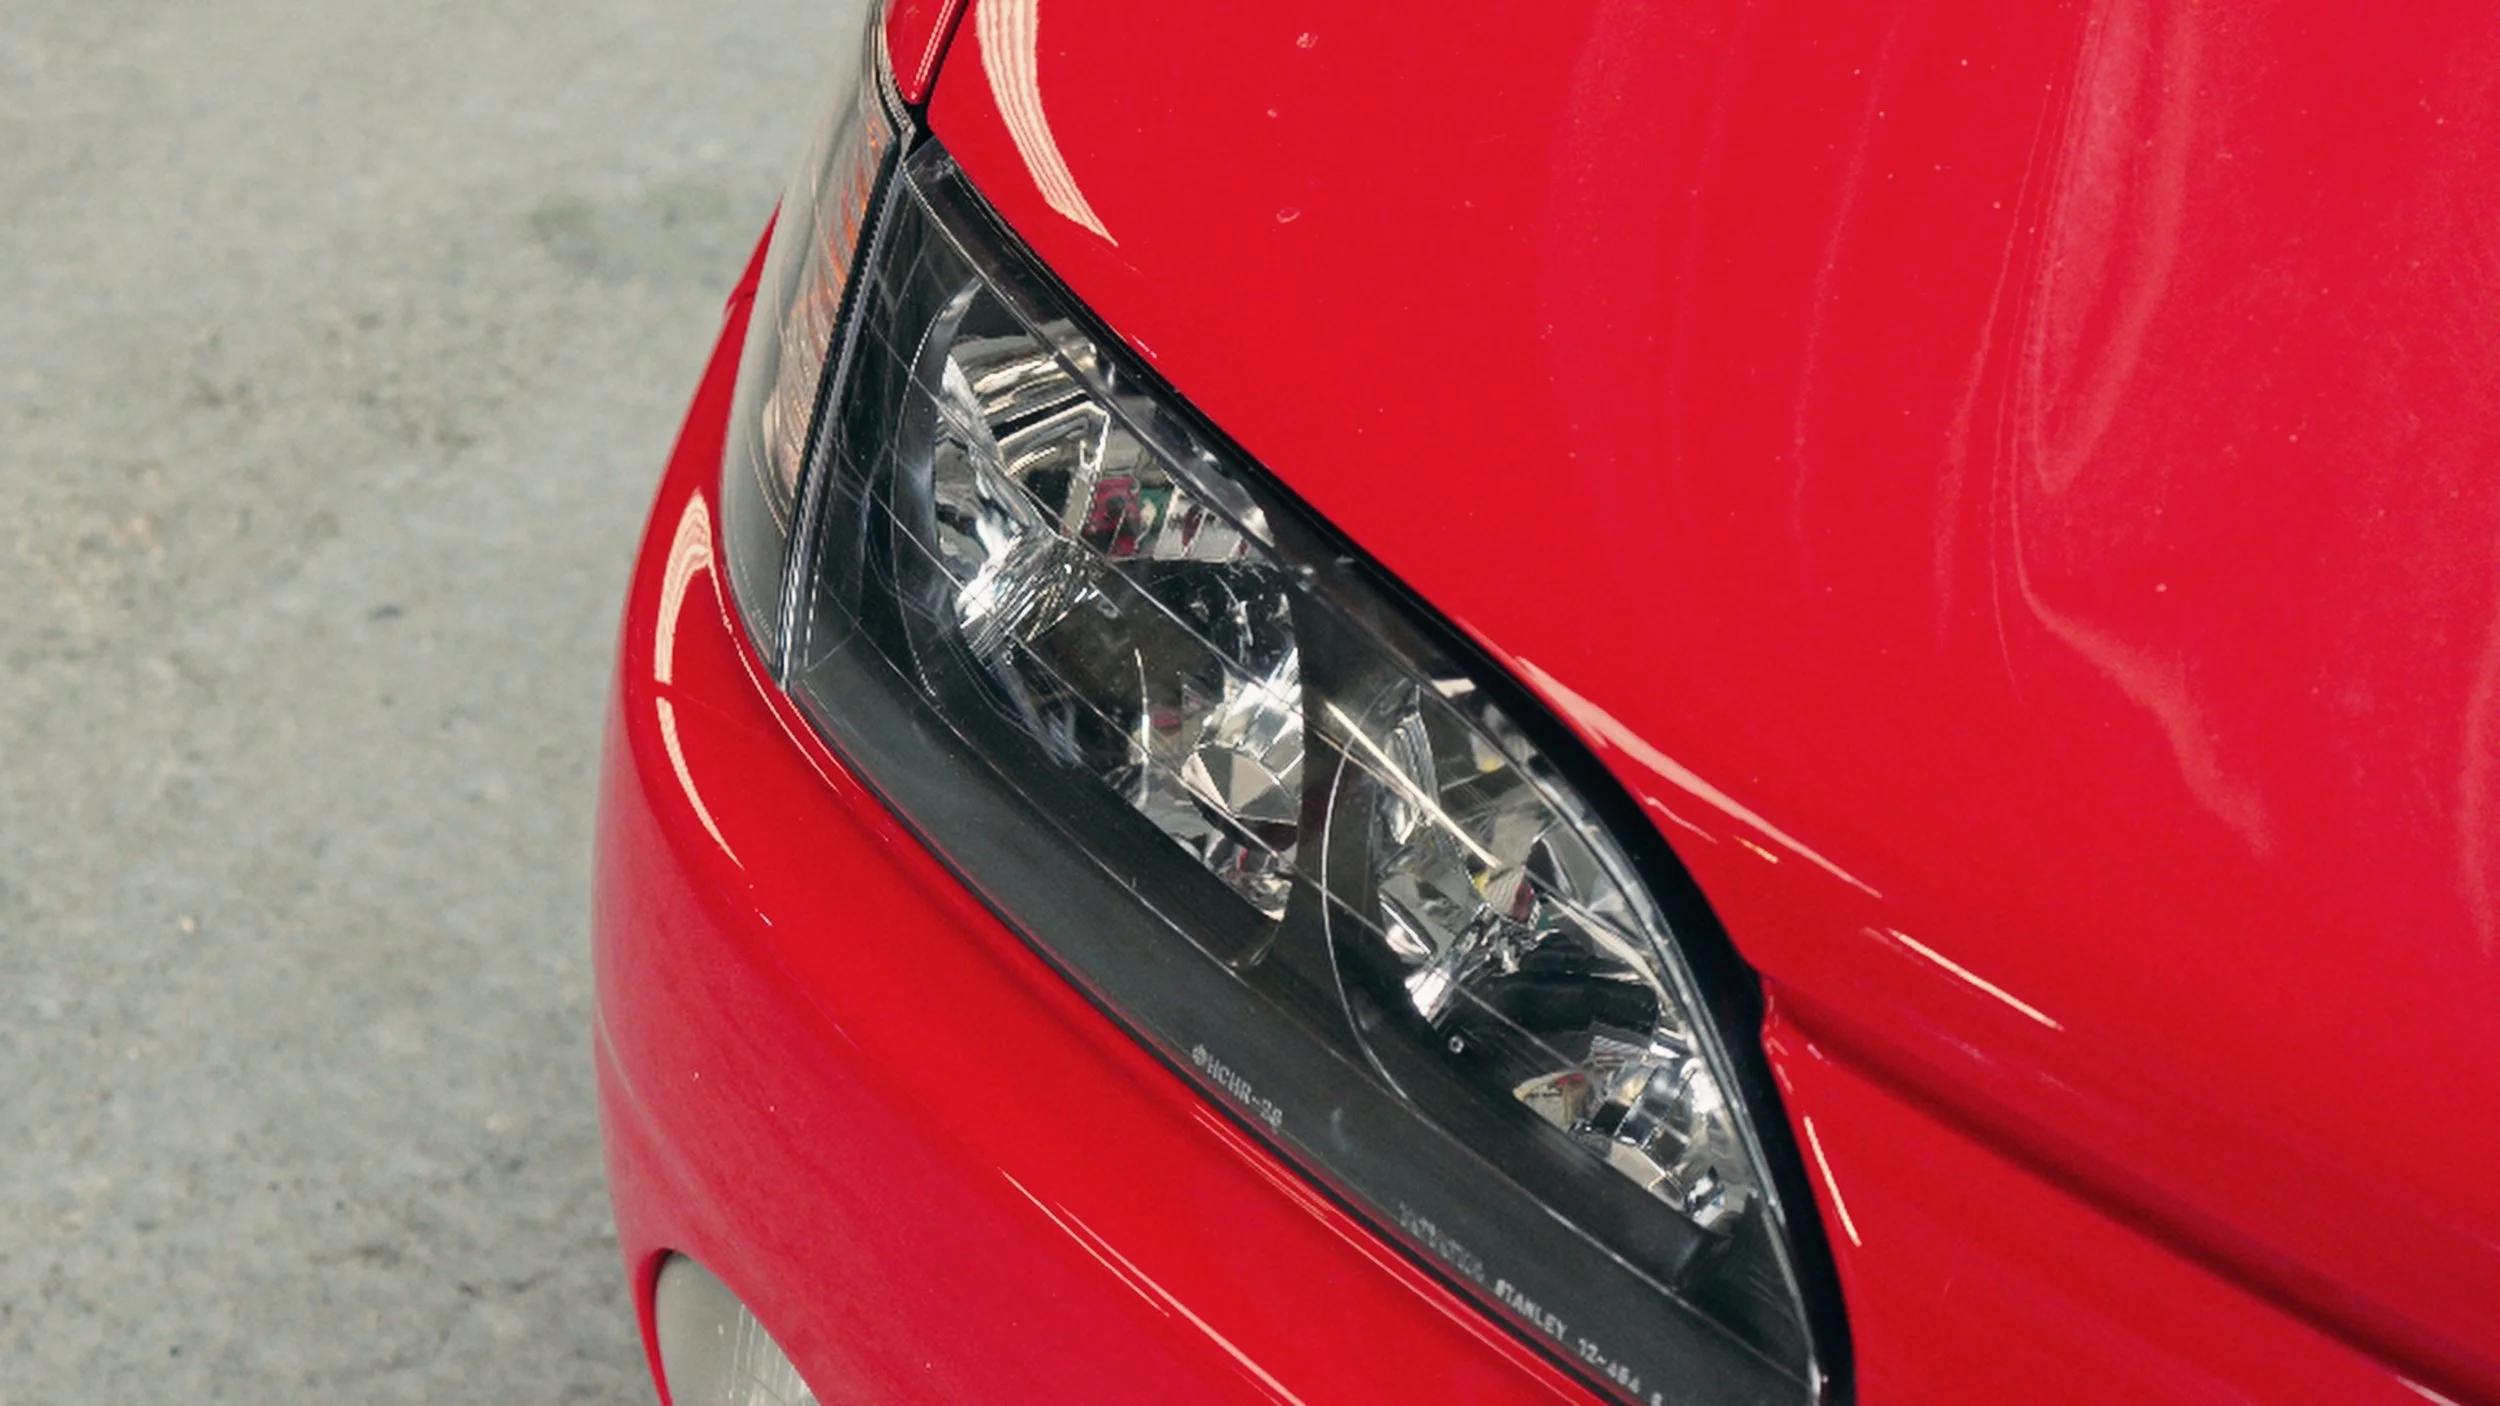
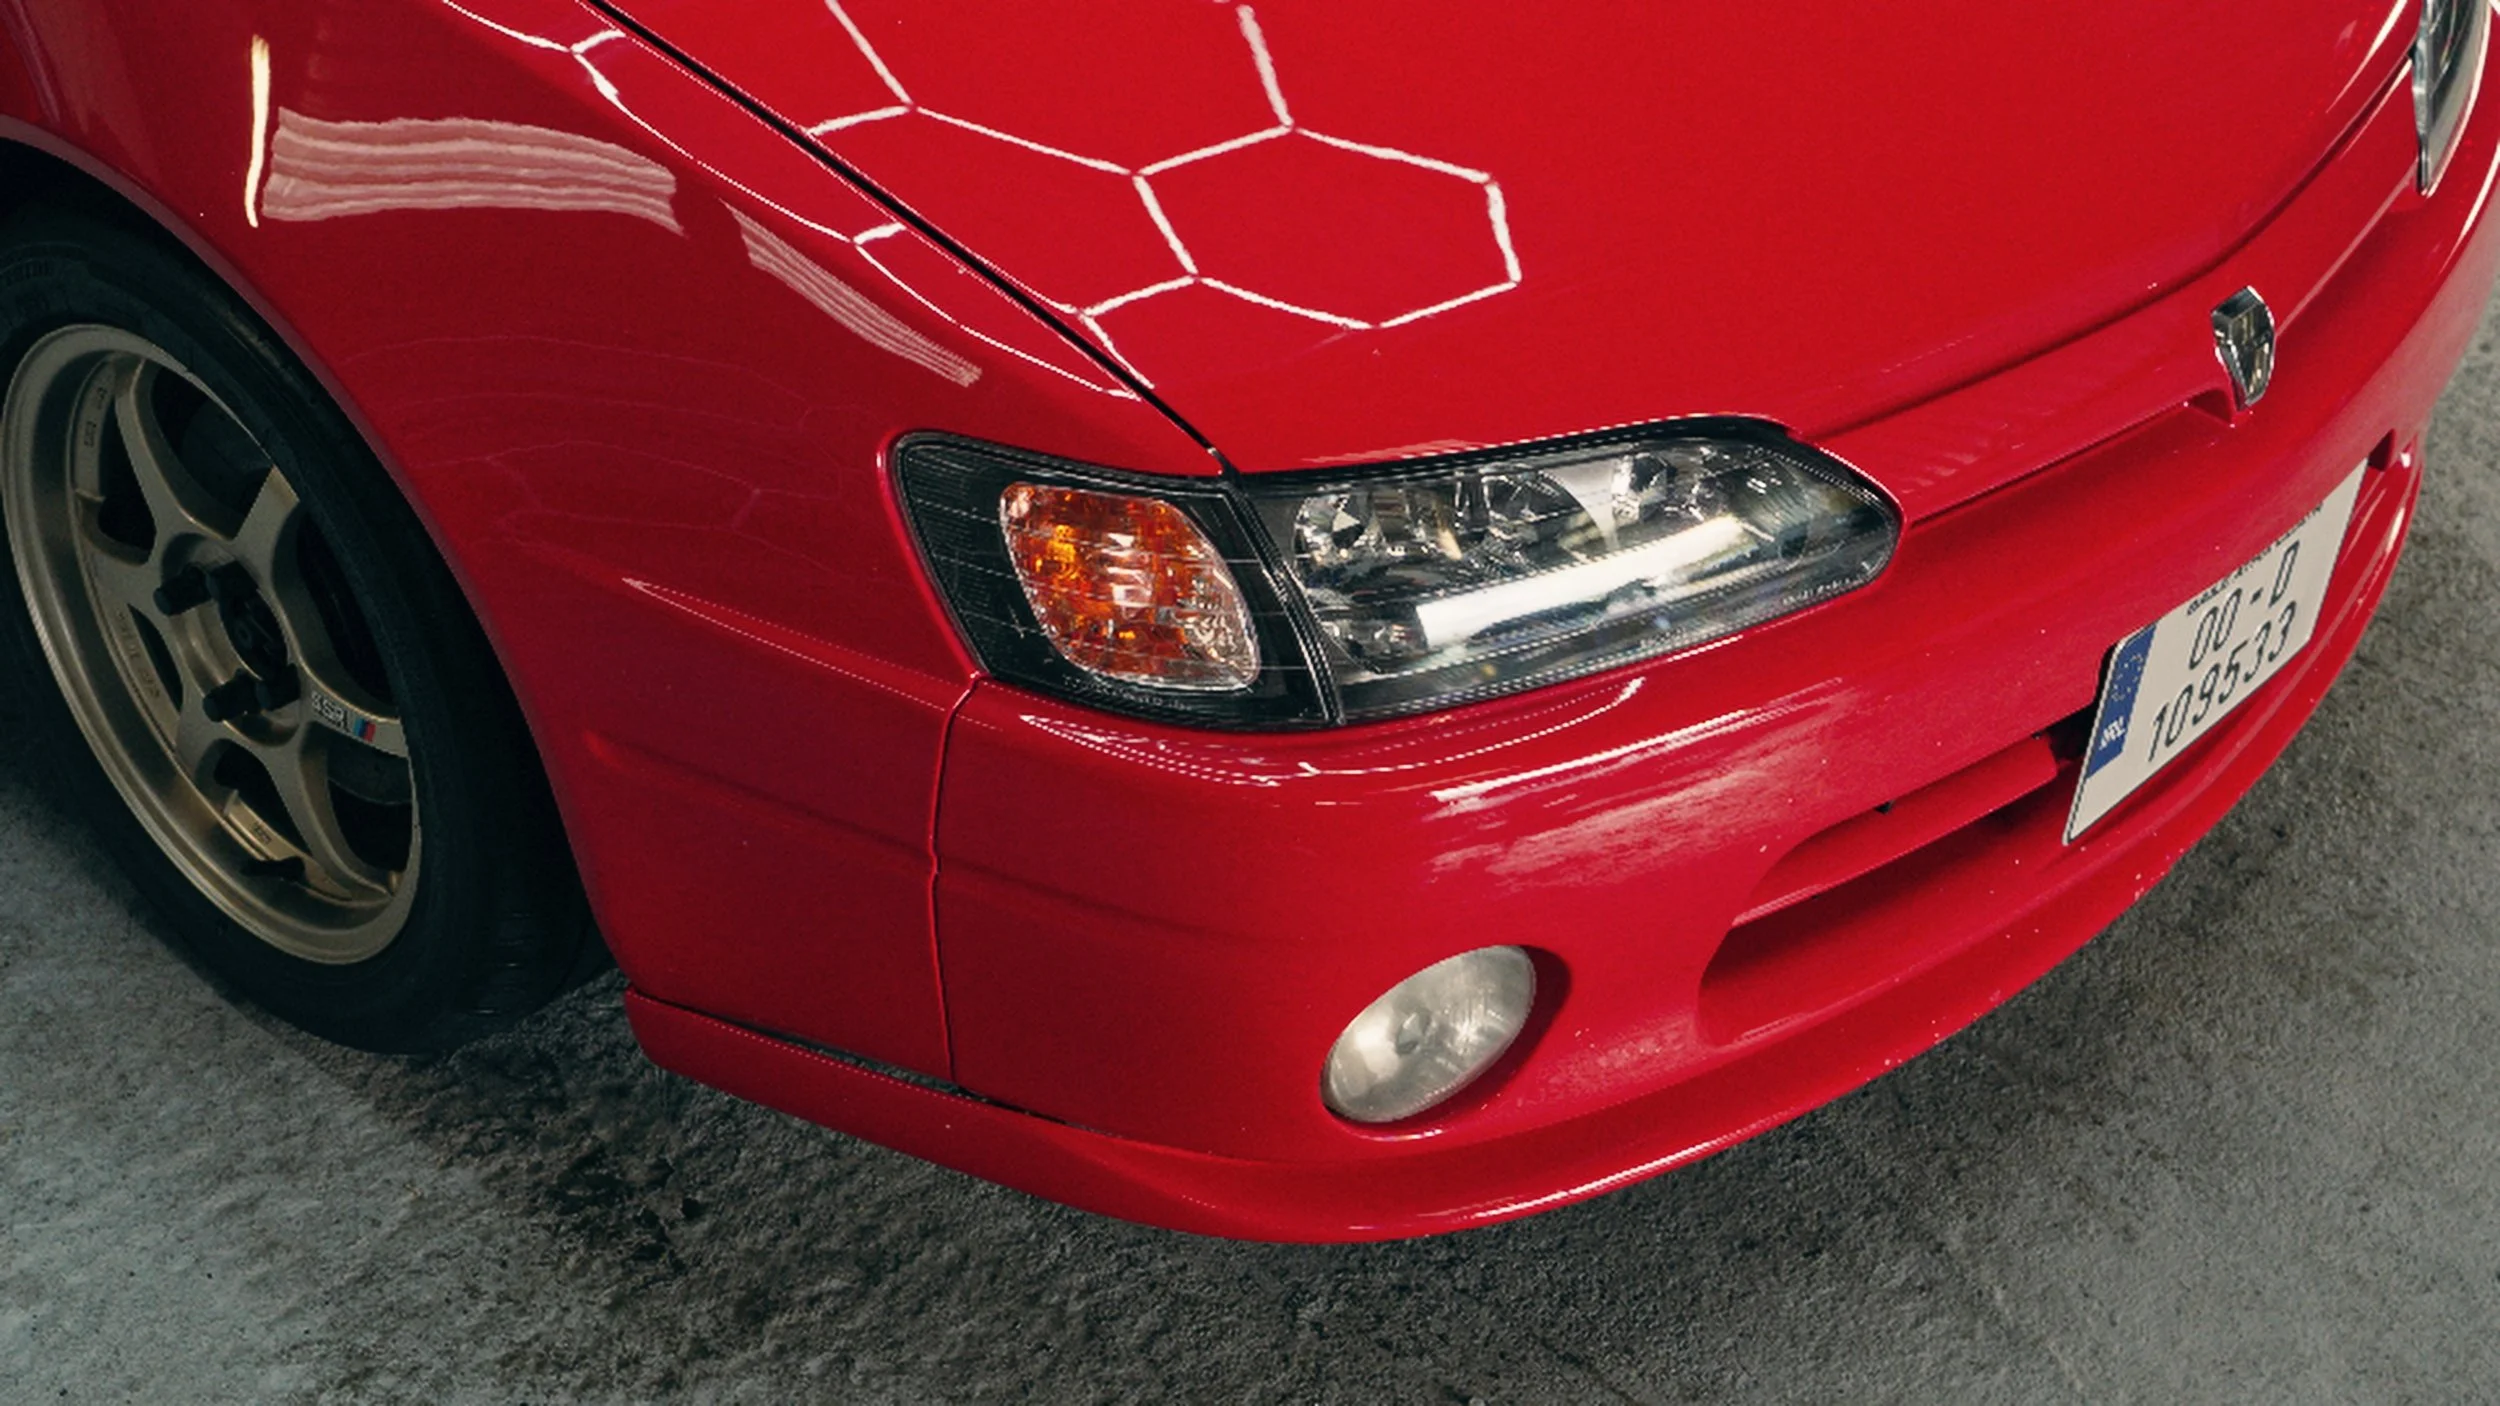
With the paint prepared, Shane begins applying the ceramic coating. Working one small section at a time, he lays the coating down in even, overlapping passes. As it flashes, he levels it carefully, leaving behind a consistent, thin layer across each panel. He moves around the car in a steady flow: bonnet, wings, doors, quarters, boot, and bumpers. Each section gets the same attention, regardless of how visible it might be in the final edit. As the coating cures, the gloss takes on a different character entirely. It looks sharper, more dense, and more controlled than a simple wax or quick detailer could ever provide. On this red paint, the effect is immediate and obvious. The colour gains depth, and the highlights cling to the body lines in a way that they never could have at the start of the day.
With the coating down, Shane turns to the finer details. The tyres are dressed to a natural satin finish, avoiding that overly shiny look and keeping everything in balance. The SSR Type‑Cs are carefully cleaned and protected, letting their soft gold finish play against the newly corrected red paint. Black plastics and rubber trims are treated to restore their depth and frame the bodywork properly. A final walk around the car lets Shane check for any high spots in the coating, missed edges, or small corrections that need to be made before the car leaves his care.
If you've ever seen someone who truly loves what they do at work, then you'll know how I felt filming this piece. Most cars like this were used, forgotten, and thrown away. The ones that end up in Shanes hands are the ones someone has decided are worth maintaining, and worth doing right. What leaves his workshop at the end of the process isn’t just a shiny red Toyota. It’s a car that has been given back some of its identity through time, care, and a methodical approach to every stage.
One car at a time, one job at a time, with the same level of attention, whether anyone is filming or not.
Thanks for watchin'
Mind yourself.